DIY Cold Plunge Tub: What Actually Works and What Doesn't
Search "DIY cold plunge tub" and you'll find 100 build guides, most of them written by people who have never maintained one past week six.
Here's the part they skip: getting water cold is the easy problem—ice does that, a freezer does that, and a Colorado winter can do that, all for minimal or zero cost. Yet the hard part is holding a temperature, session after session, without the water turning cloudy or the setup turning into a full-time job.
That's not an argument against building one. It's an argument for knowing what you're signing up for. Below are the three builds people actually attempt, what each really costs, and where each one reaches its limitations.
What Counts As a DIY Cold Plunge Tub
A DIY cold plunge tub is any home setup that gets you into cold water without a purpose-built plunge: a vessel, a way to make it cold, and—if you're doing it properly—a way to keep it clean.
The vessel is the easy part. A 100-gallon stock tank costs about $150 at a farm supply store, but keeping the water cold is where the money and the effort go, and it splits into two paths:
-
Ice: Cheap to start, but continued expense and hassle. You'll need to get ice for every single session.
-
A chiller: Expensive to start, cheaper to run. There’s a big cost outlay up front, but there’s minimal cost or inconvenience from that point on.
The Three Builds
1. The Stock Tank or Barrel
This is the most common entry point, and the most honest one. It typically features a galvanized stock tank, a poly barrel, or an upright plunge barrel filled with water and chilled with bagged ice.
What you need:
-
Stock tank or barrel: $150–$400
-
Insulated cover or lid: $40–$100
-
Floating thermometer: $15
-
Sanitizer (chlorine or bromine tablets, test strips): $30–$60 to start
-
Drain plug or siphon pump: $25–$60
-
Non-slip mat: $20
-
Ice: ongoing
First-year cost: $300–$600 in equipment. Ice is the variable, and it's often the one that becomes the biggest hassle.
Where it breaks down: Temperature drifts from the moment you get in. In summer, an uninsulated tank sitting in the sun can climb 10°F or more between sessions. Every plunge is a different dose, which makes progression guesswork instead of consistent.
2. The Chest Freezer Conversion
The build with the best cost-per-degree math and the worst risk profile.
The appeal is obvious: a chest freezer is already a refrigerated, insulated box. Line it, seal it, add a temperature controller, and you have cold water without buying ice. Builds typically land between $800 and $1,500 all in.
We don't recommend it, and the reasons aren't hypothetical:
-
Electrical risk: You are putting several hundred pounds of water inside an appliance that was never engineered to hold any. Seals can fail, liners can tear—and water and 120 volts are a combination with no margin for error.
-
Entrapment risk: Chest freezer lids are heavy and close from above. They do not open from the inside.
-
No water treatment: There's no filtration, no circulation, and no sanitation. Still water plus body oils and skin cells is quite the combination. You'll either need to drain and refill frequently or you're bathing in something you'd rather not think about.
-
Nothing is certified: There’s no warranty and probably no coverage from your homeowner's policy if it leaks and causes damage to your home.
That said, plenty of people have built these without incident, but it’s not something we recommend.
3. The Inflatable or Barrel Tub Plus a Chiller
This is the closest DIY gets to a real plunge, and the point at which the math starts to turn.
Pair a portable tub with an external or submersible chiller and you get temperature control without ice runs. The compromise is that you're assembling a system from parts that were never designed to work together.
What you need:
-
Inflatable or pop-up tub: $150–$800
-
Chiller (½ HP or better for meaningful cooling): $700–$1,800
-
Filtration and circulation: $100–$300
-
Insulated lid: $50–$100
-
Hoses, fittings, GFCI outlet, sanitizer: $150–$300
First-year cost: $1,200–$3,000.
Where it breaks down: Uninsulated vinyl loses cold fast, so the chiller runs constantly and still struggles to hold a set point in summer. Undersized chillers are the single most common mistake—a unit that cools 30 gallons will never manage 100. Inflatables can also puncture and hose fittings can leak. On top of that, you’re now maintaining four separate components, each with its own failure mode and none with a shared warranty.

Run the Ice Math Before You Build
This is the number that decides most DIY plunges, and almost nobody calculates it in advance.
Cooling roughly 100 gallons of summer tap water—call it 65°F—down to 50°F will likely take somewhere in the region of 60 to 80 pounds of ice. That's three or four standard bags, at somewhere between $10 and $20 depending on where you buy them.
Now put that on a schedule: if you’re doing four sessions a week, year-round, then you're looking at four figures annually on ice alone (not counting the drive and time spent on ice runs, as well as the freezer space needed). There’ll be mornings you simply skip your cold plunge, not because you want to, but because you forgot to stop at the store, which is the cost nobody budgets for and the one that quietly ends most practices.
Winter helps as colder tap water means less ice. But that’s also when a lot of DIY setups freeze, crack, or become genuinely unpleasant to maintain.
Related → How to Winterize Your Cold Plunge Tub
The Four Things DIY Can't Hold
Every build above can make water cold. Here's what none of them do well:
-
A stable temperature: Ice-cooled water starts warming immediately. Undersized chillers can't keep pace with an uninsulated vessel. If 50°F today is 58°F on Thursday, your practice quickly becomes inconsistent. Temperature is the active ingredient in cold exposure, and a dose you can't repeat is a dose you can't progress.
-
Clean water: Standing water at 50°F is still standing water. Without circulation, filtration, and a sanitizer you actually test and maintain, DIY setups need draining and refilling every few uses. Most people drain far less often than they should.
-
Safety by default: Purpose-built plunges are engineered around electrical isolation, entry and exit, and lid weight. DIY builds inherit those risks and leave you to solve them.
-
Your time: This is the cost that never appears in a build guide. Ice runs, water changes, chemistry checks, patched leaks, seasonal teardown. A practice that demands 30 minutes of upkeep for every four-minute session is a practice you will eventually stop.
When DIY Is the Right Call
Credit where it's due: building a DIY cold plunge is a legitimate way to find out whether cold exposure is for you.
If you're not sure you'll still be plunging in six months, a stock tank and a few bags of ice will answer that question for under $500. It’s the same logic as ending your showers with cold water, it’s a low-cost way to test the practice before you invest in it.
The tell that you've outgrown a DIY build is specific: you stop thinking about whether you'll get in, and start thinking about what temperature you want and how long you want to hold it. That's the point at which the variable you can't control becomes the thing standing in your way.
Related → Contrast Therapy at Home
What You're Buying When You Stop Building
The Stoics didn't practice discomfort casually. They practiced it deliberately, which requires knowing exactly what you're subjecting yourself to.
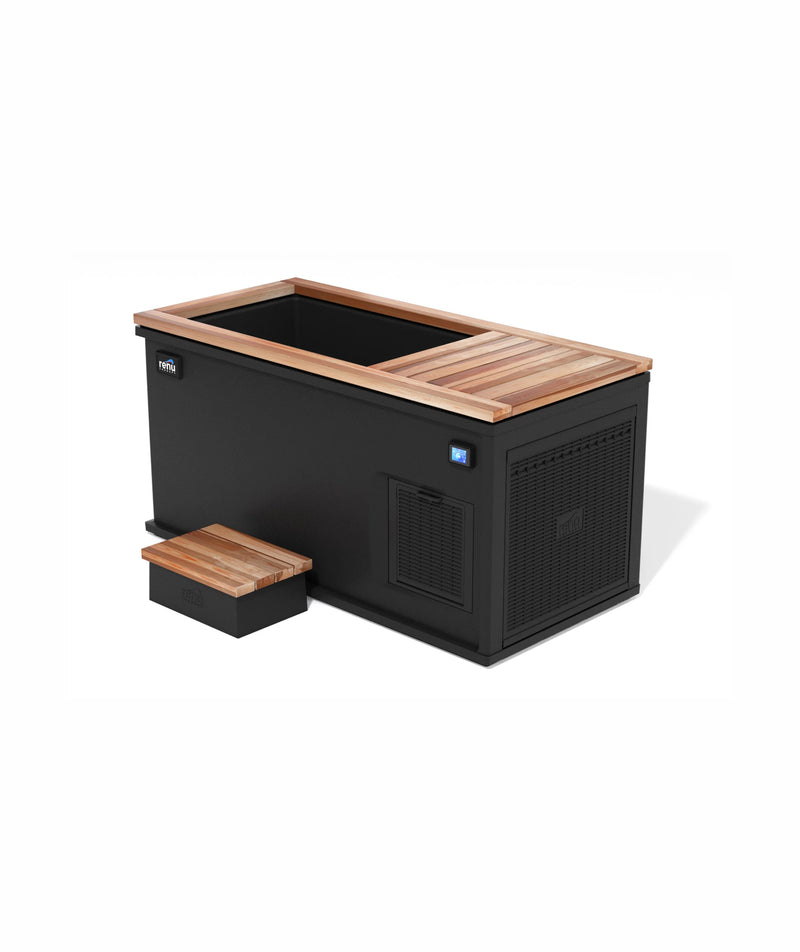
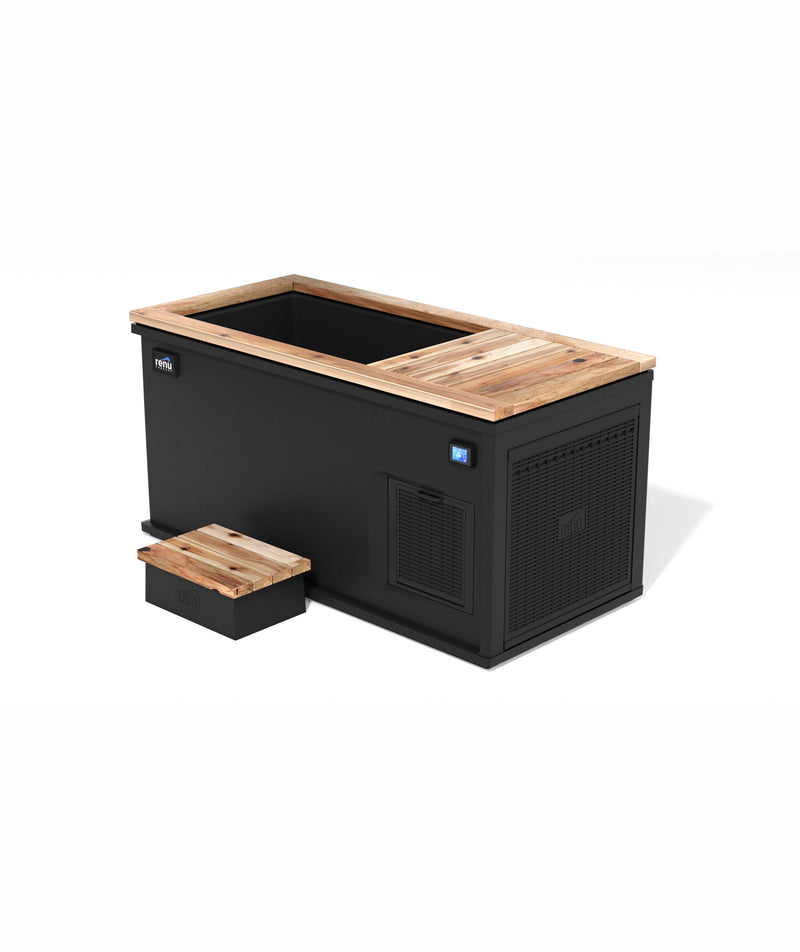
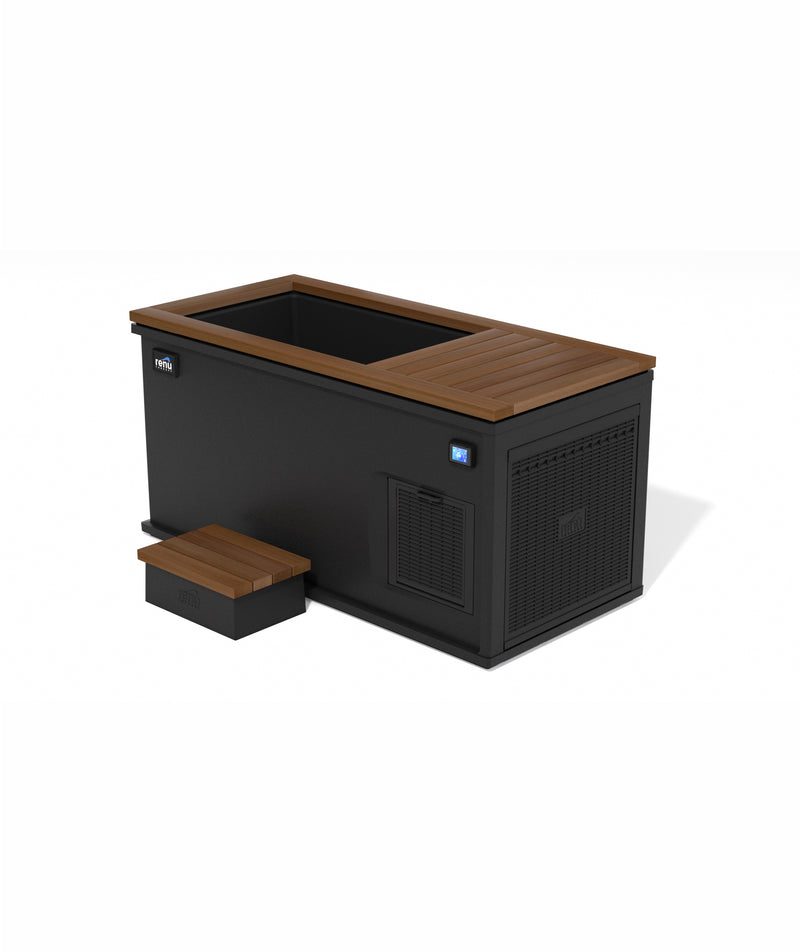
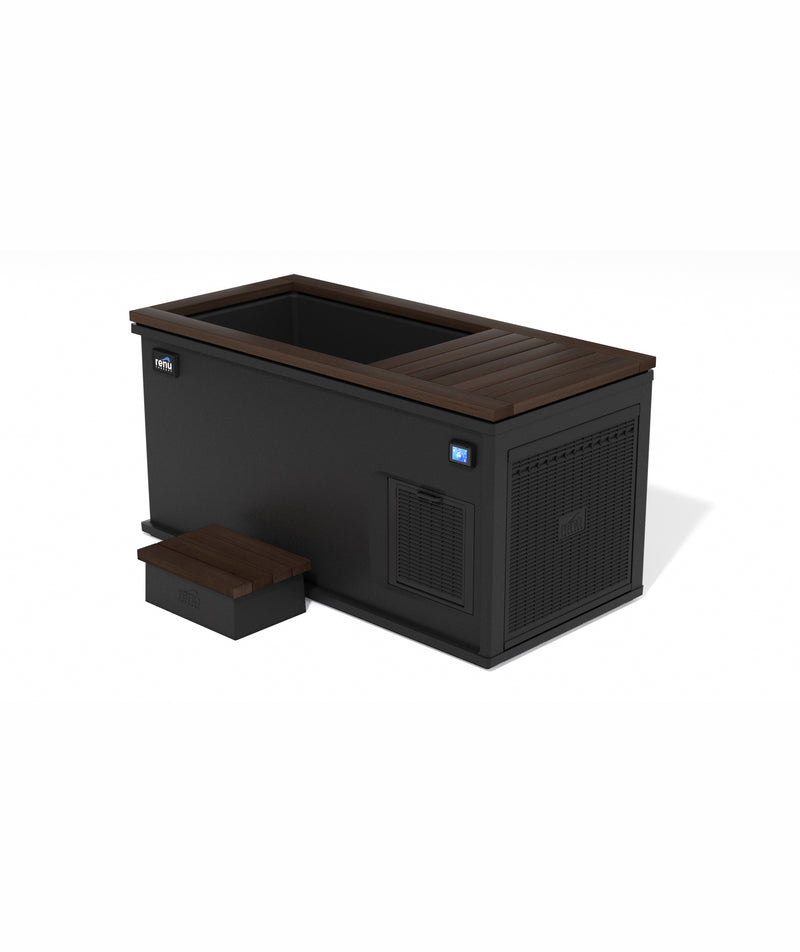
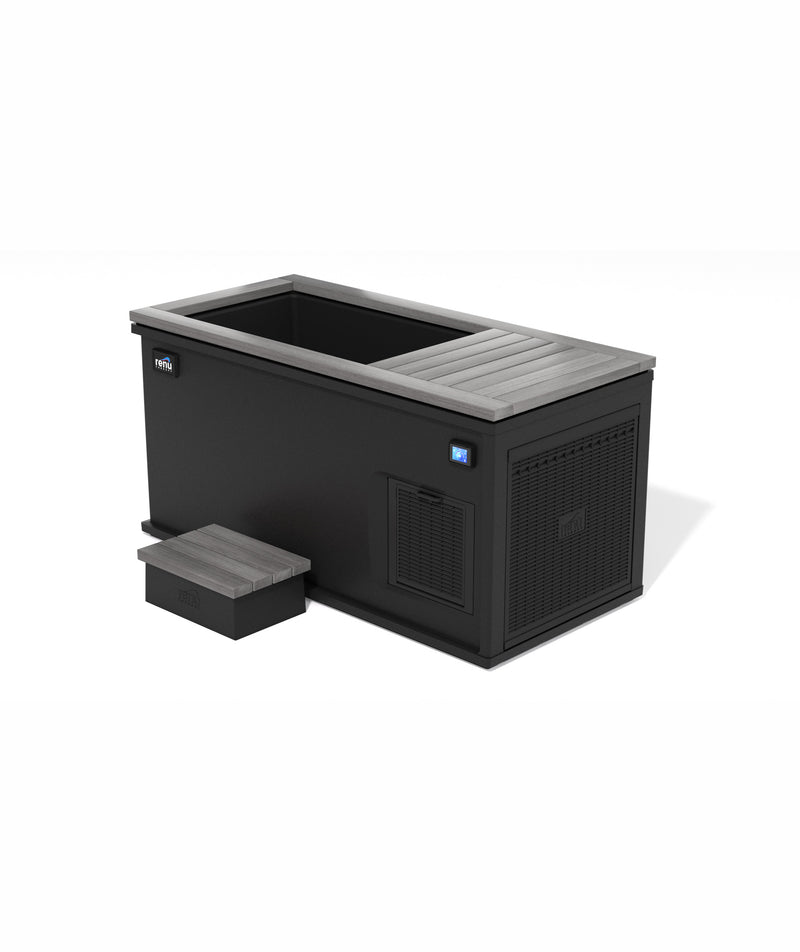
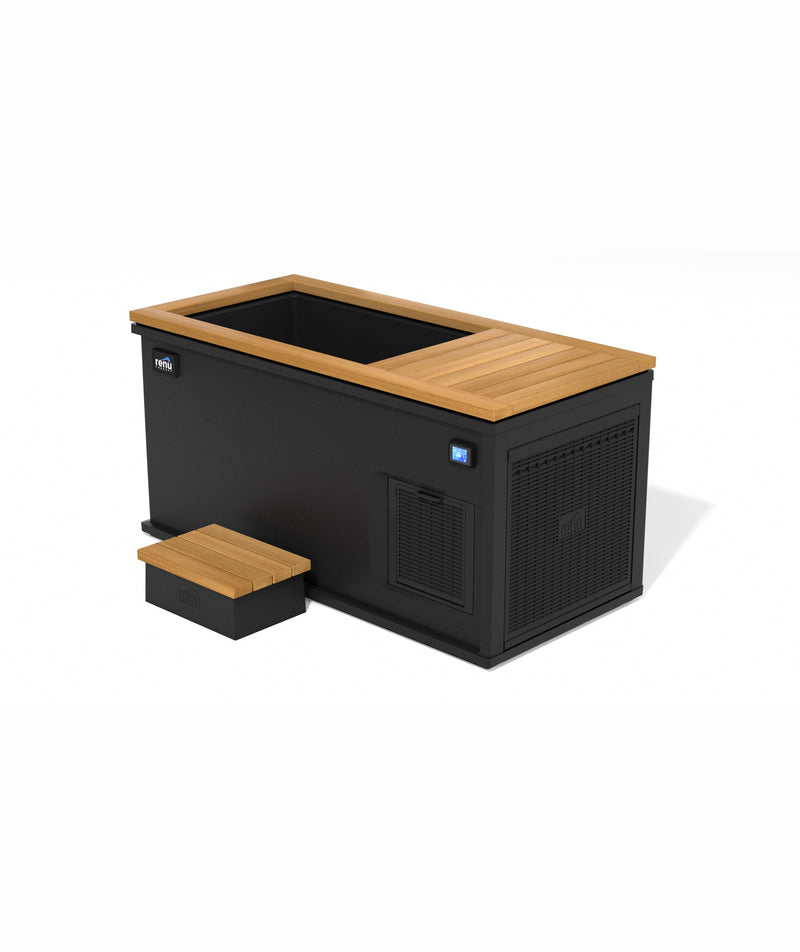
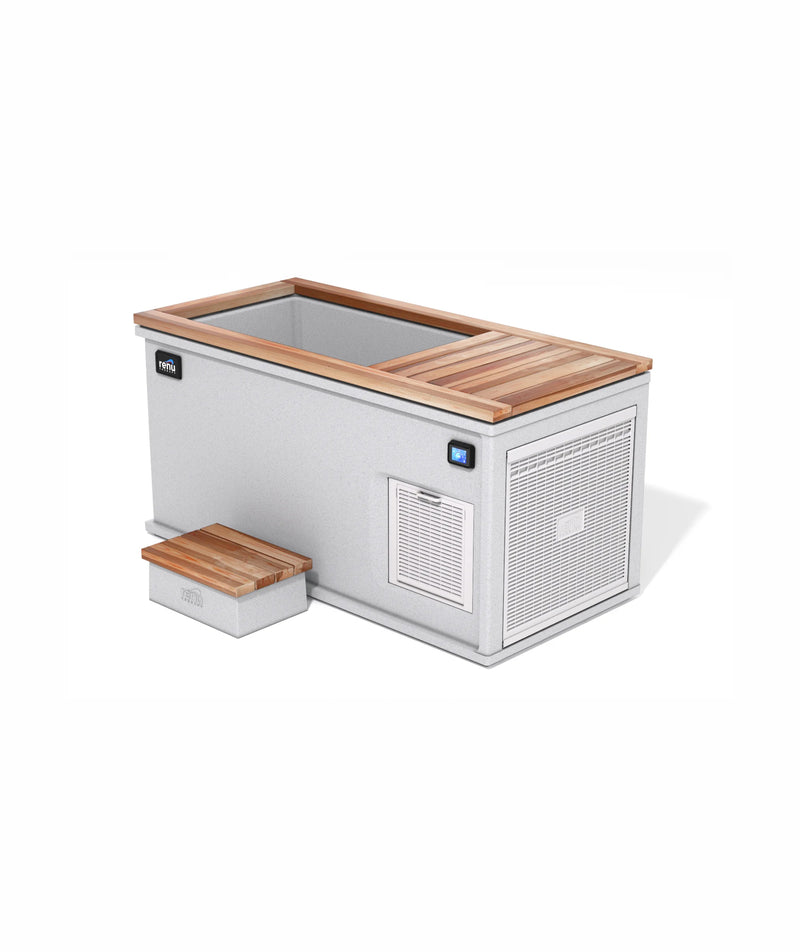
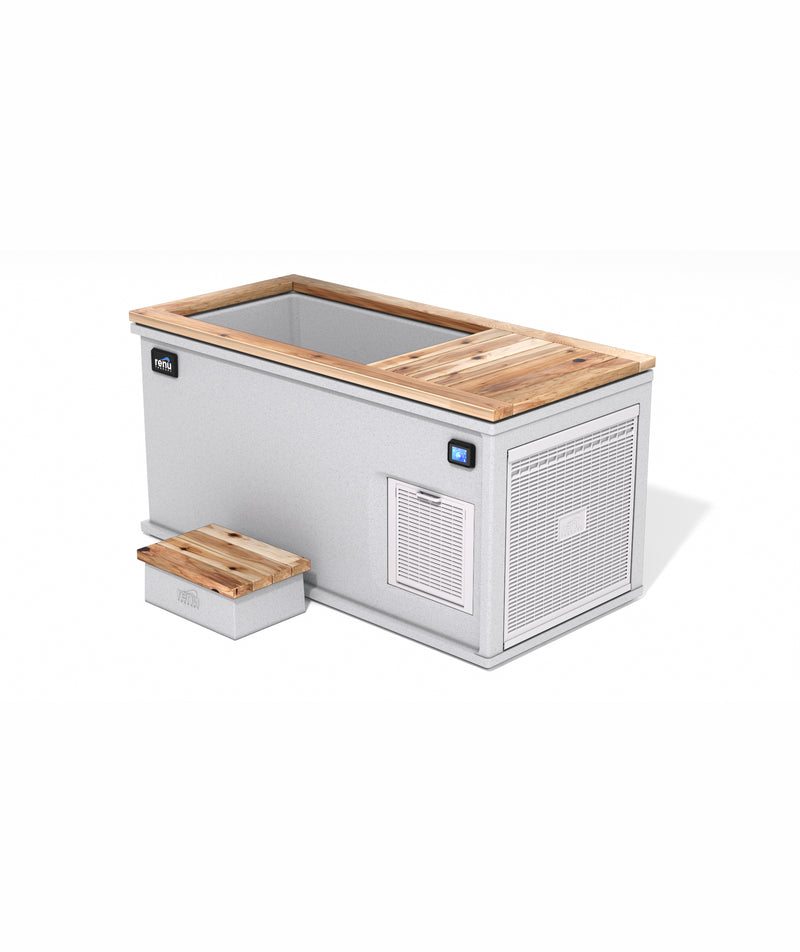
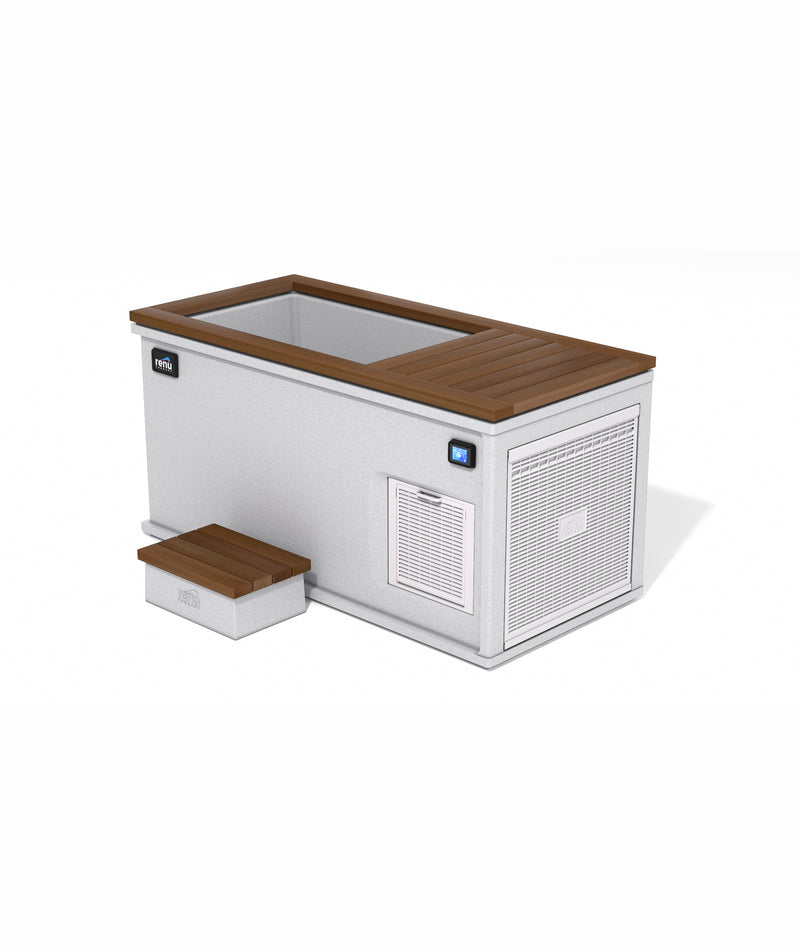
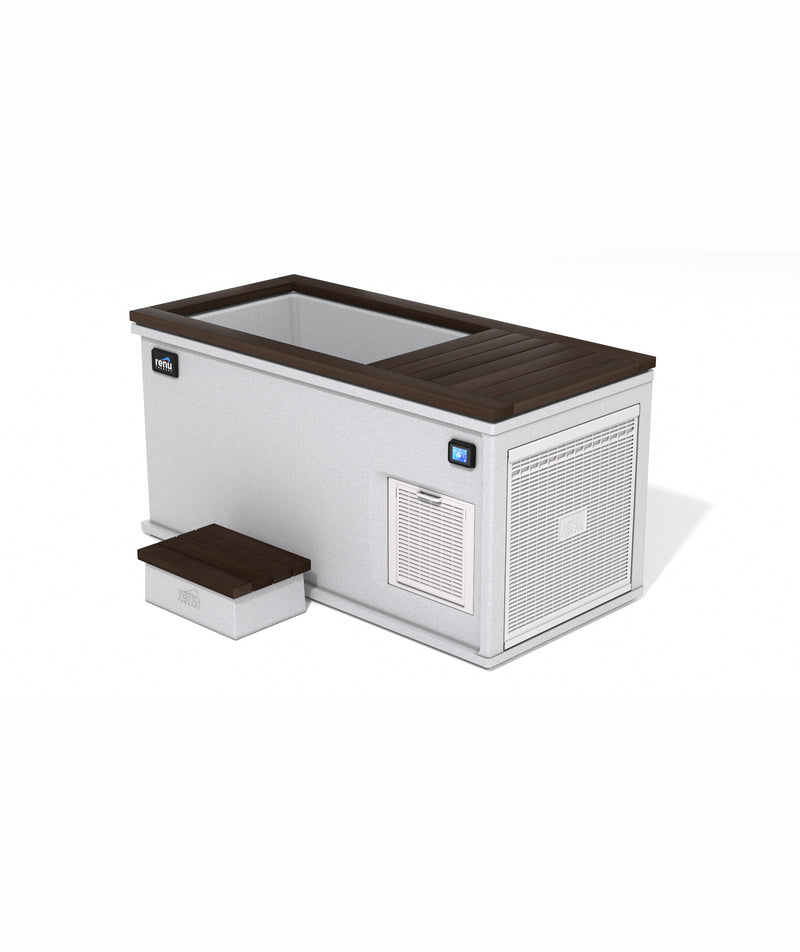
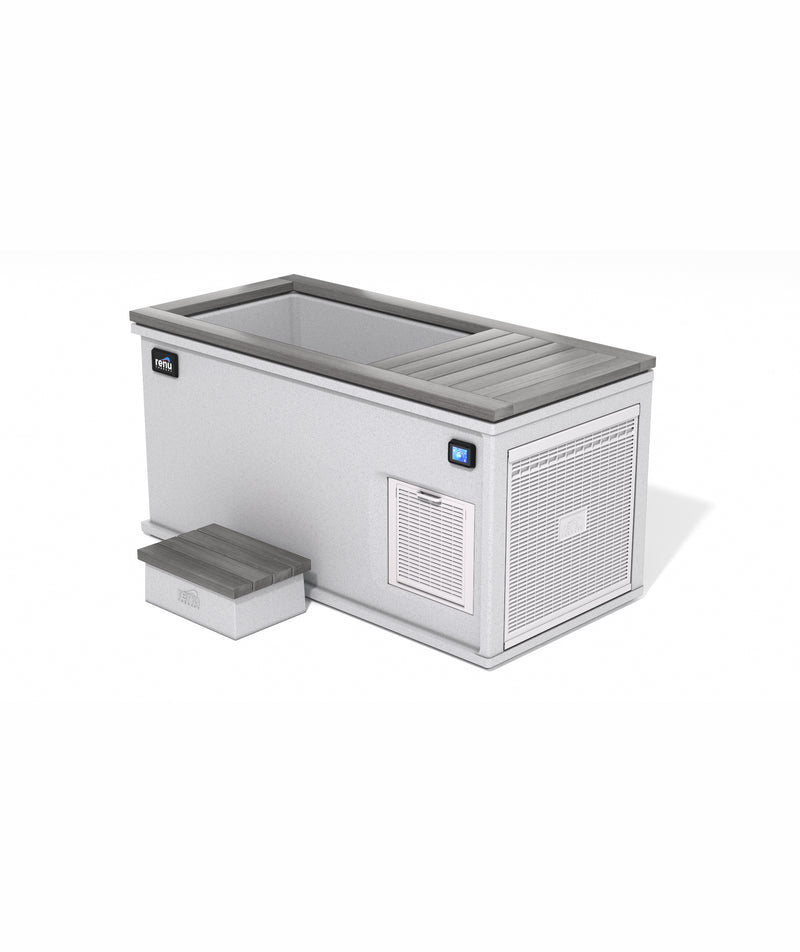
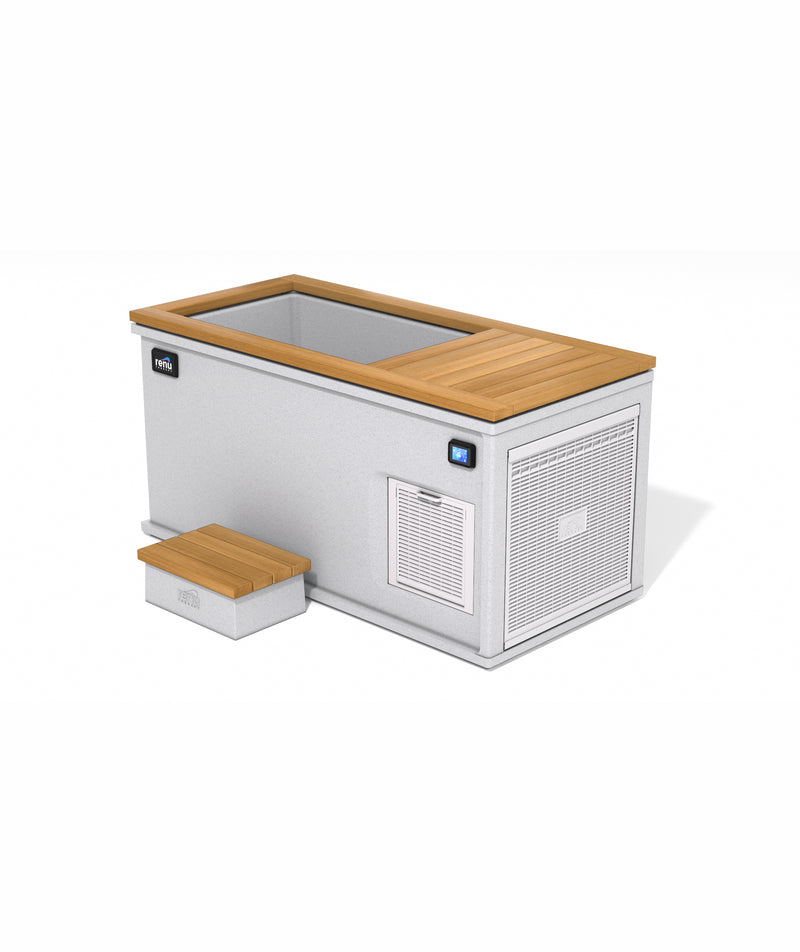
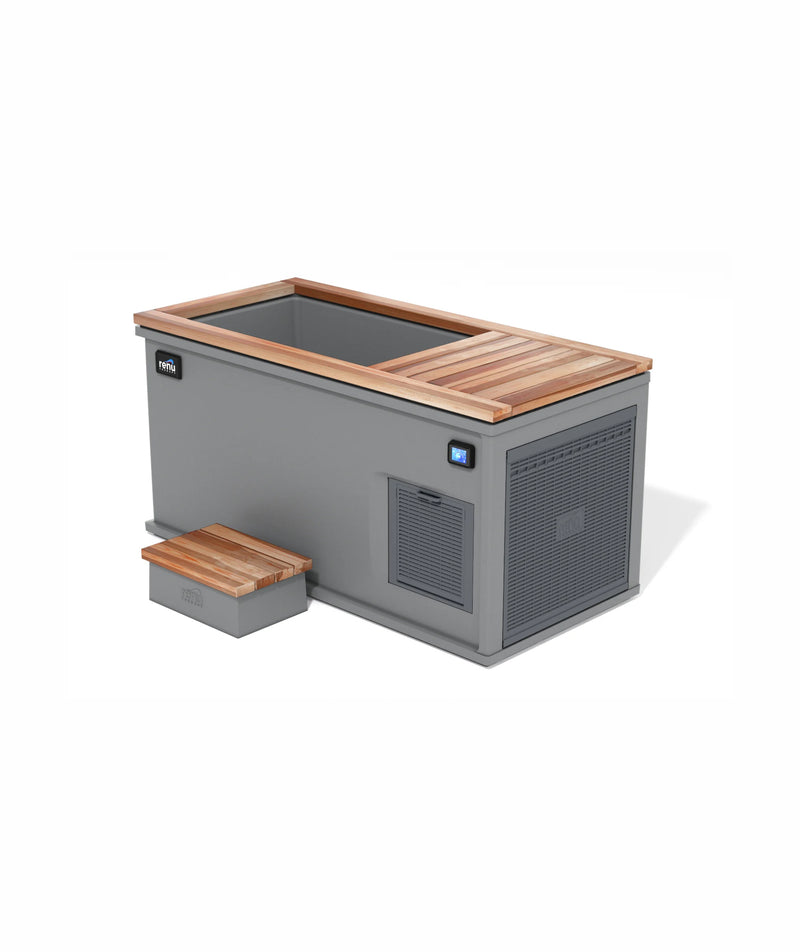
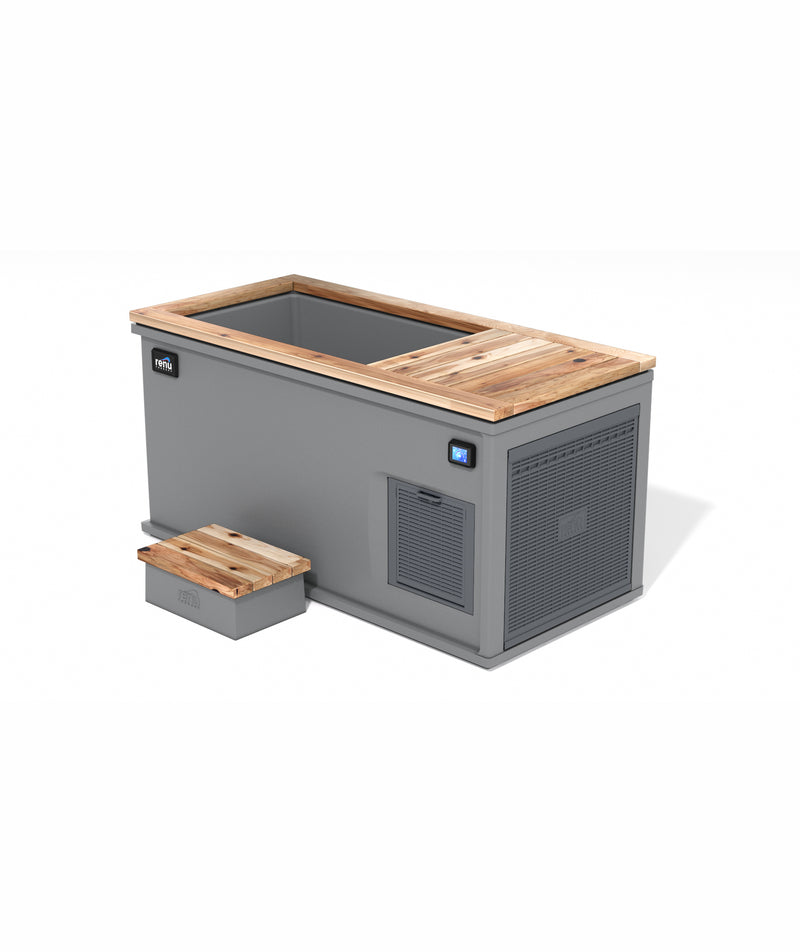
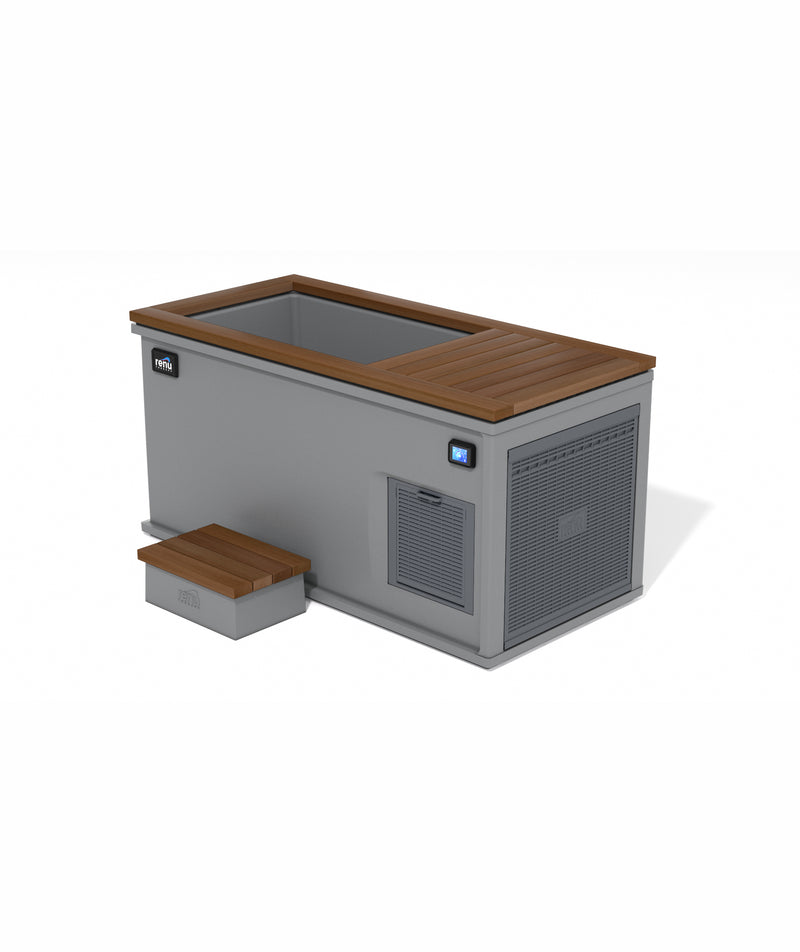
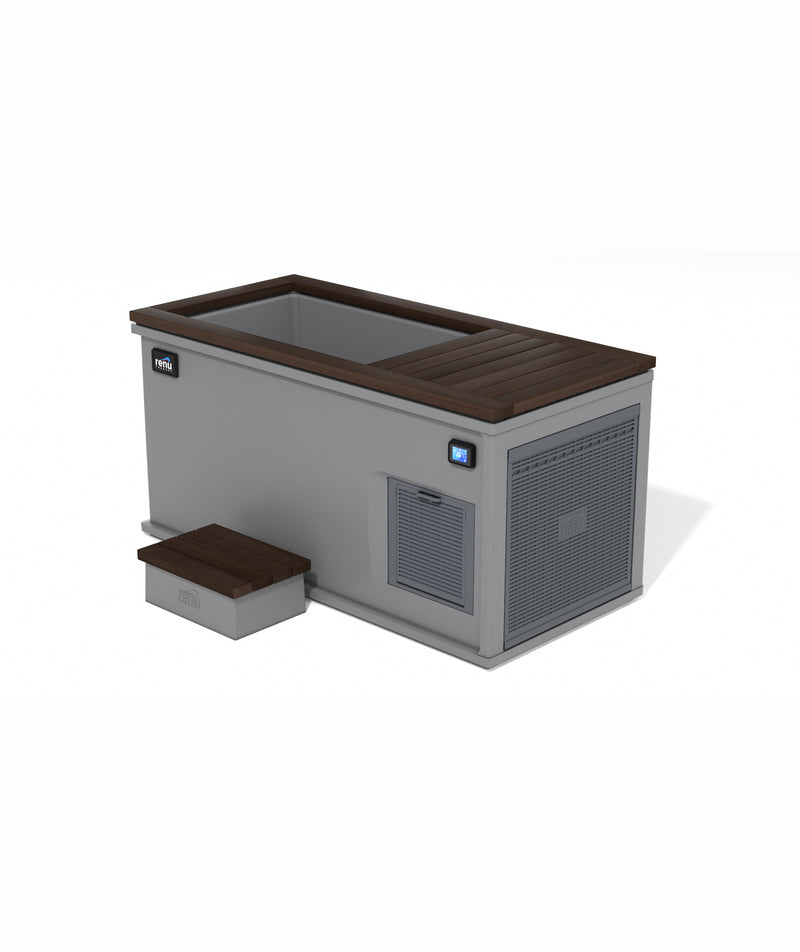
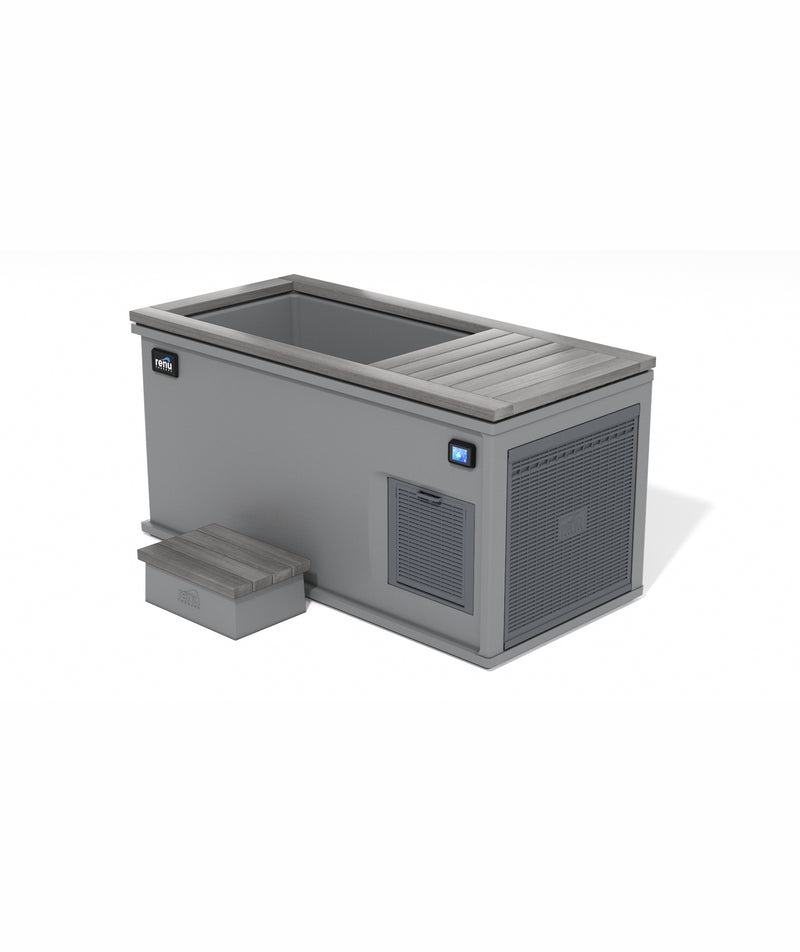
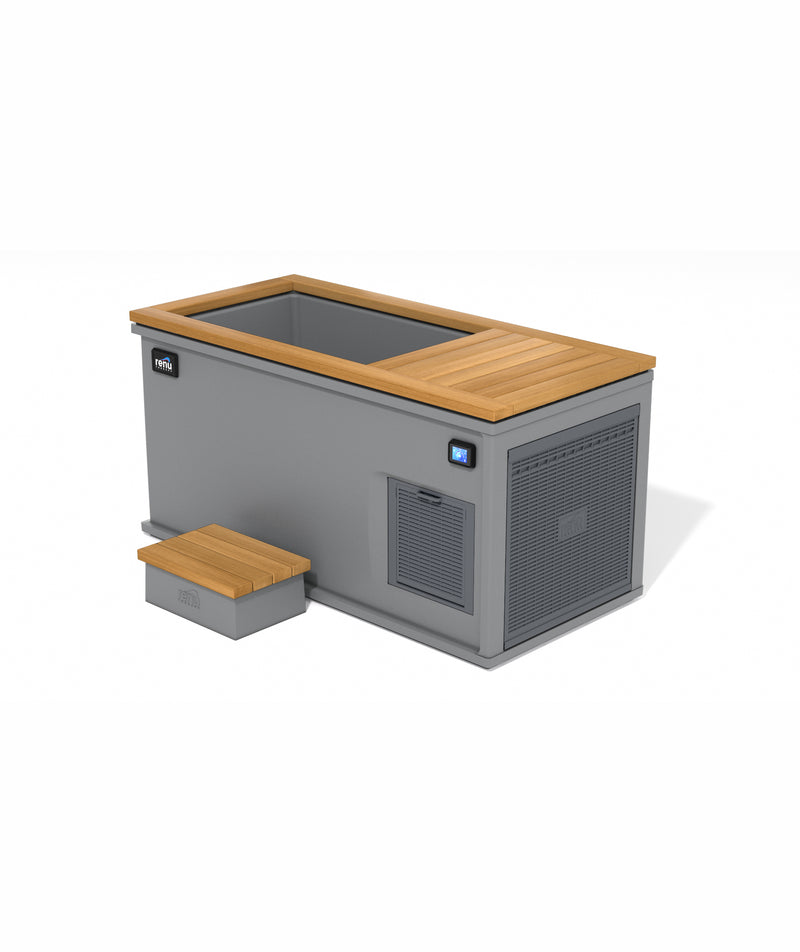
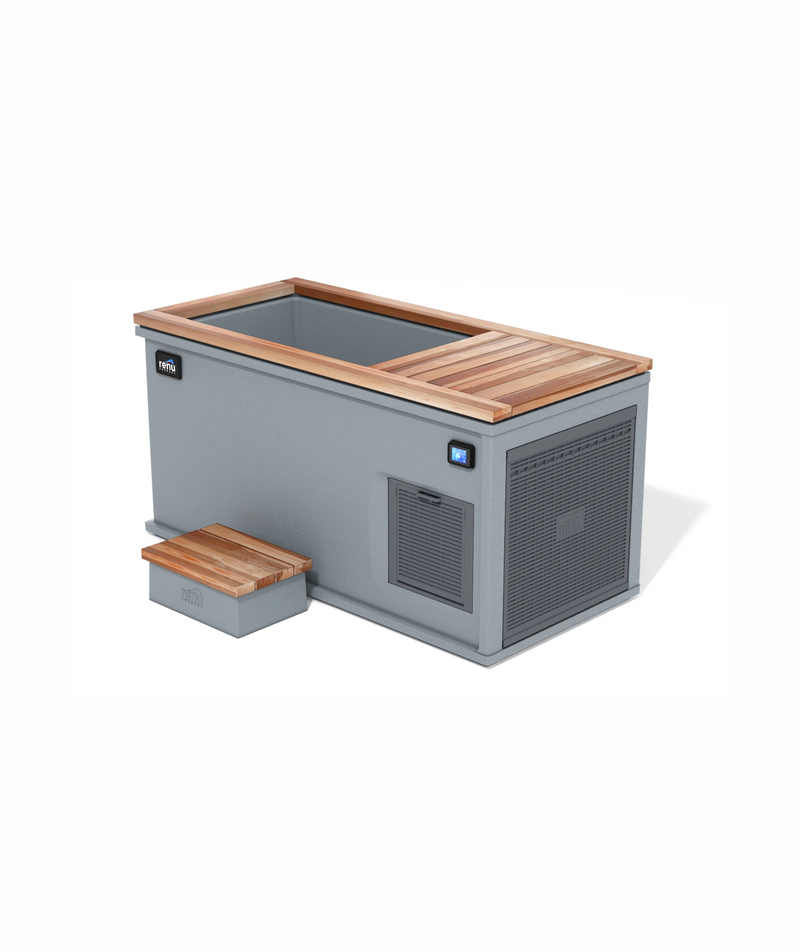
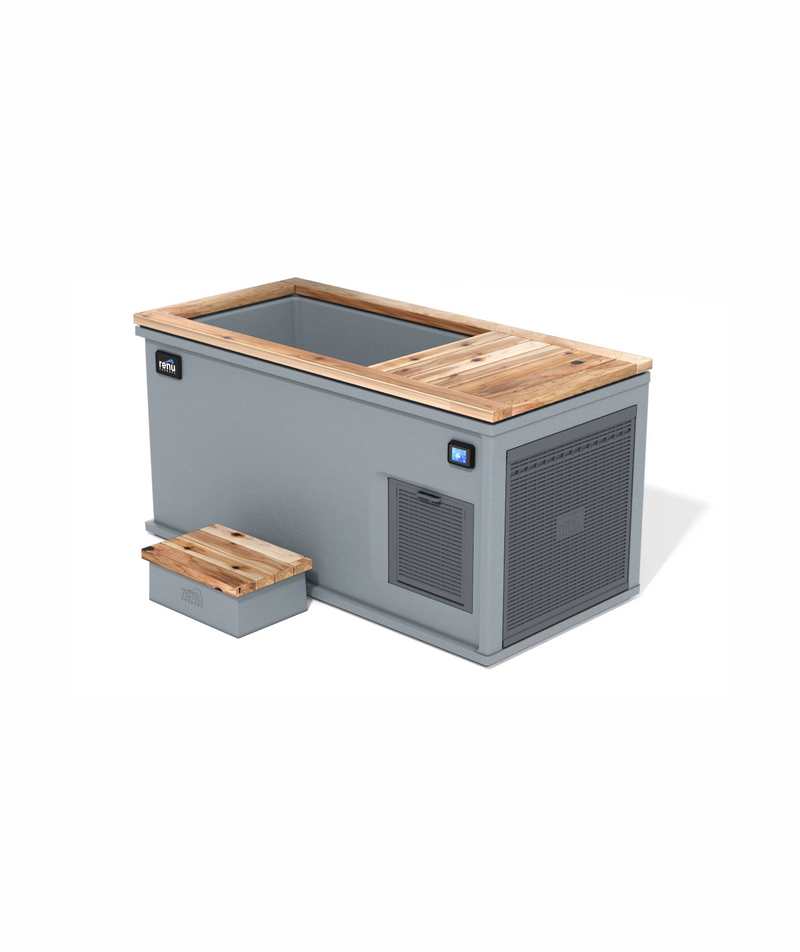
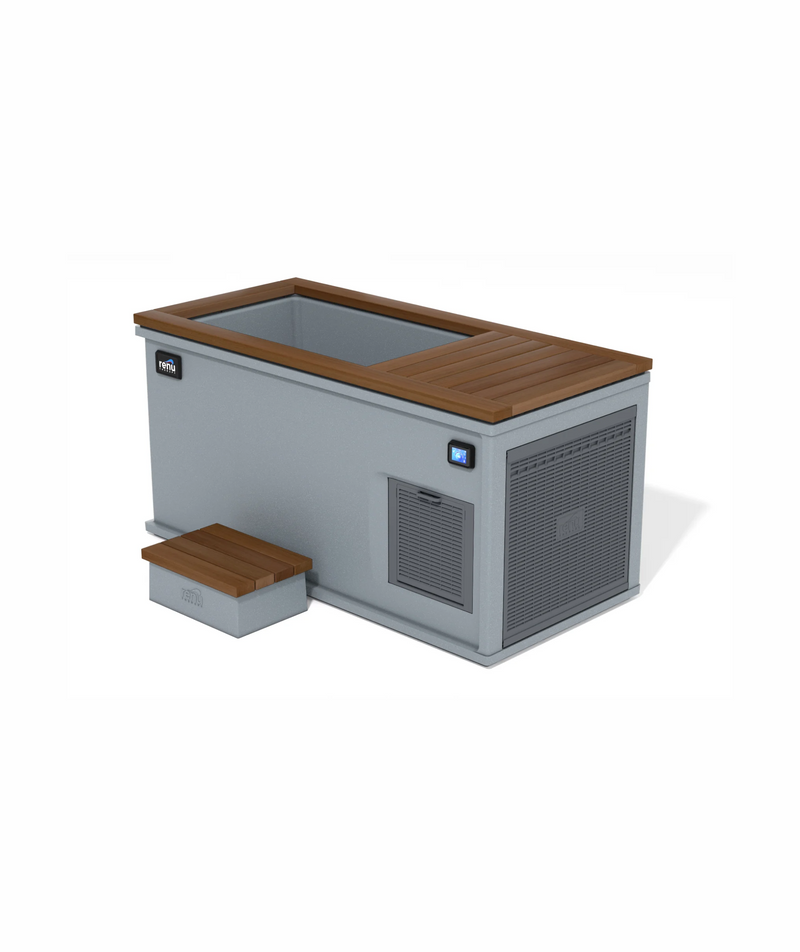
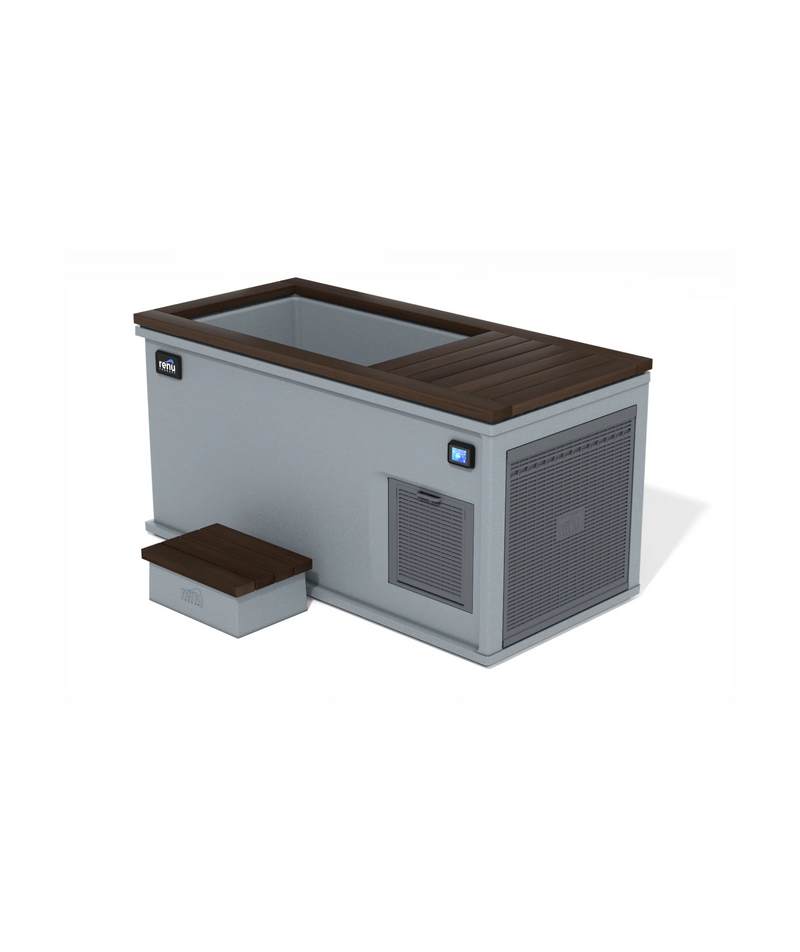
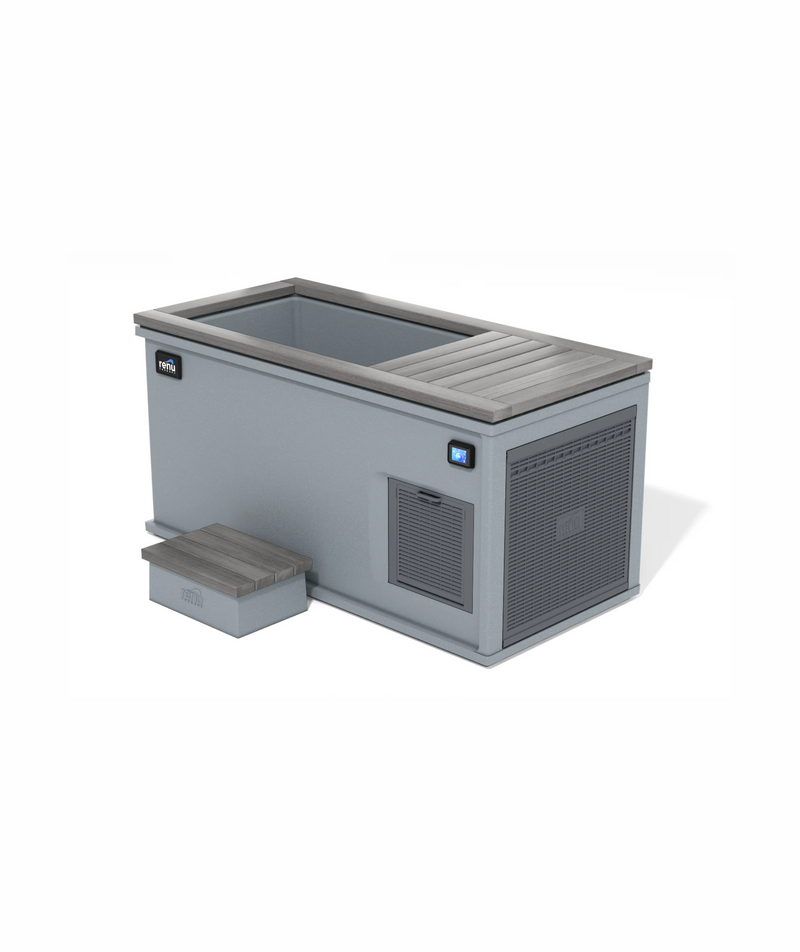
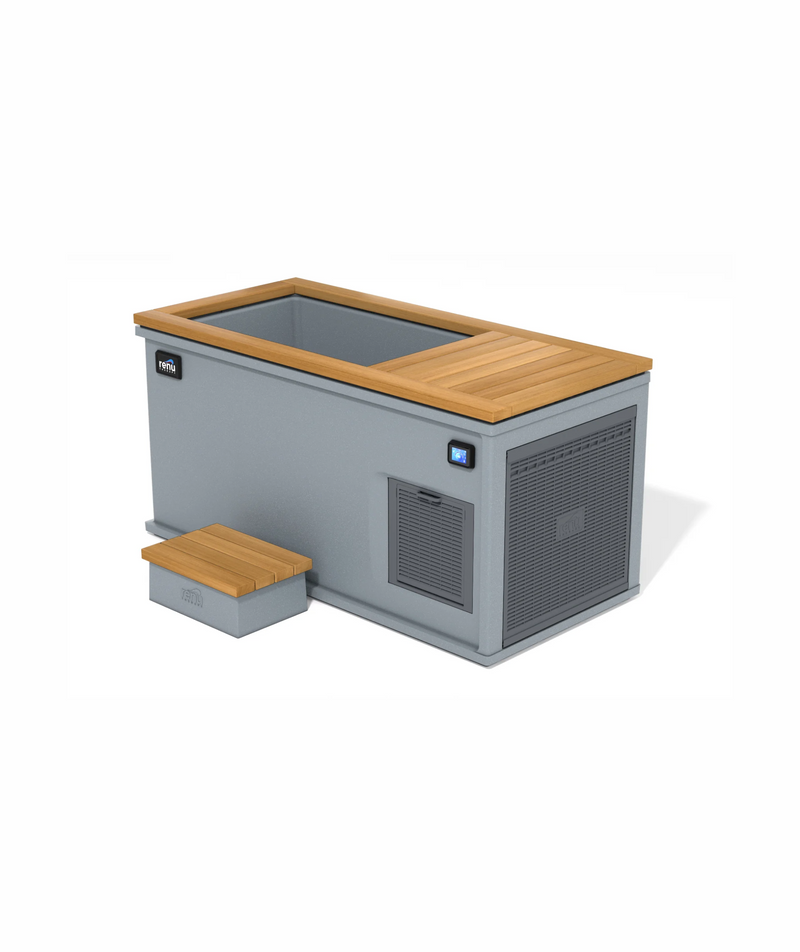
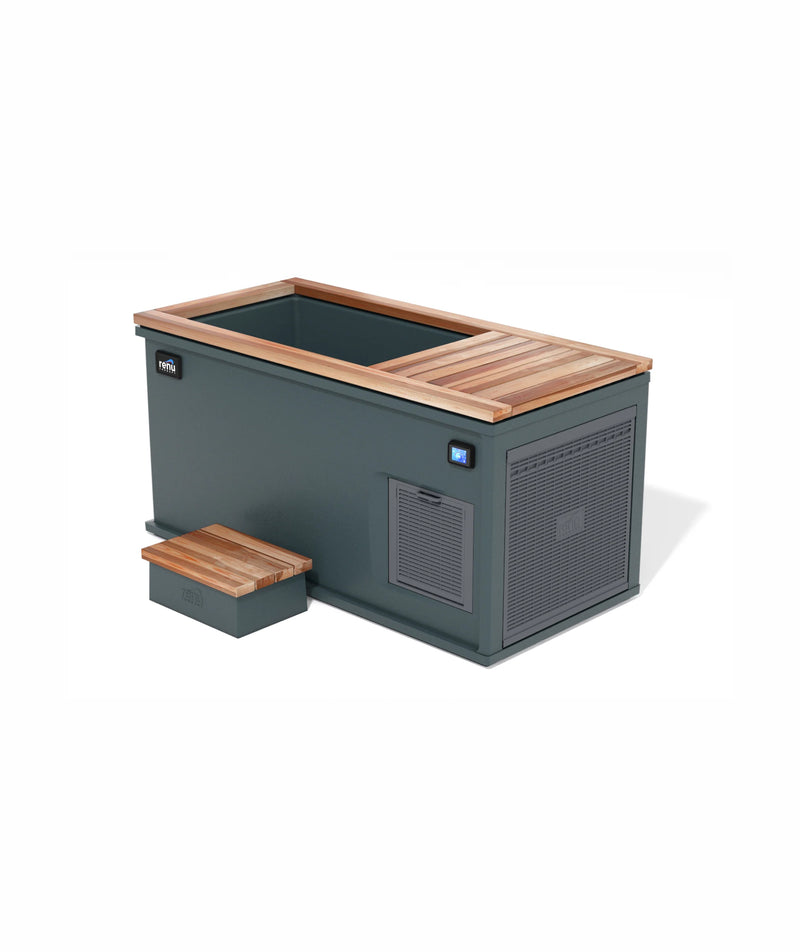
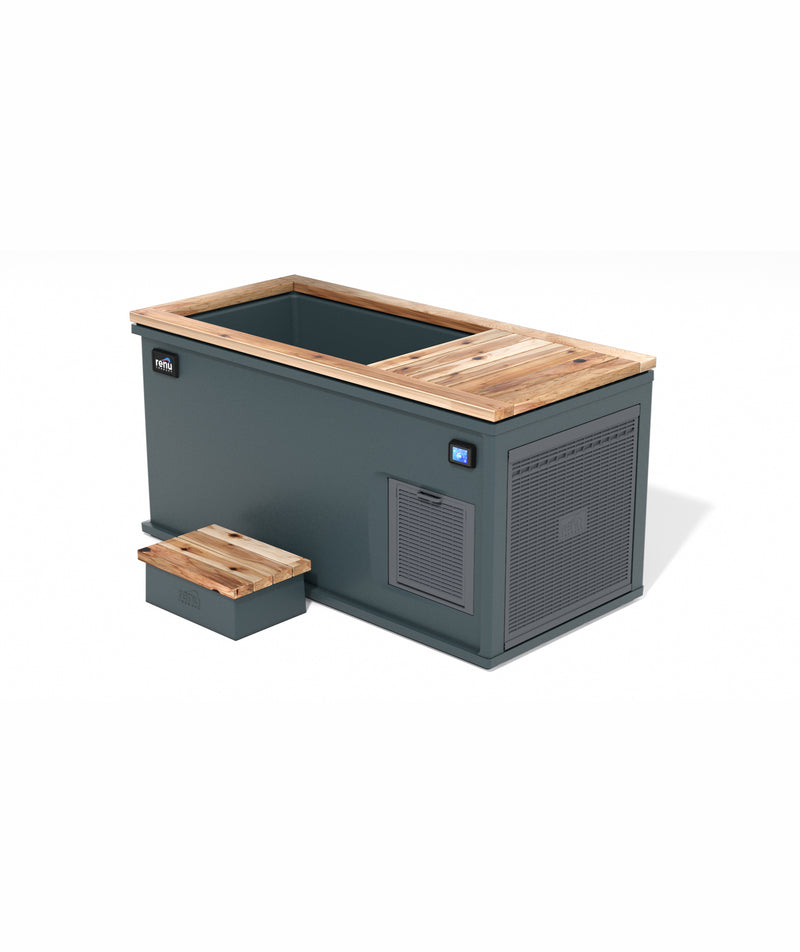
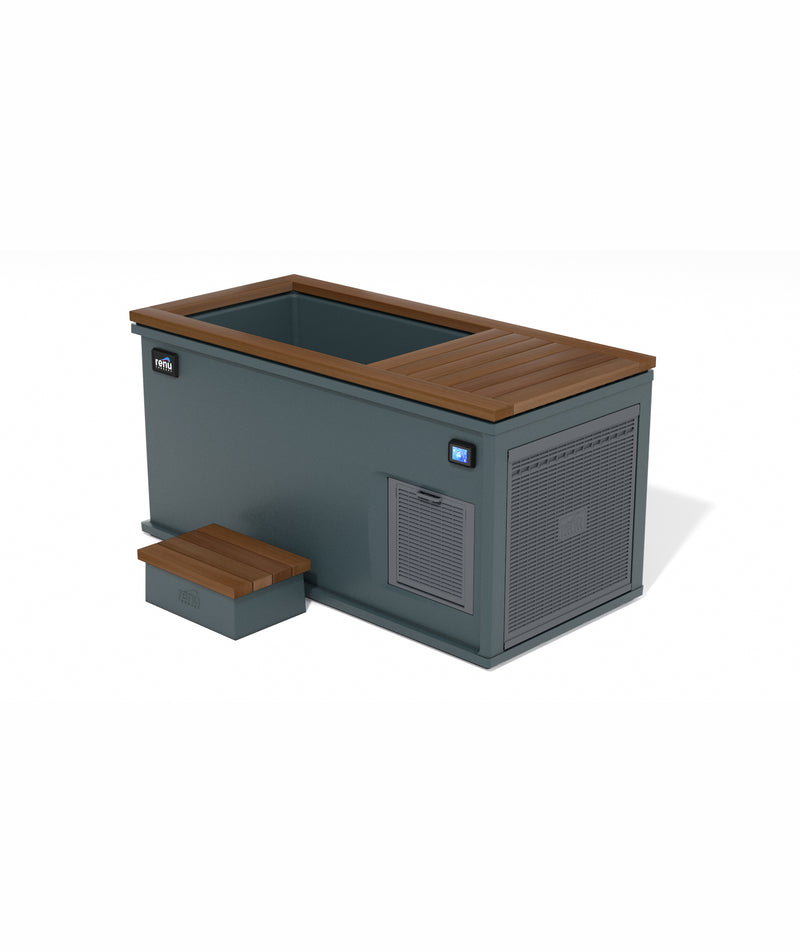
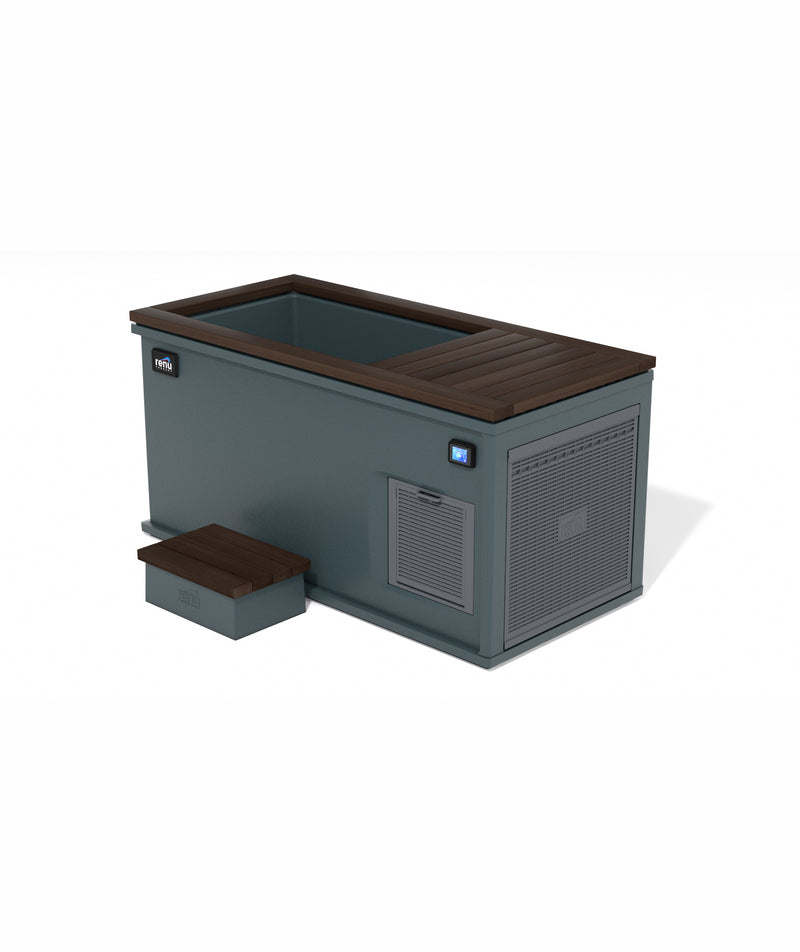
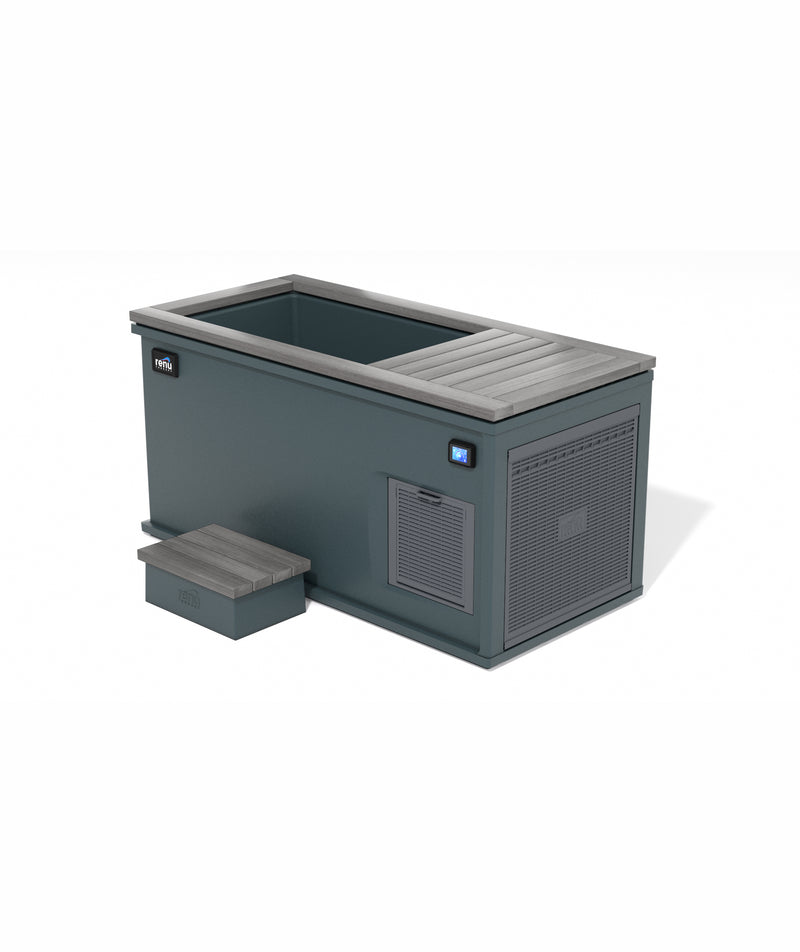
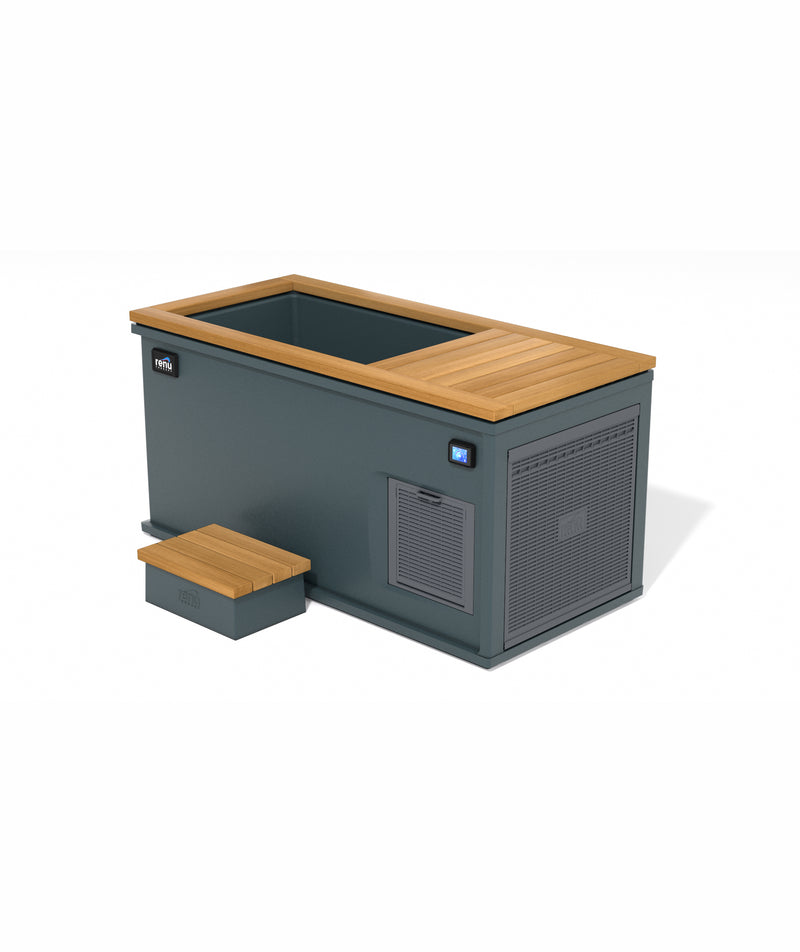
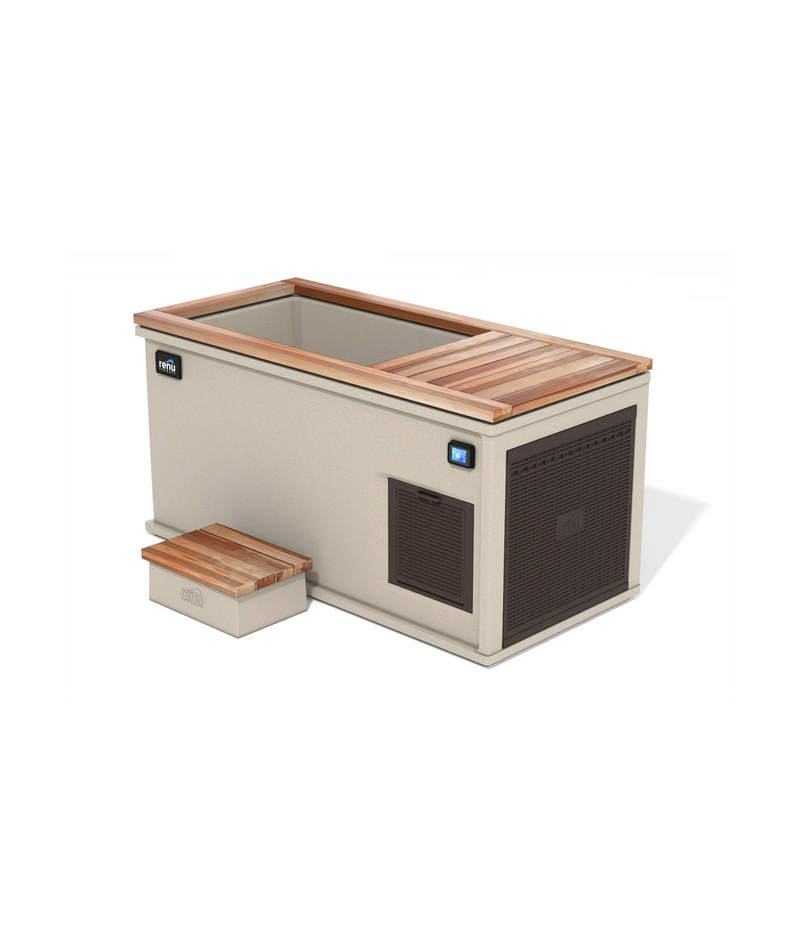
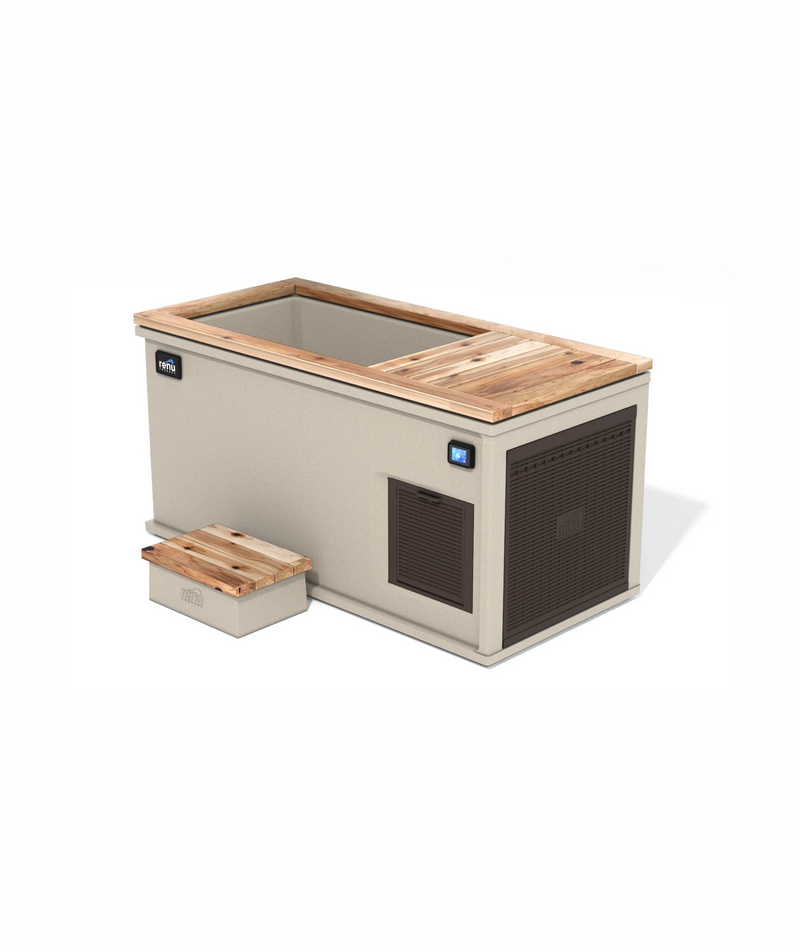
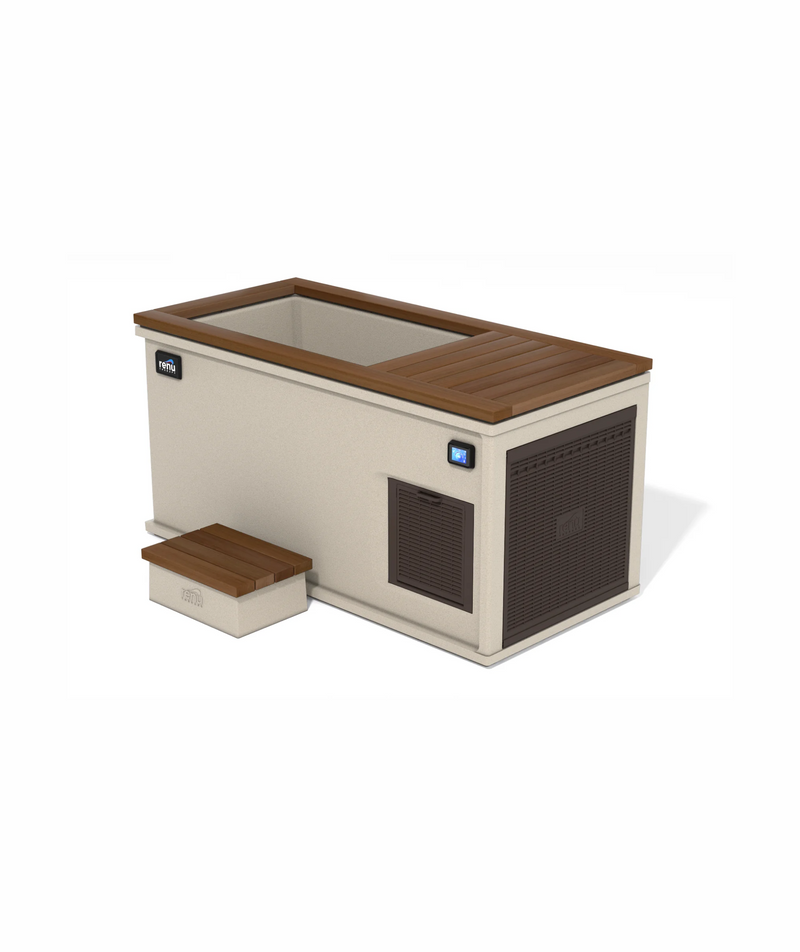
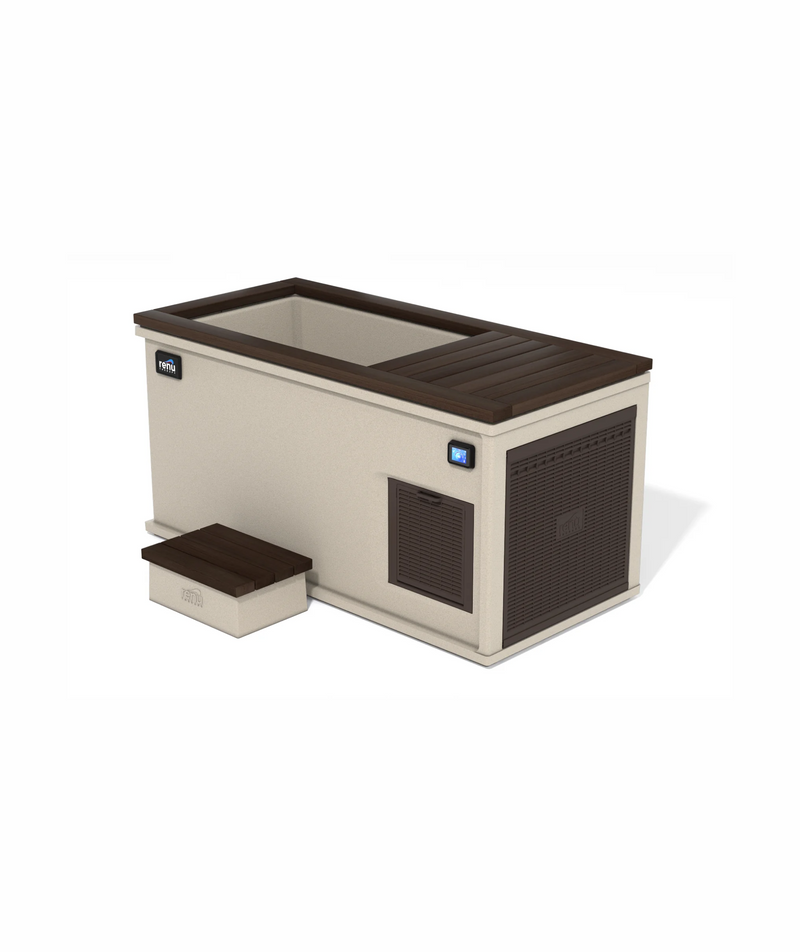
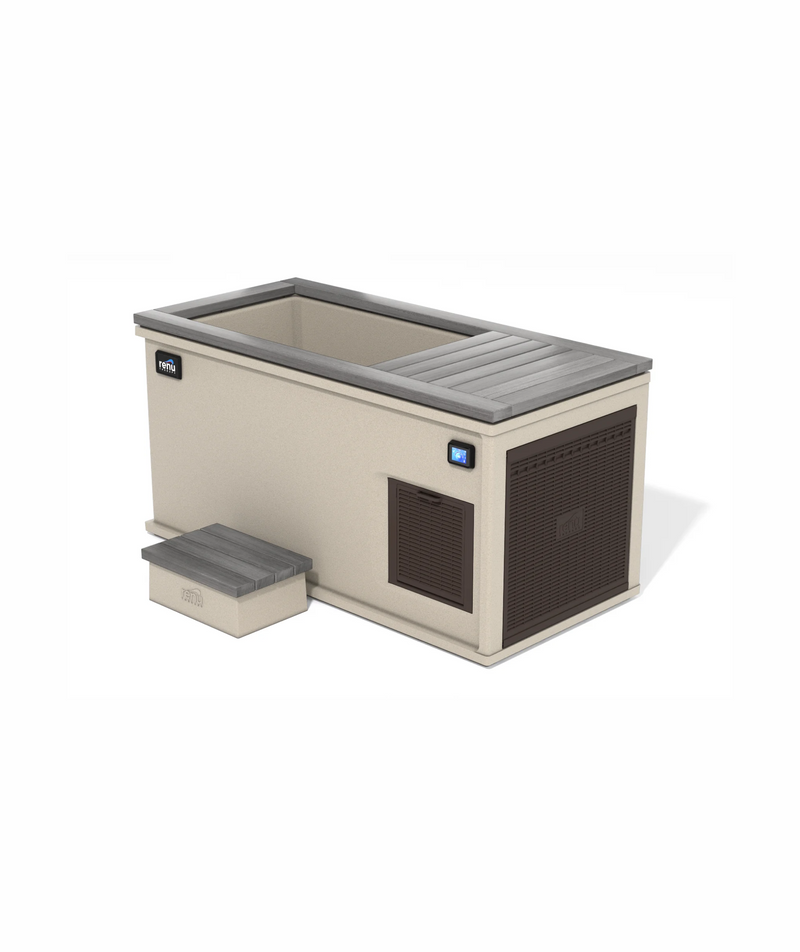
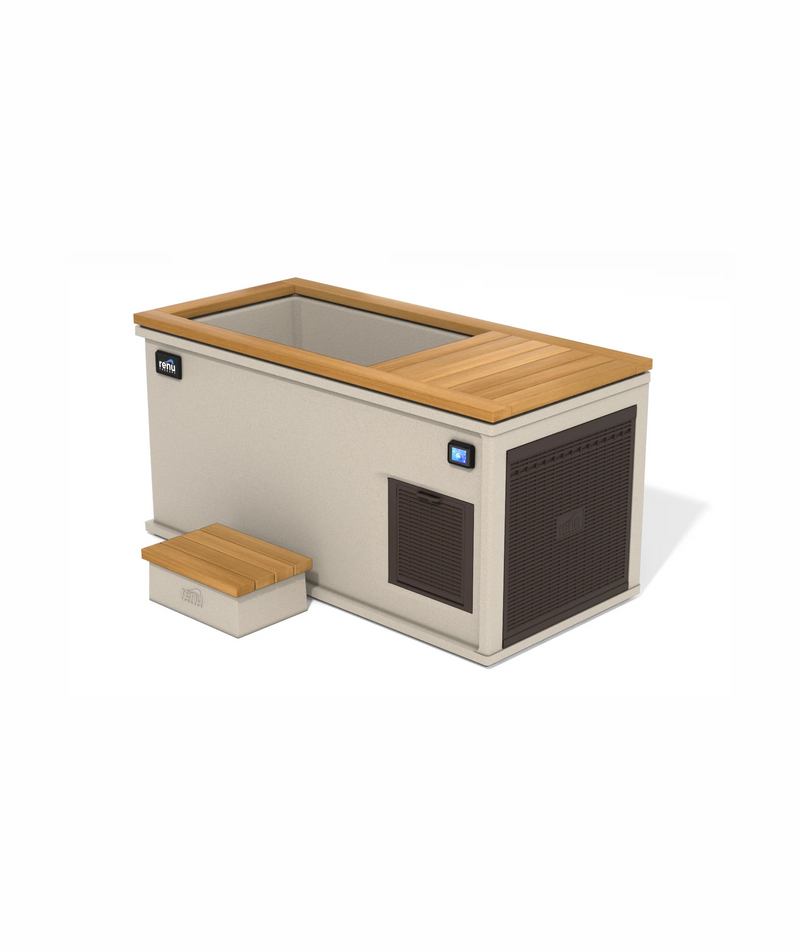
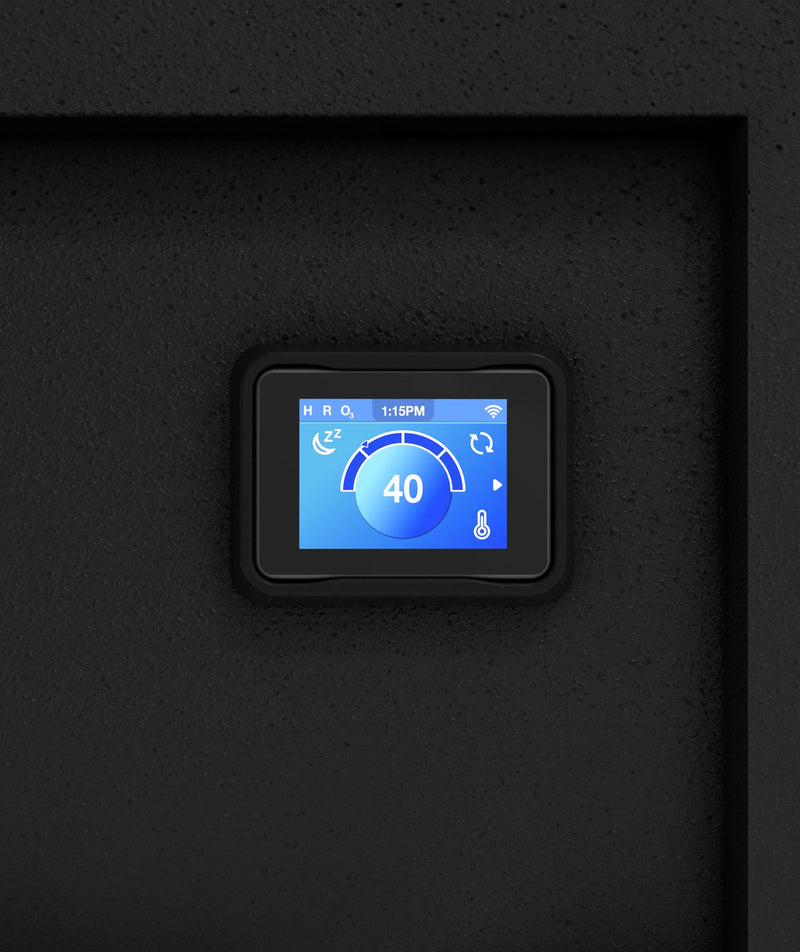
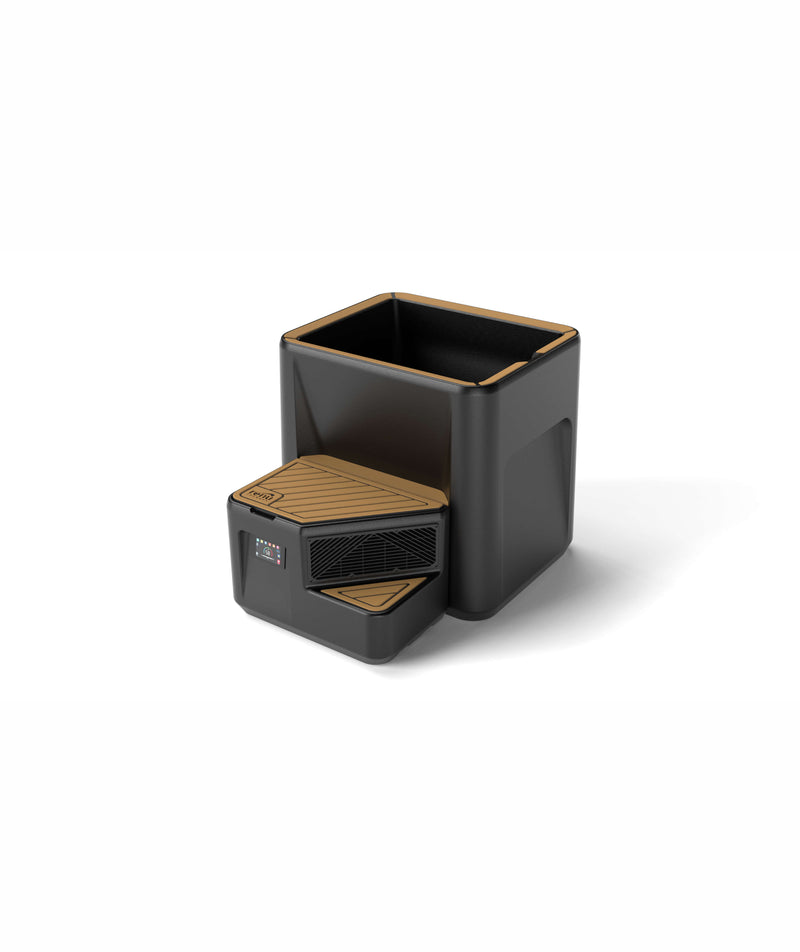
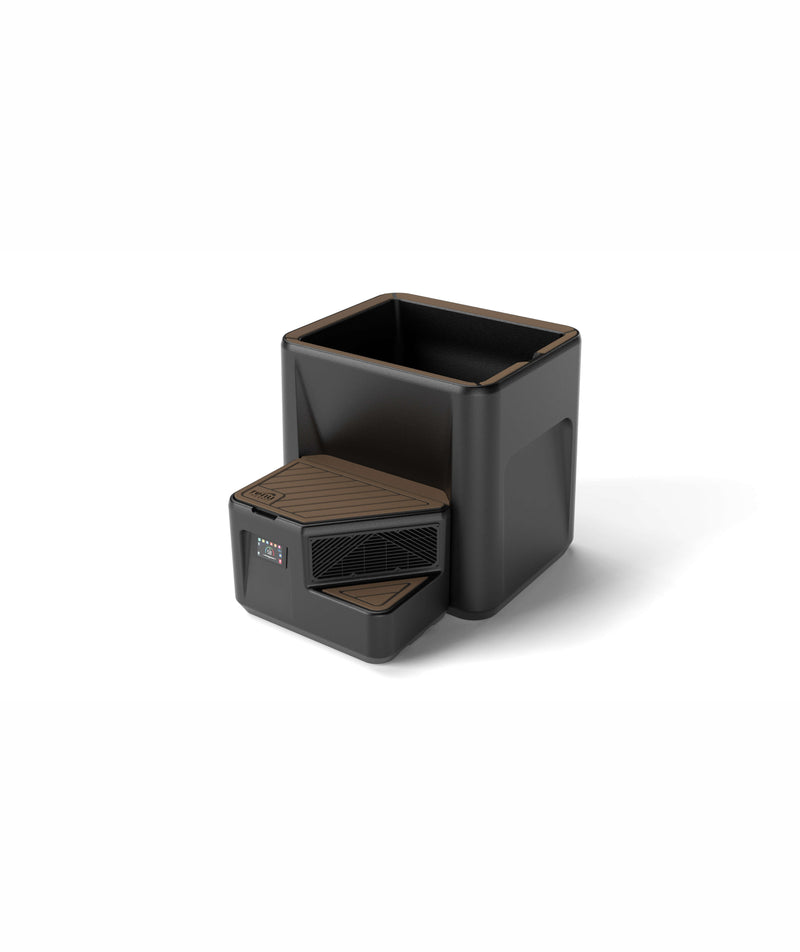
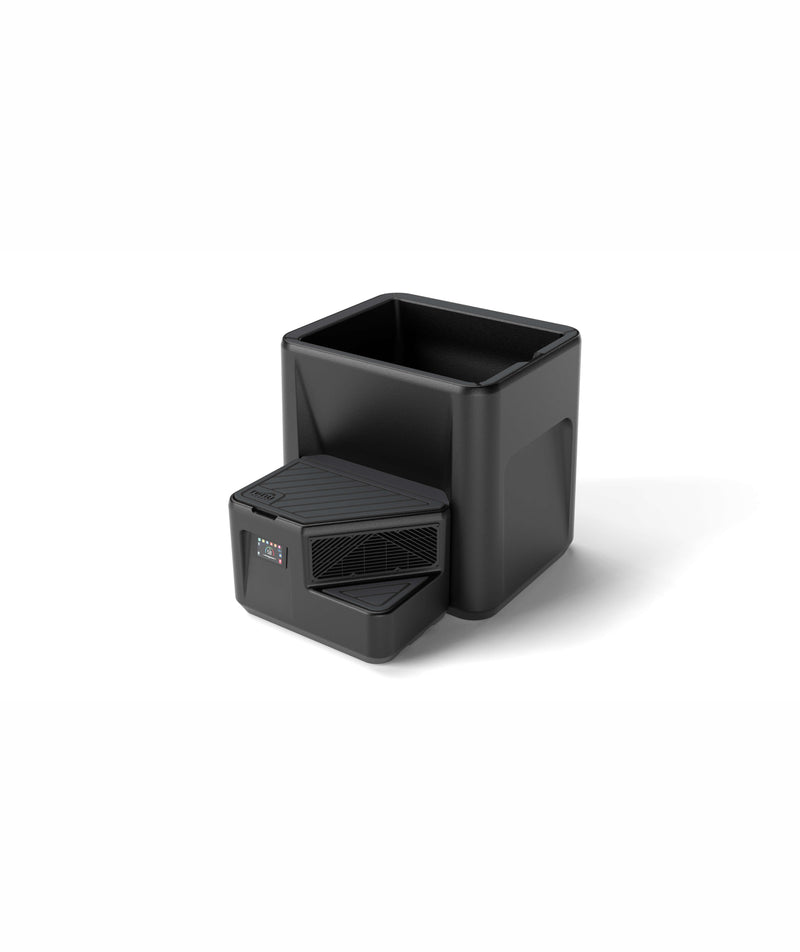
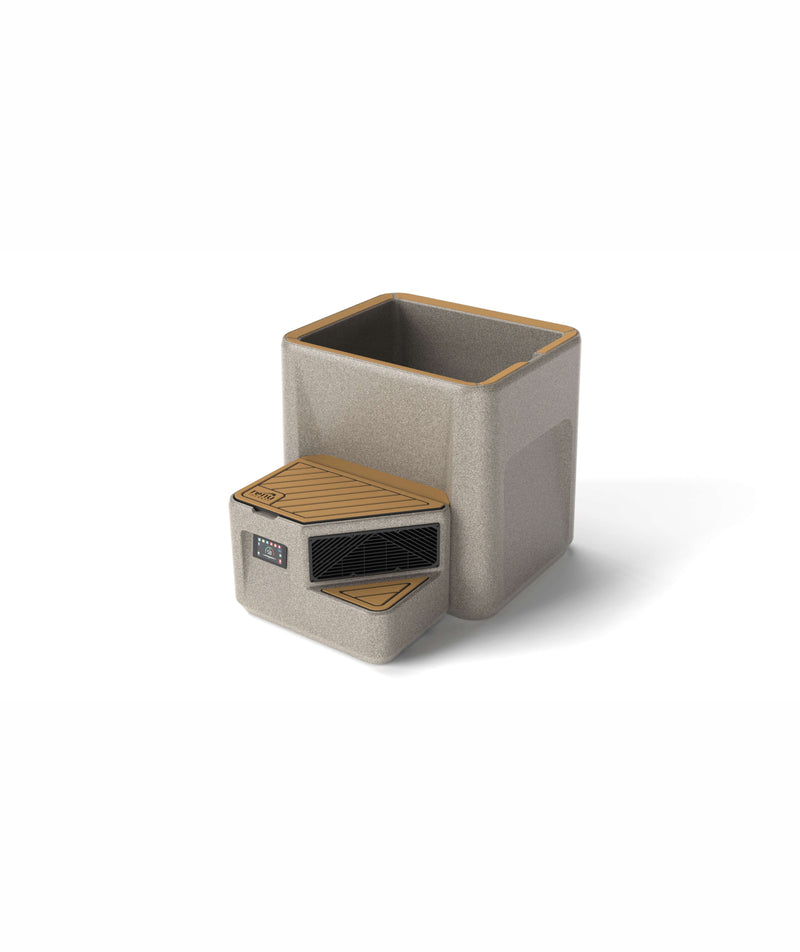
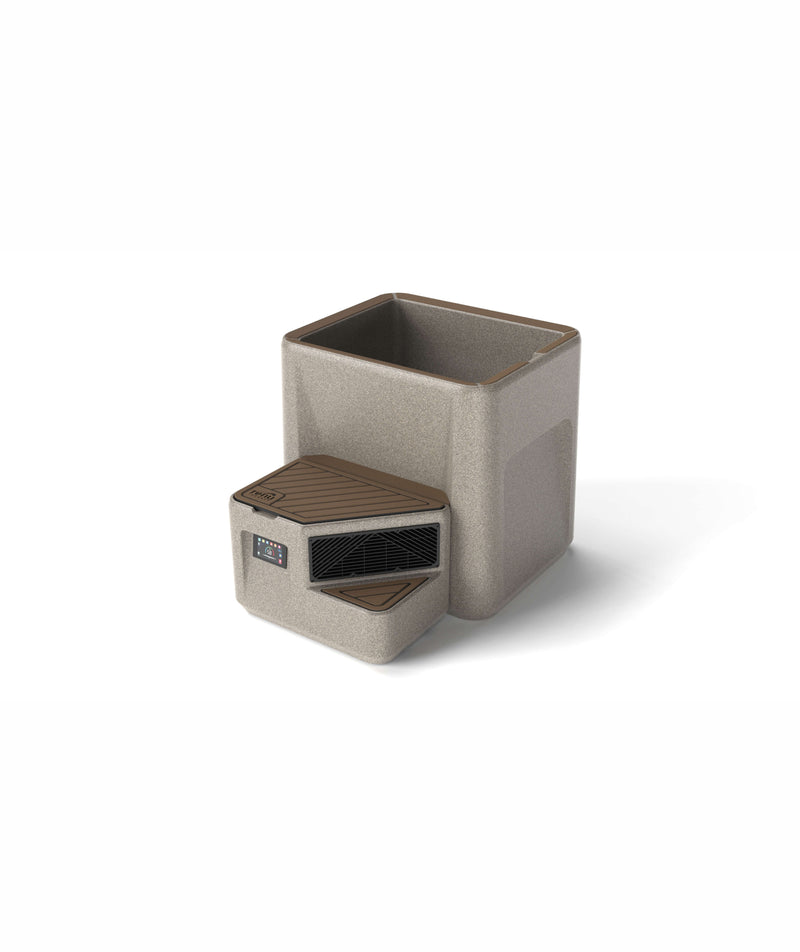
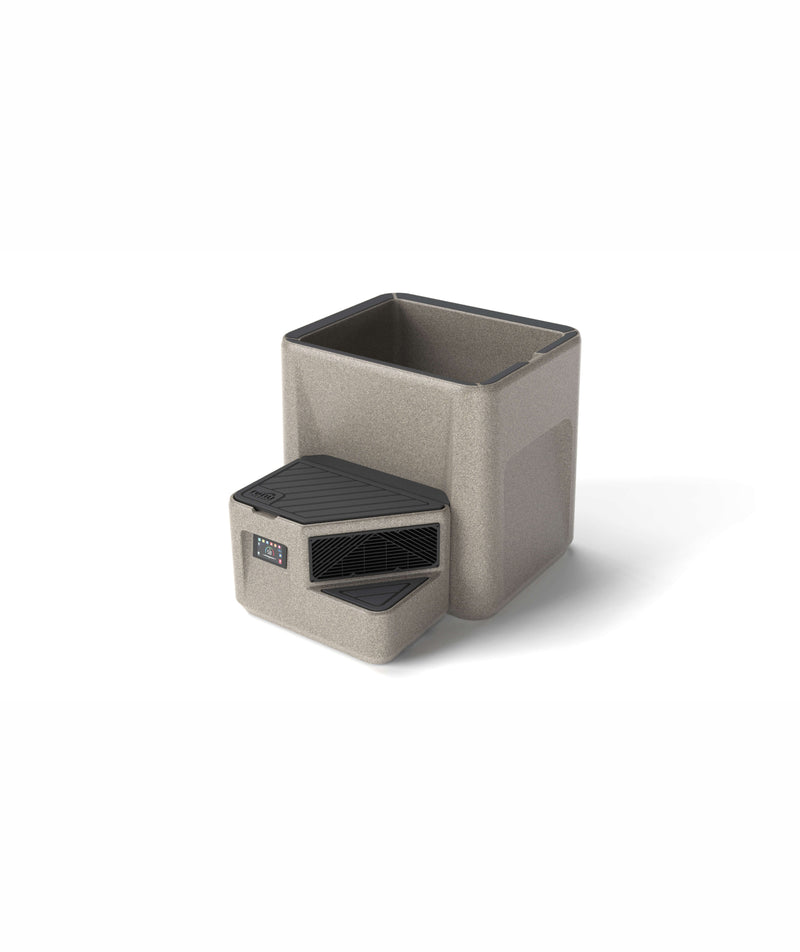
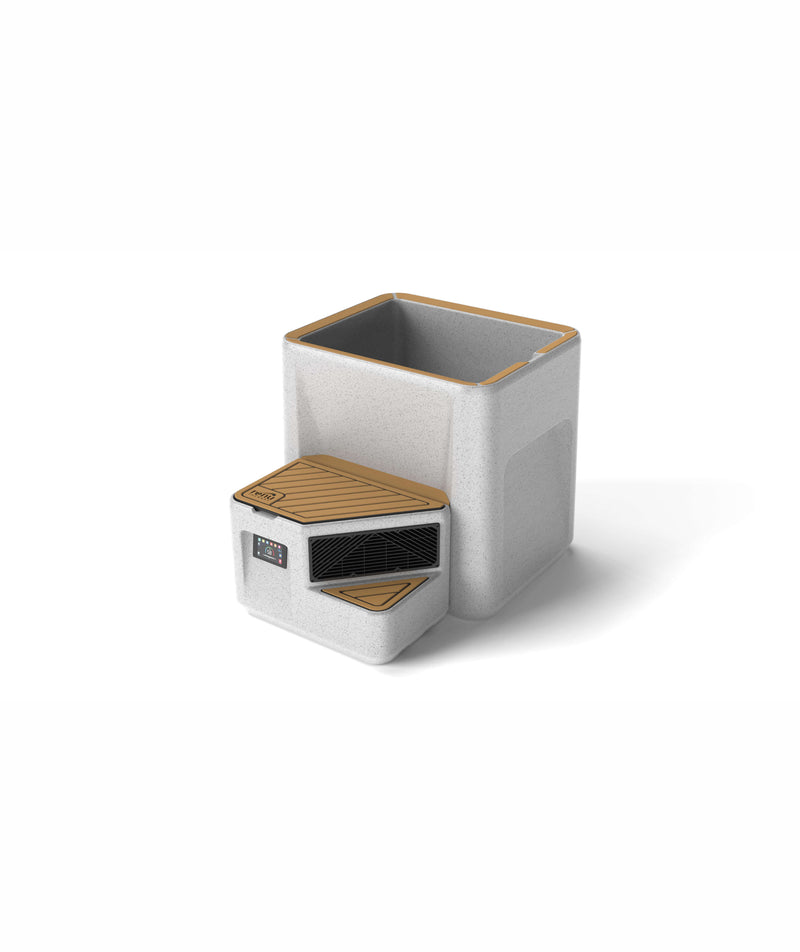
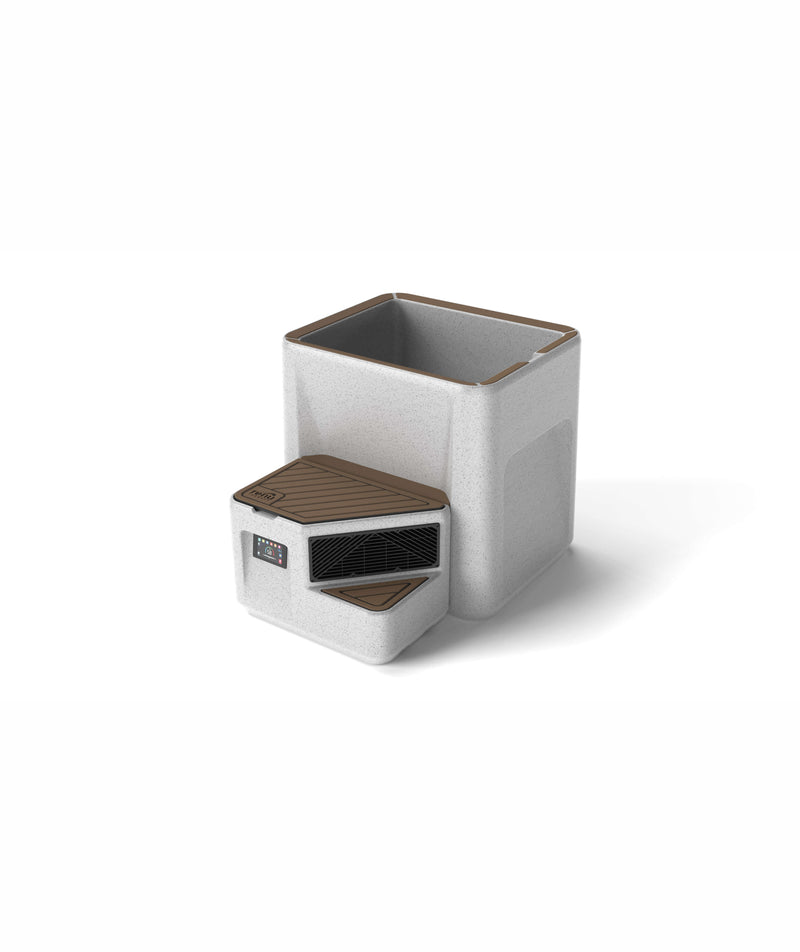
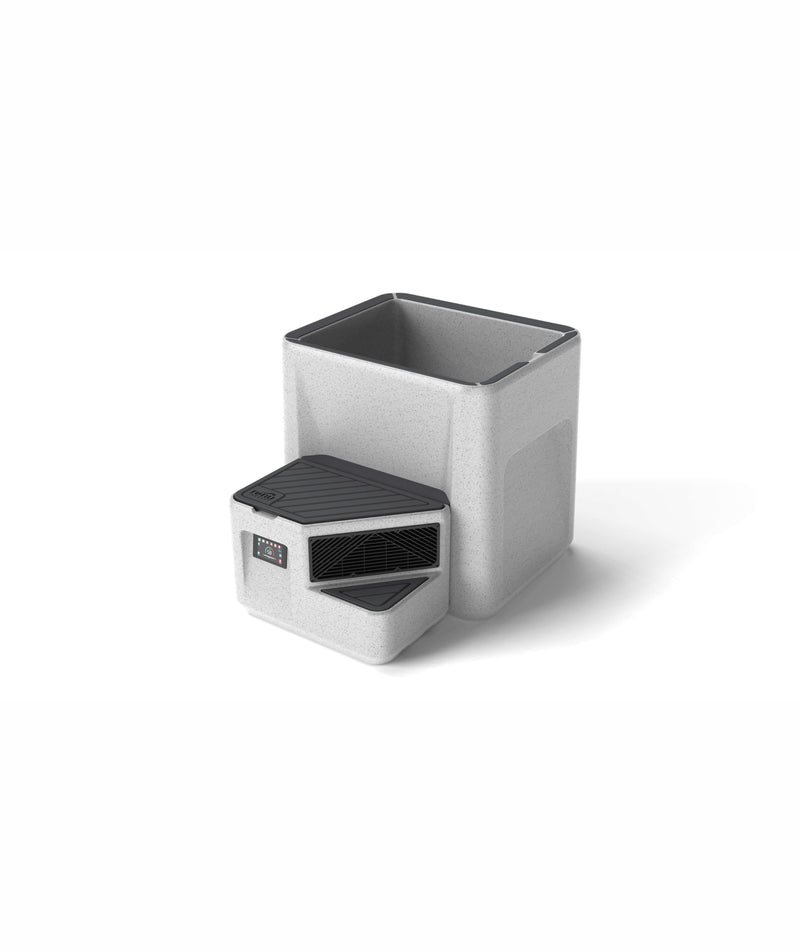
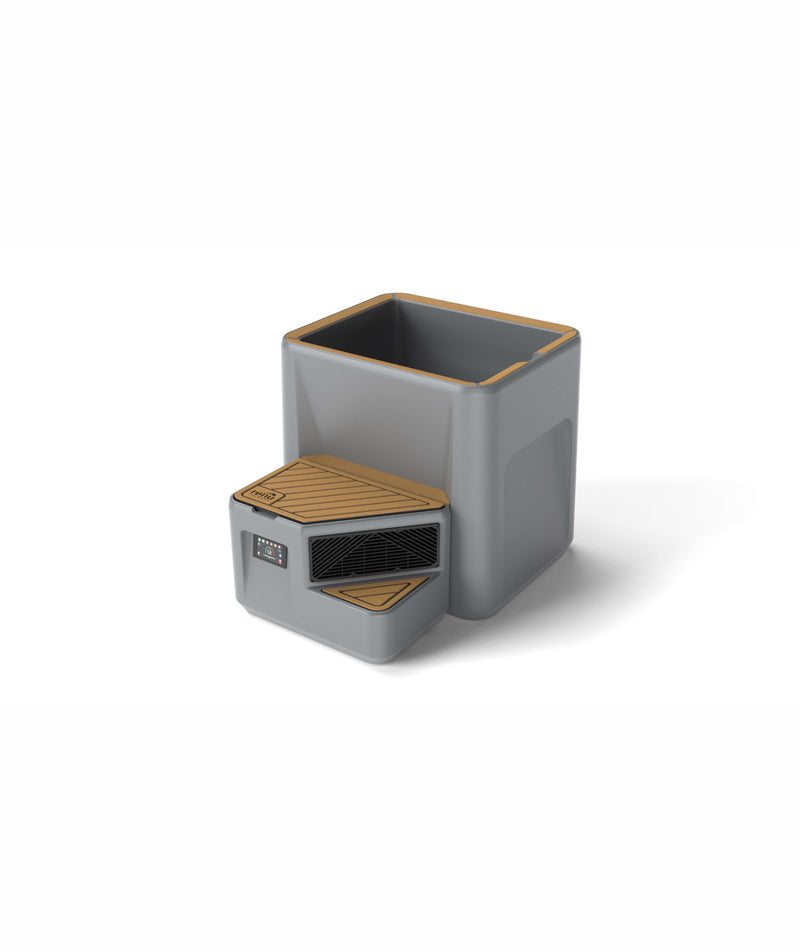
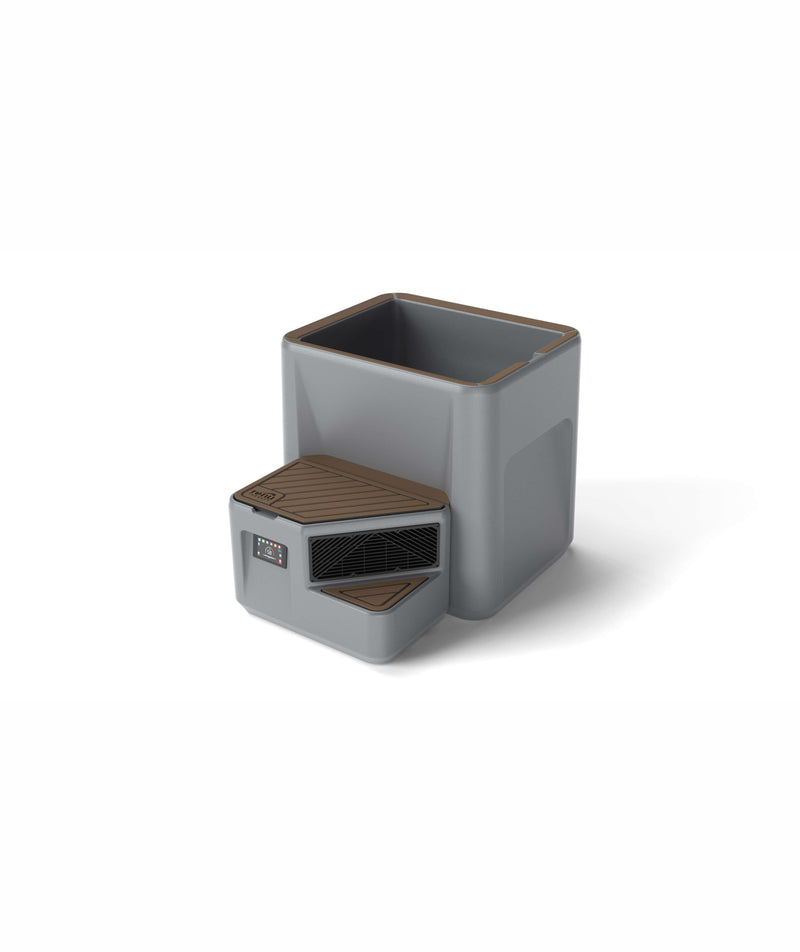
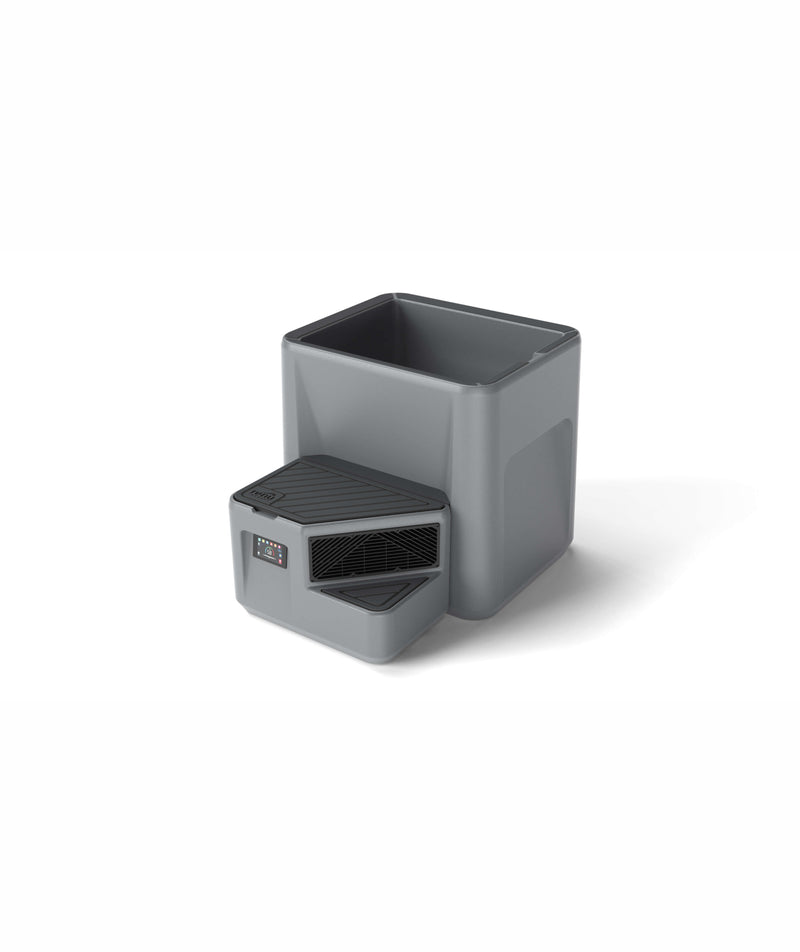
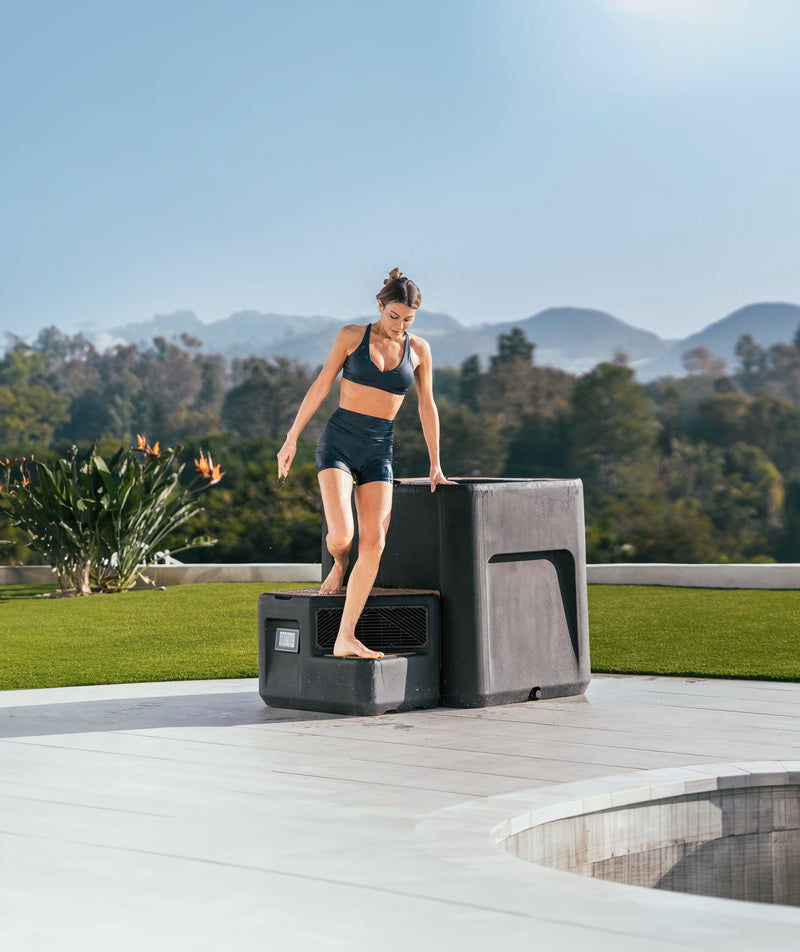
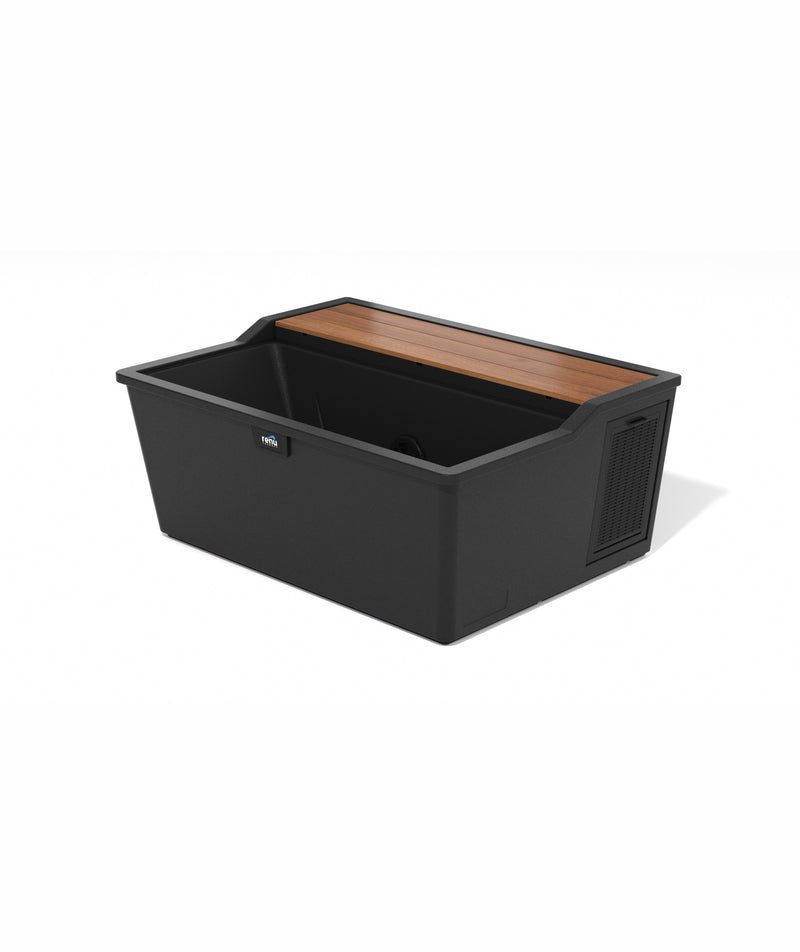
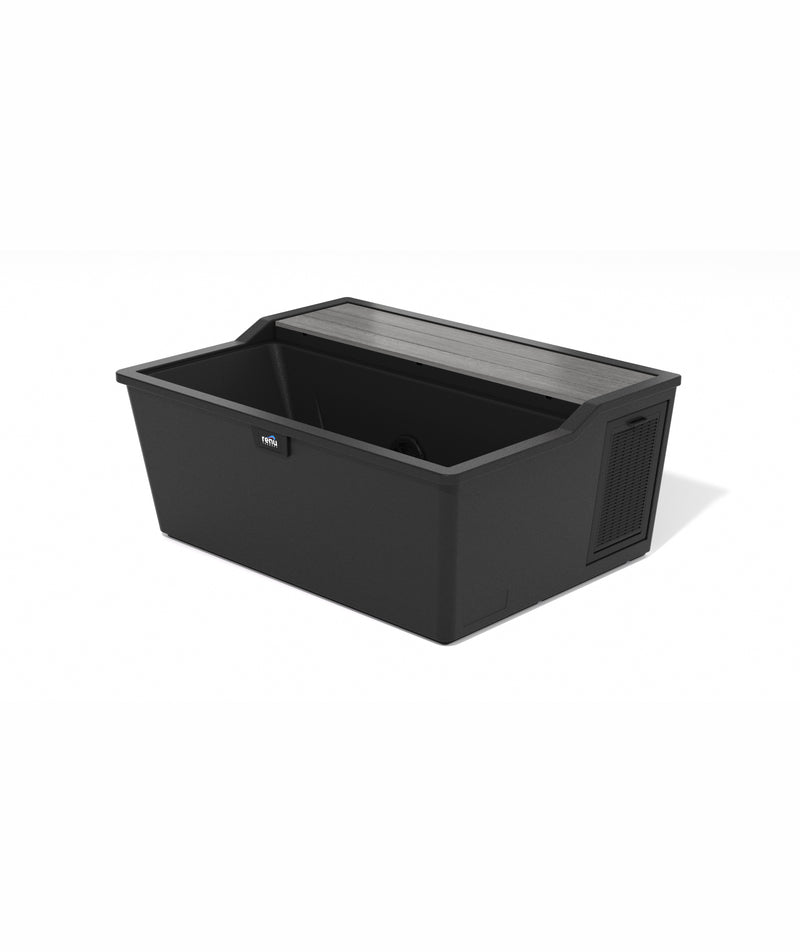
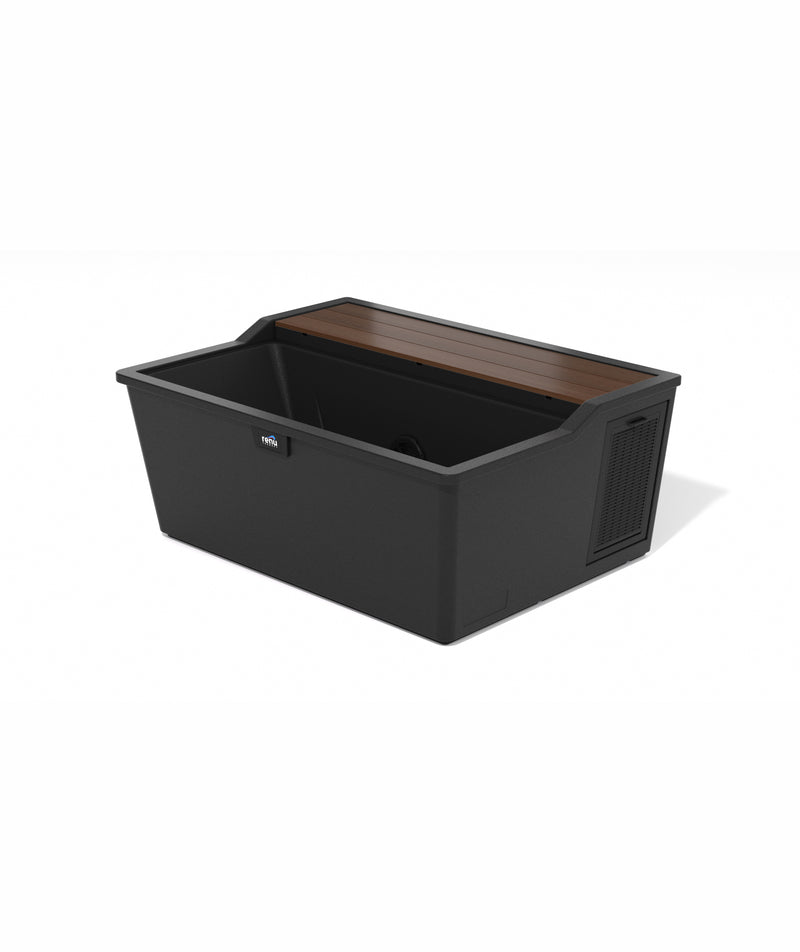
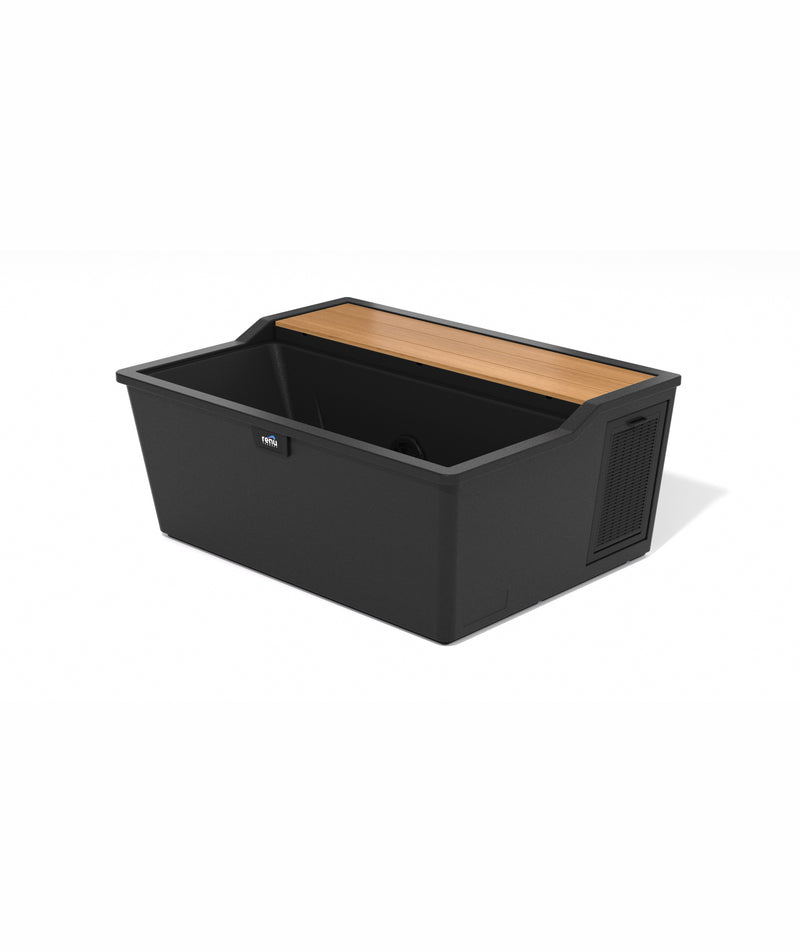
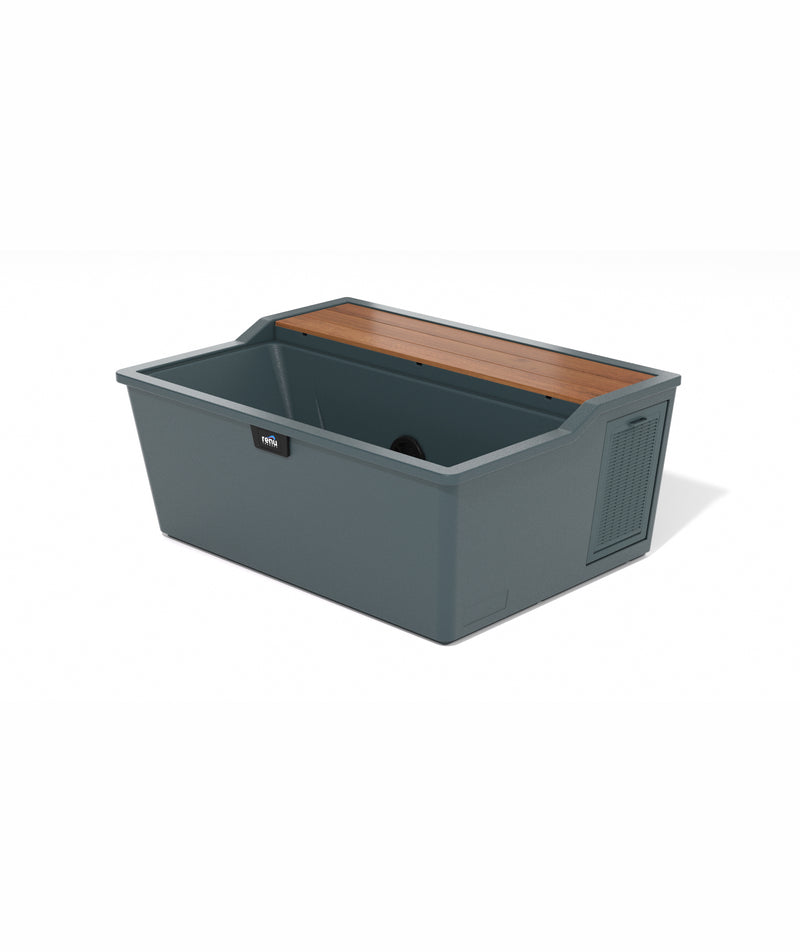
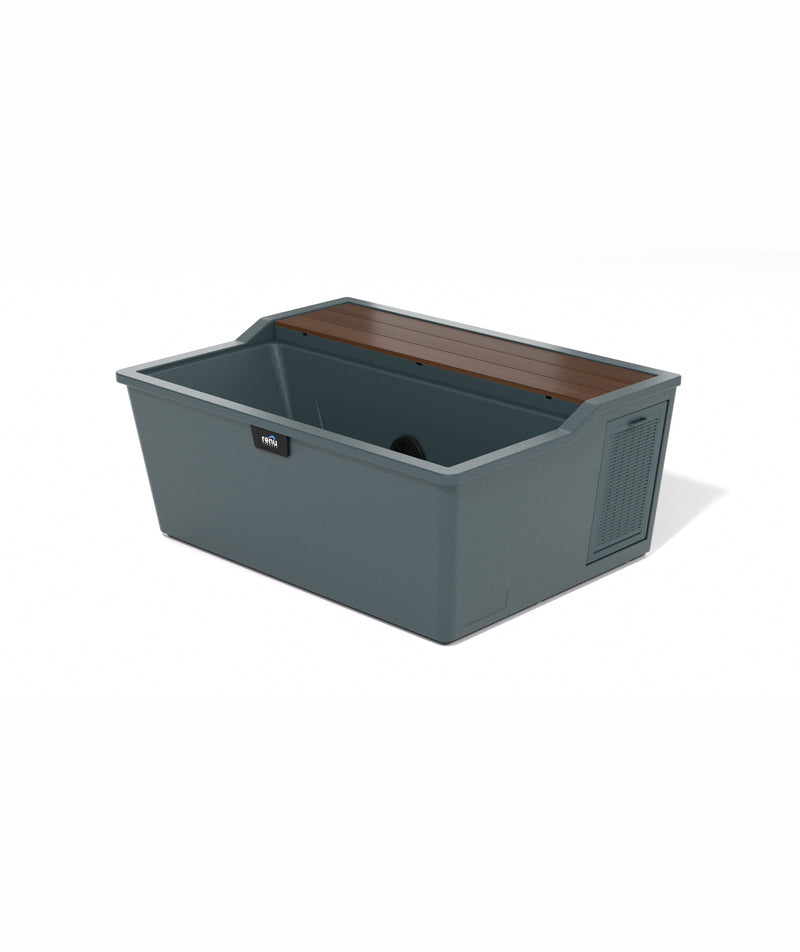
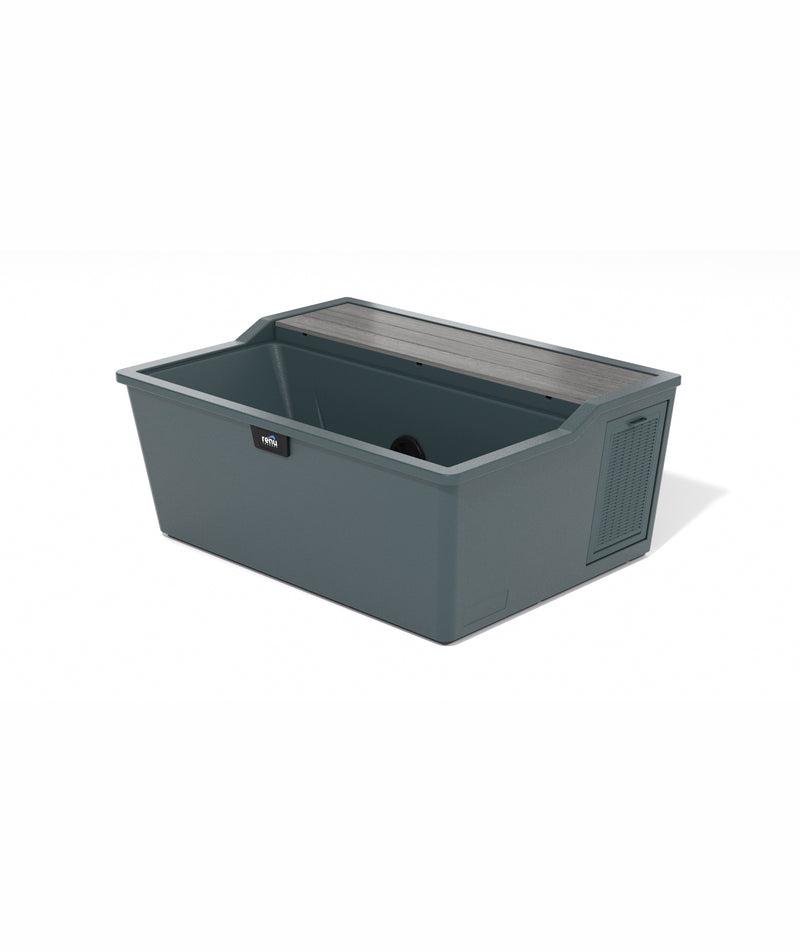
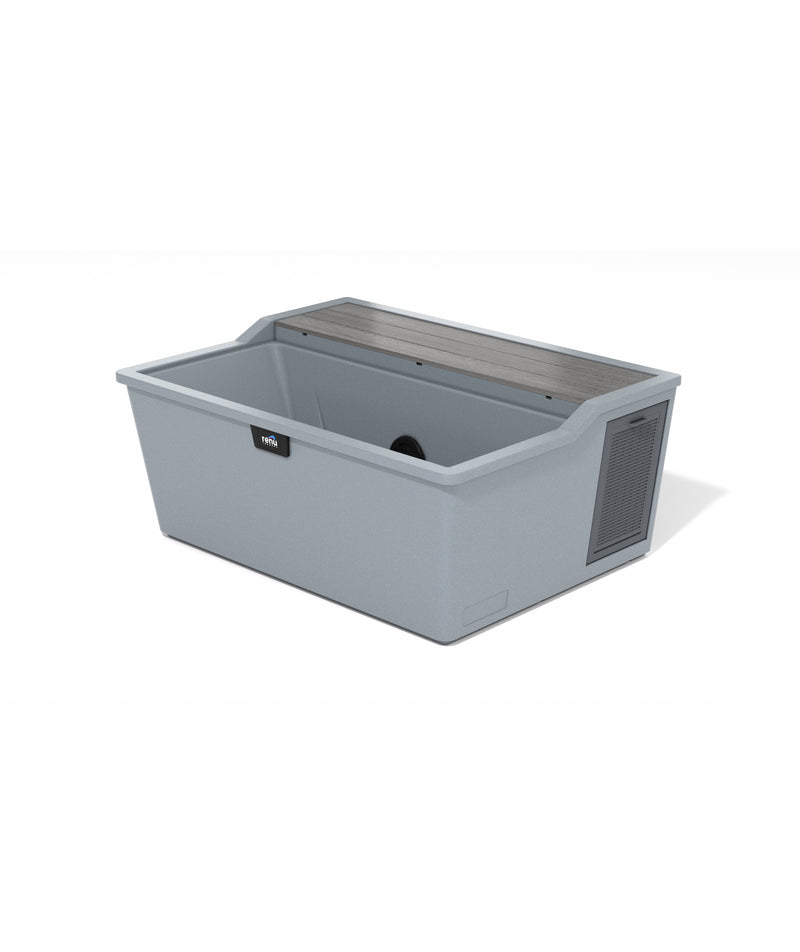
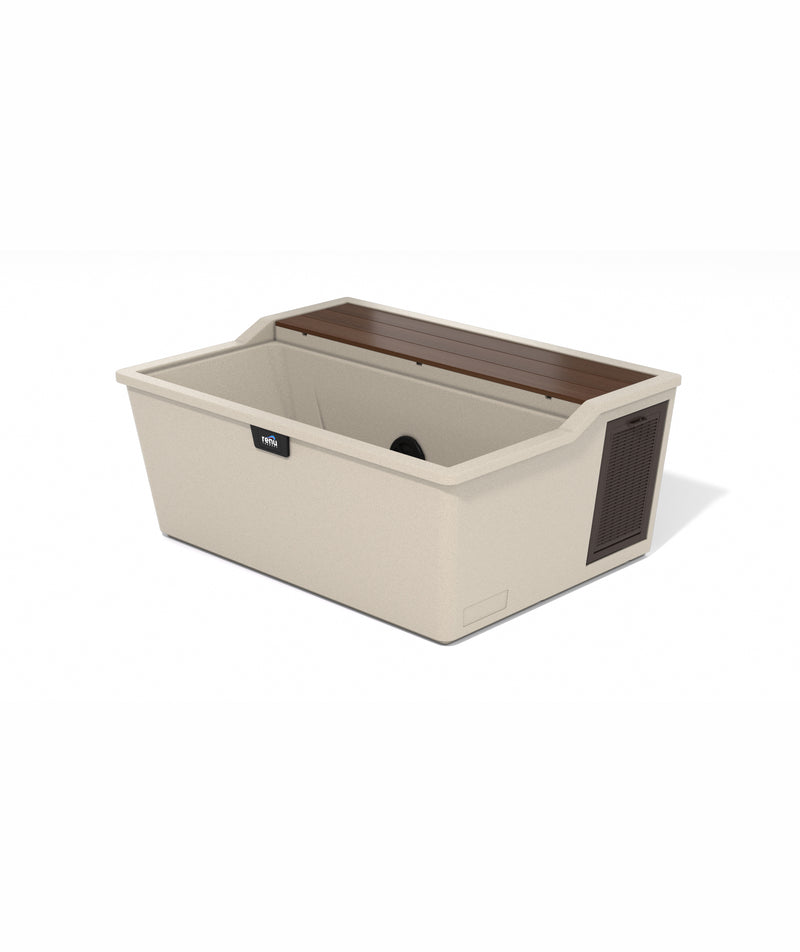
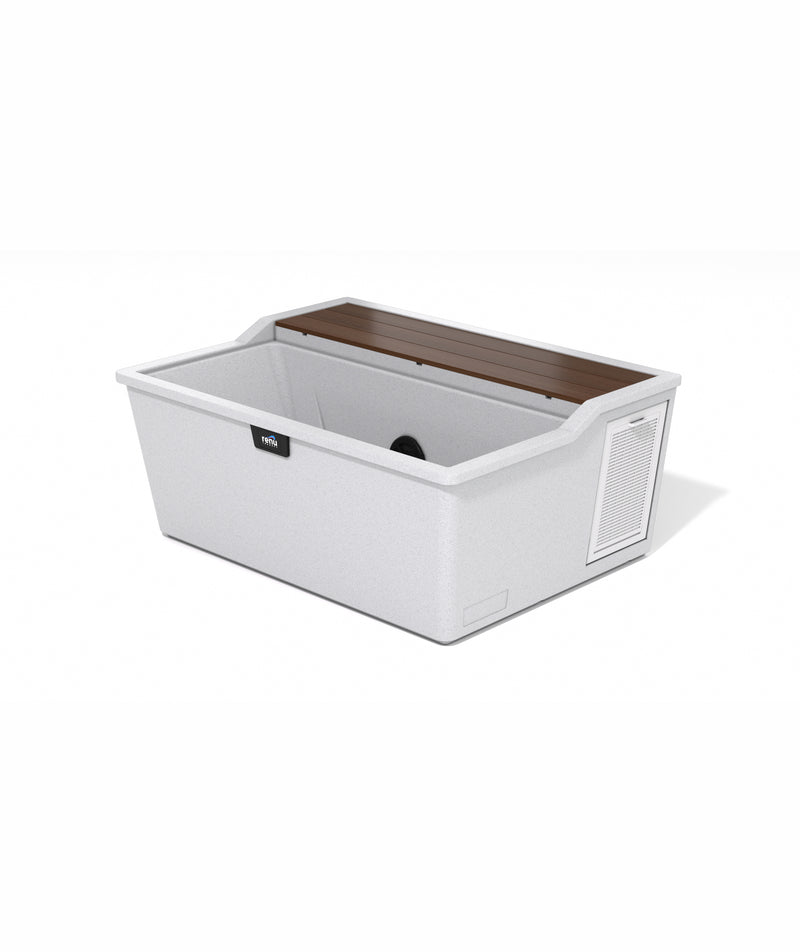
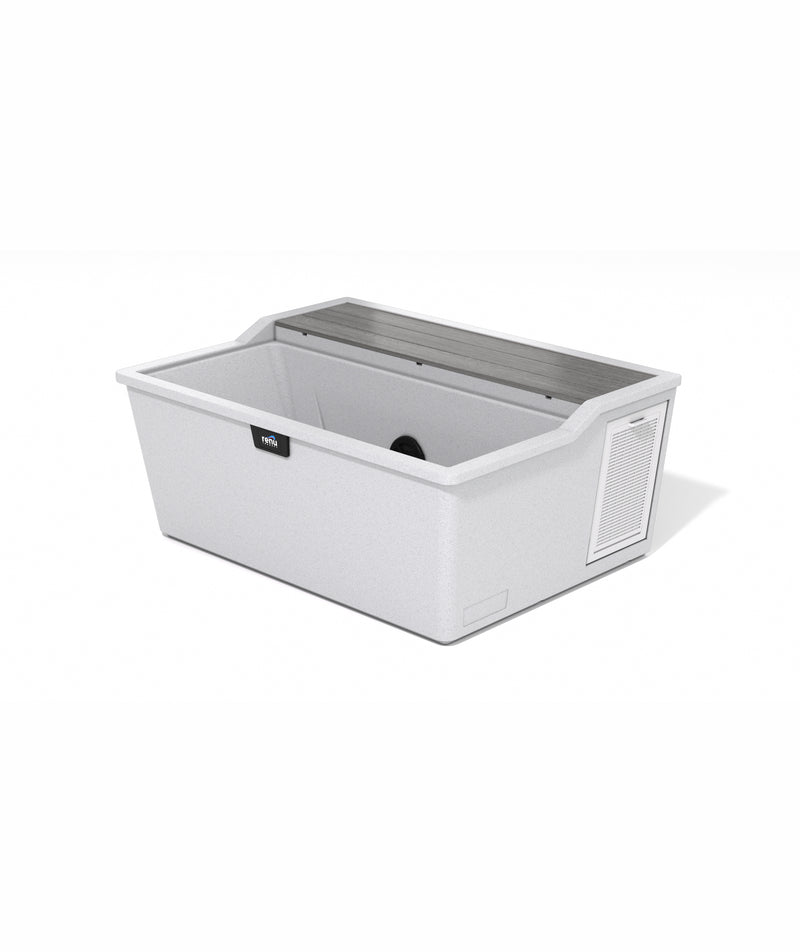
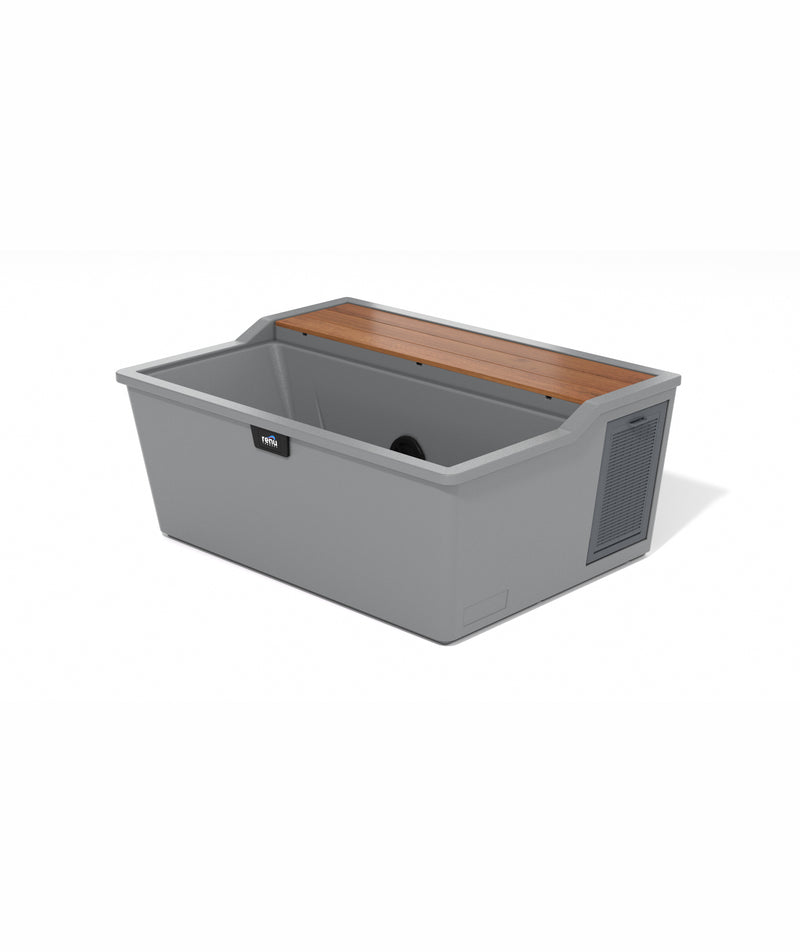
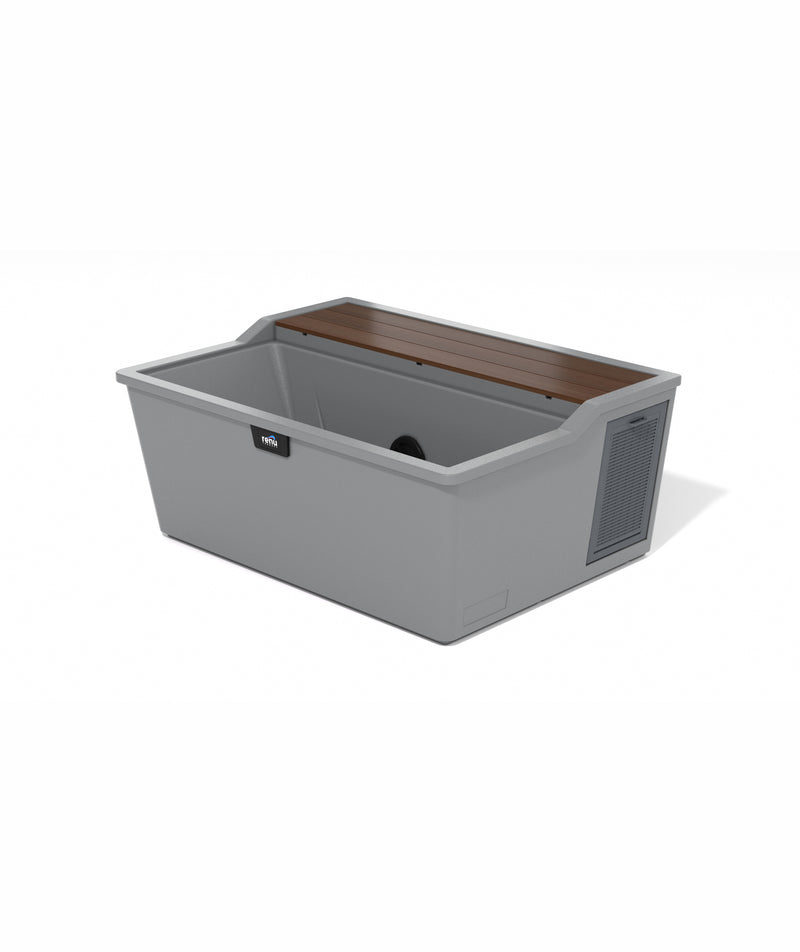
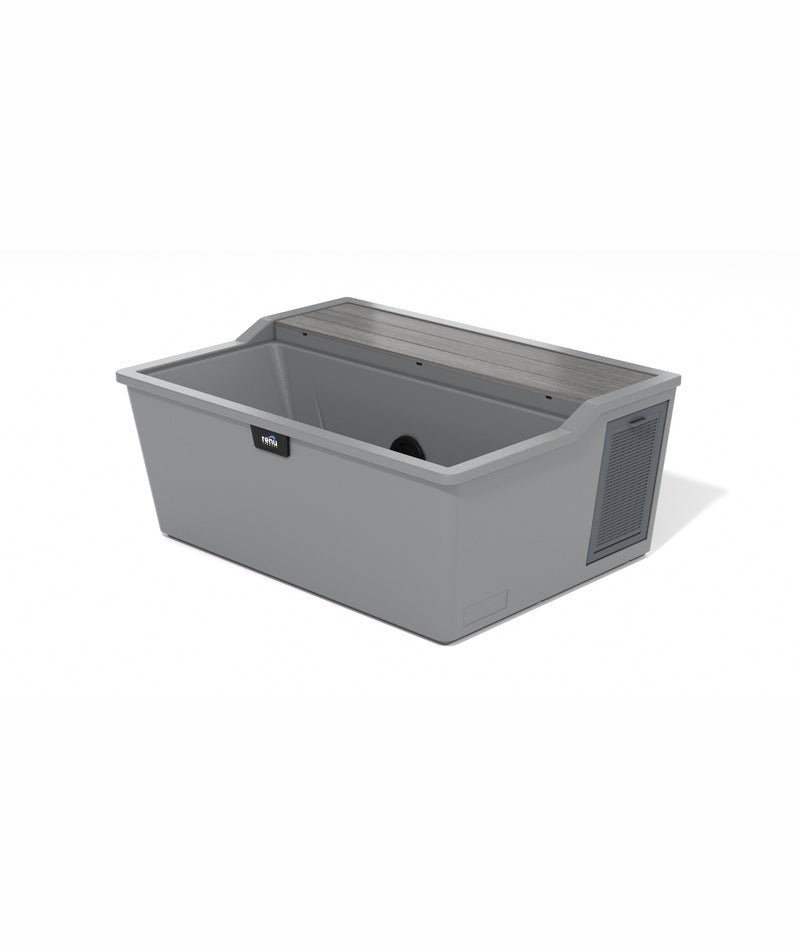
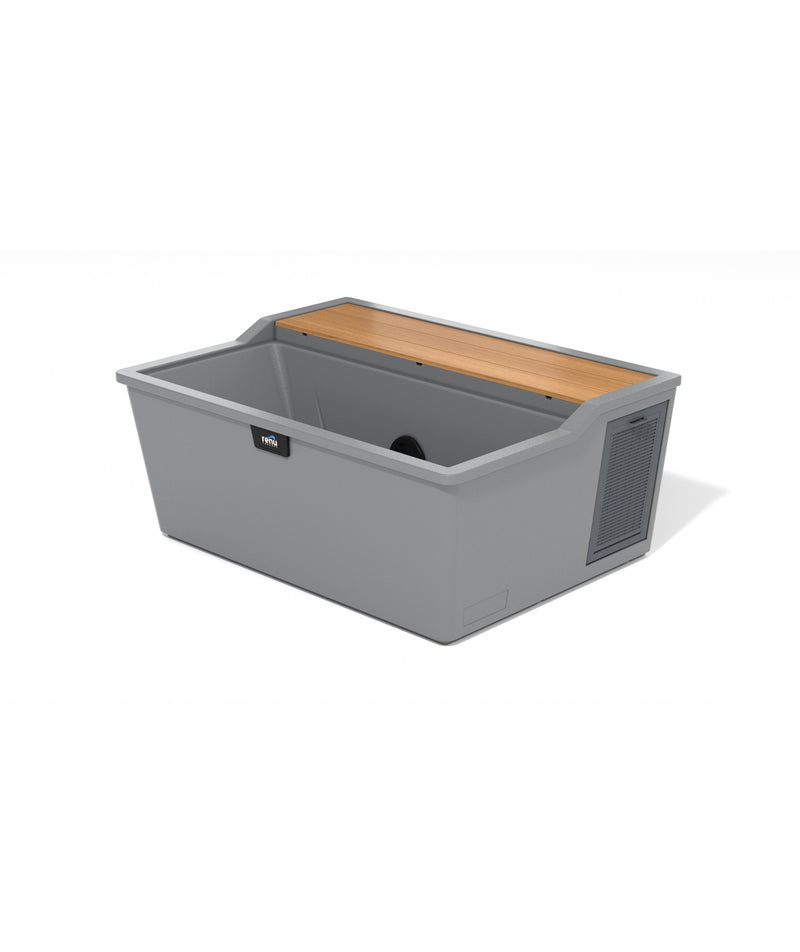
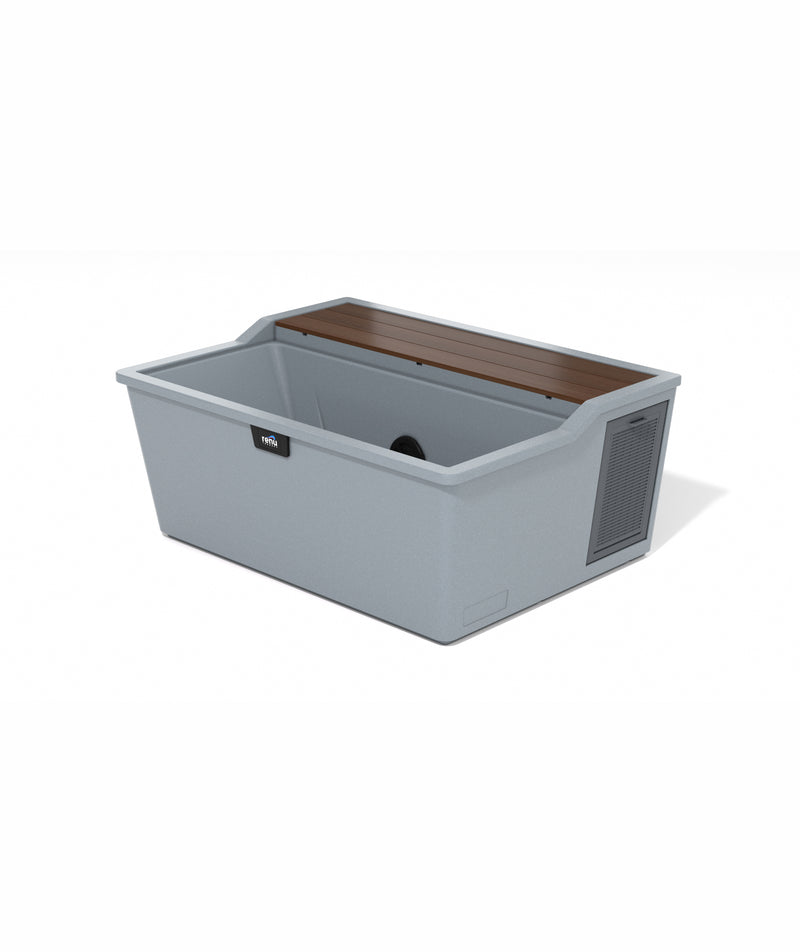
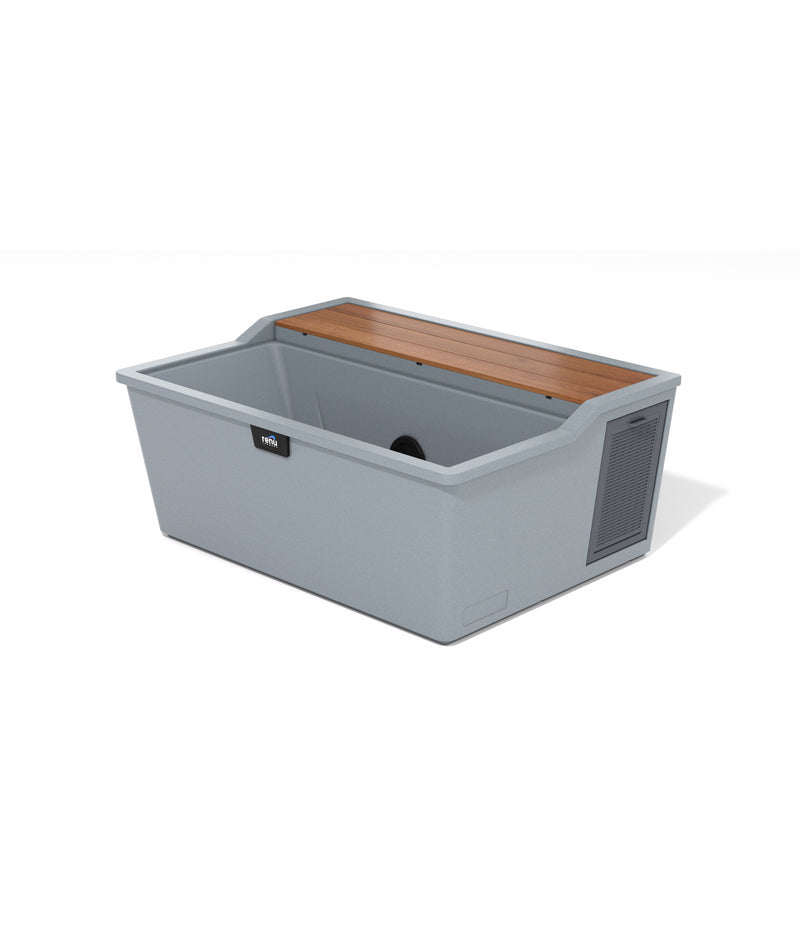
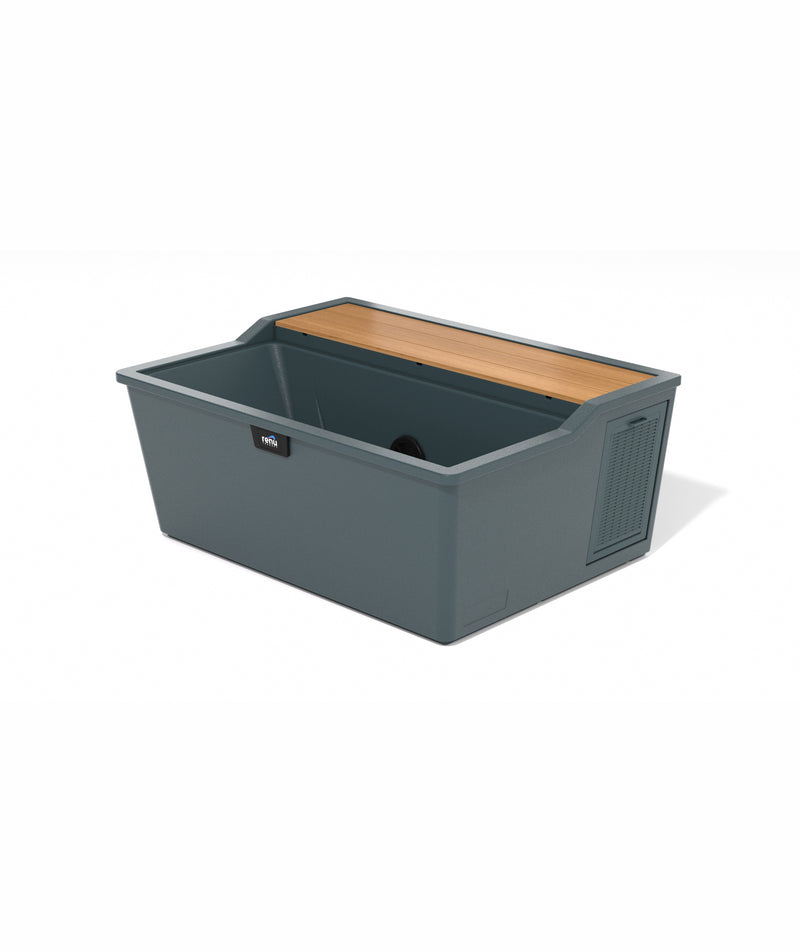
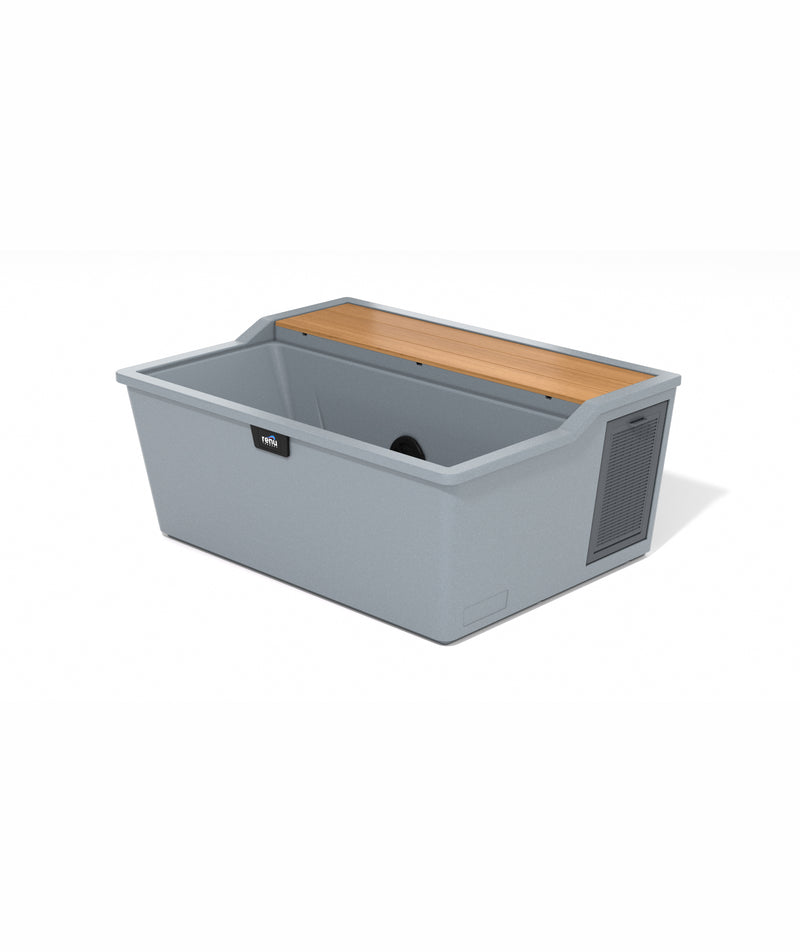
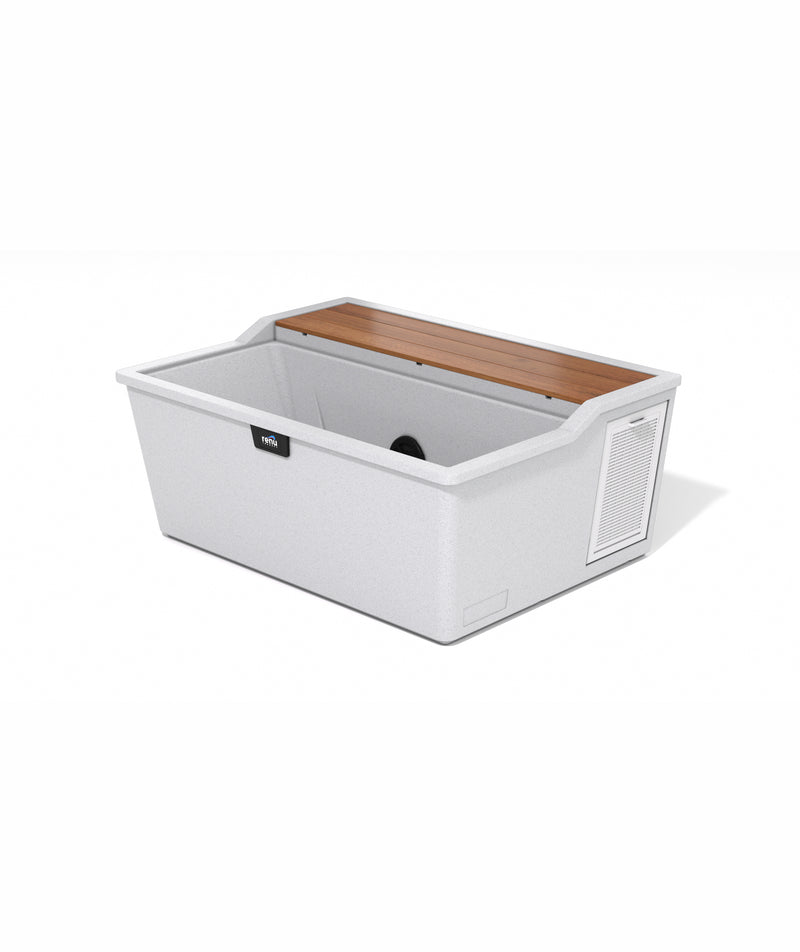
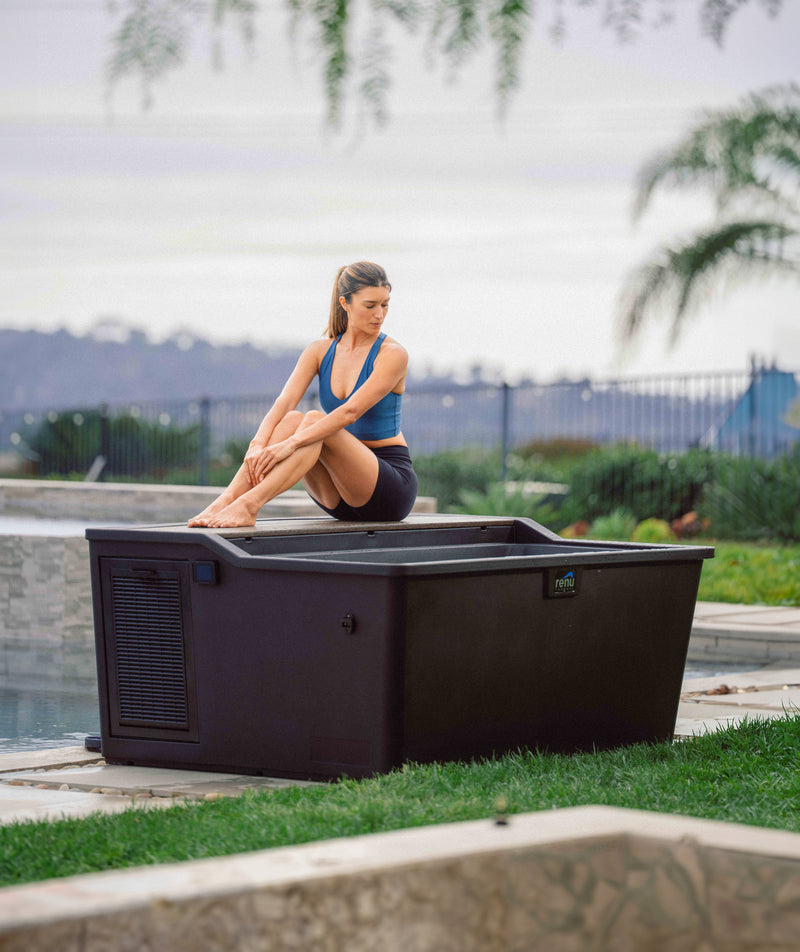
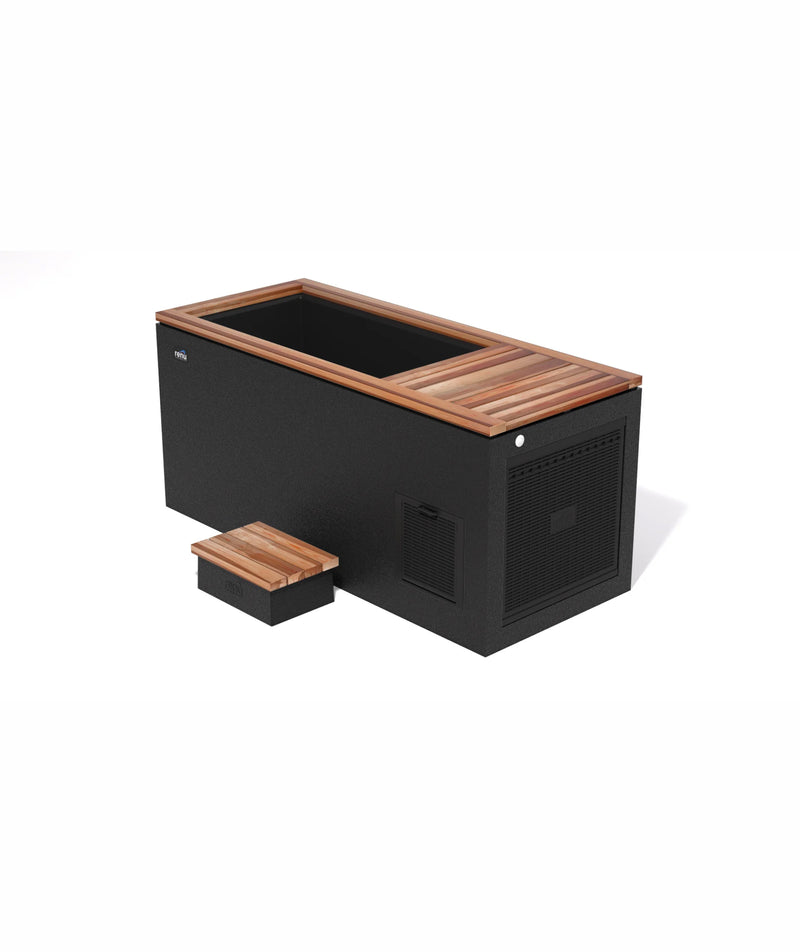
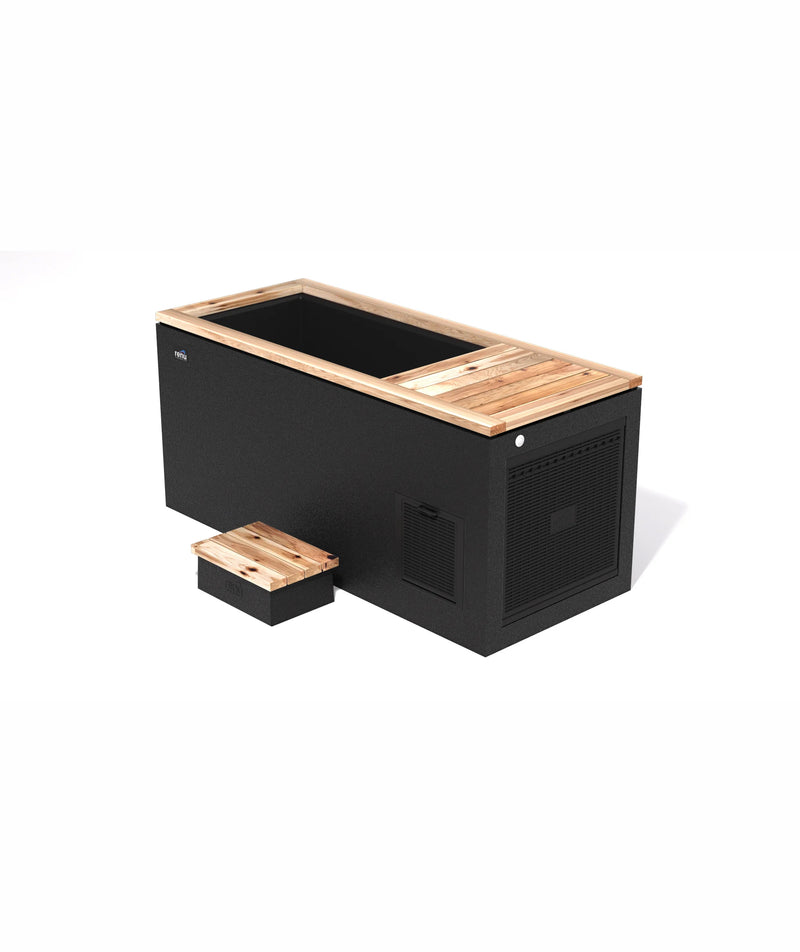
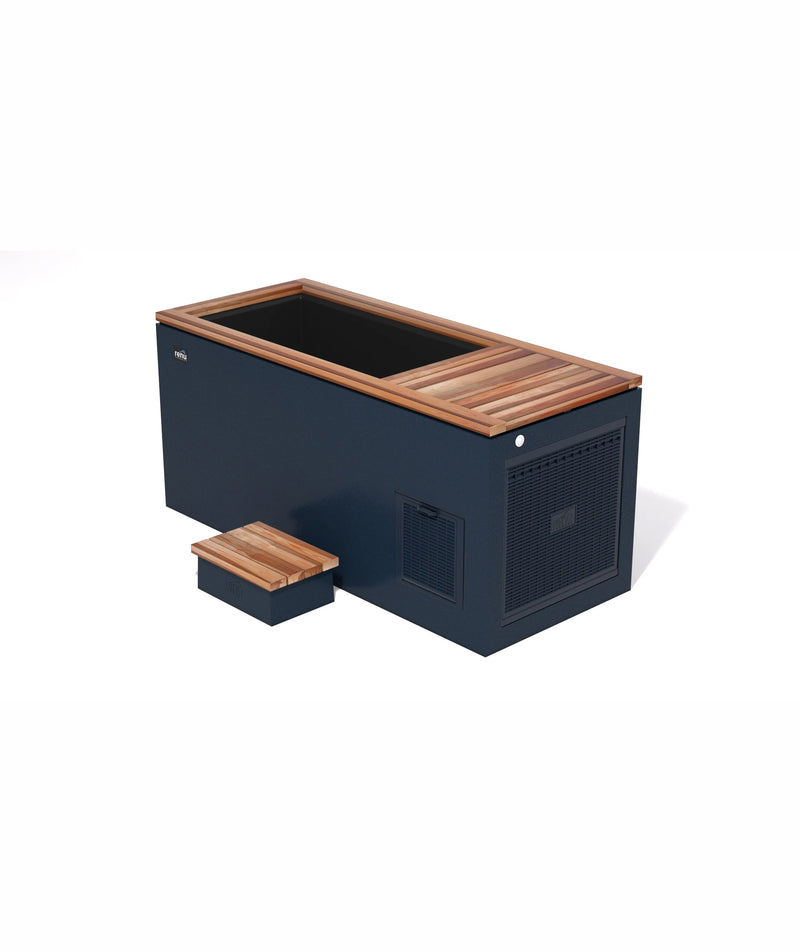
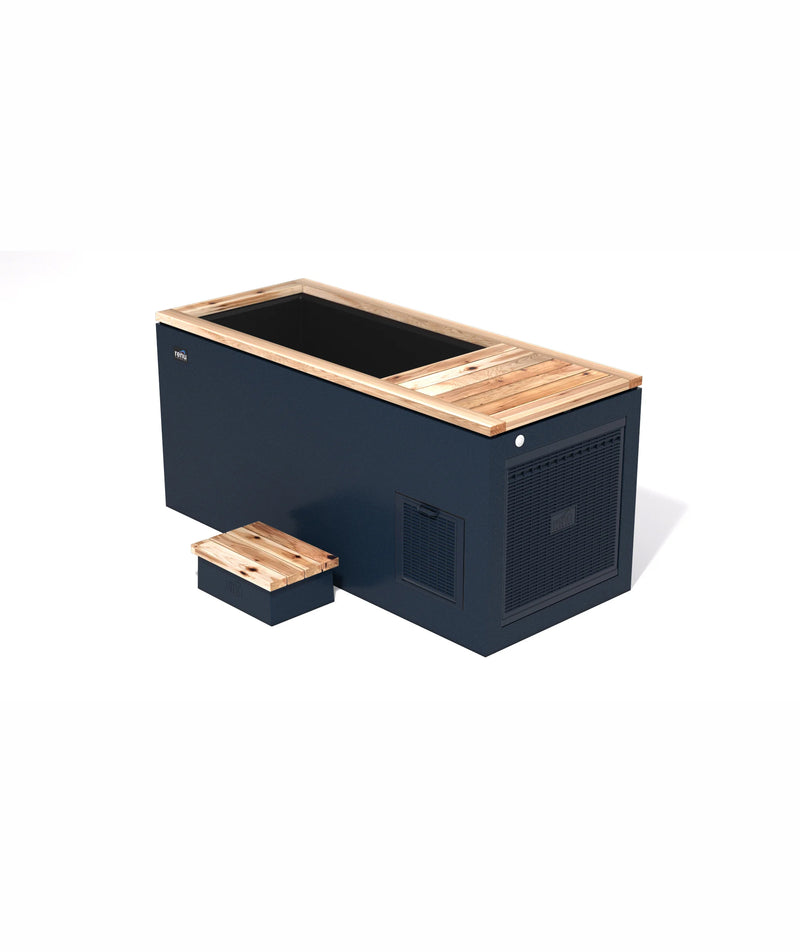
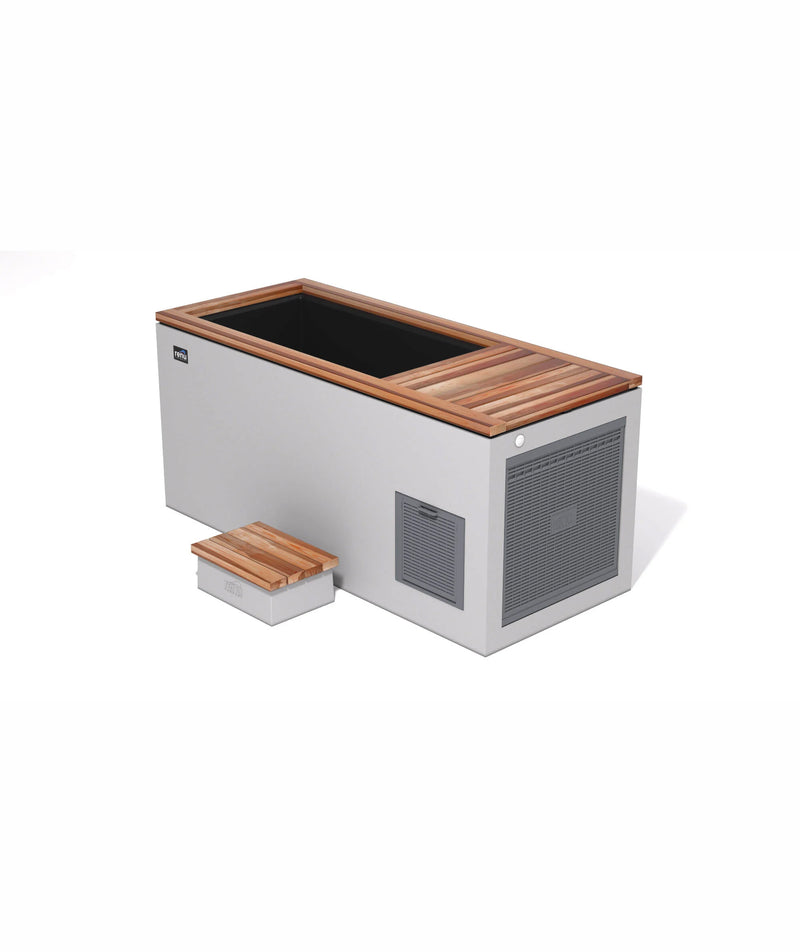
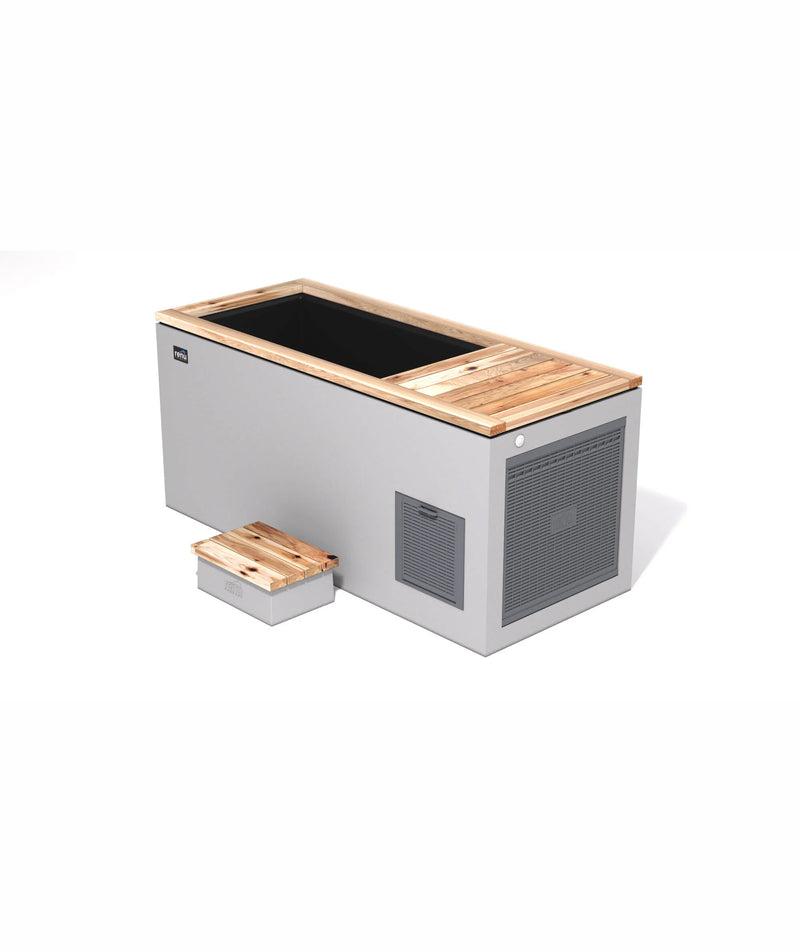
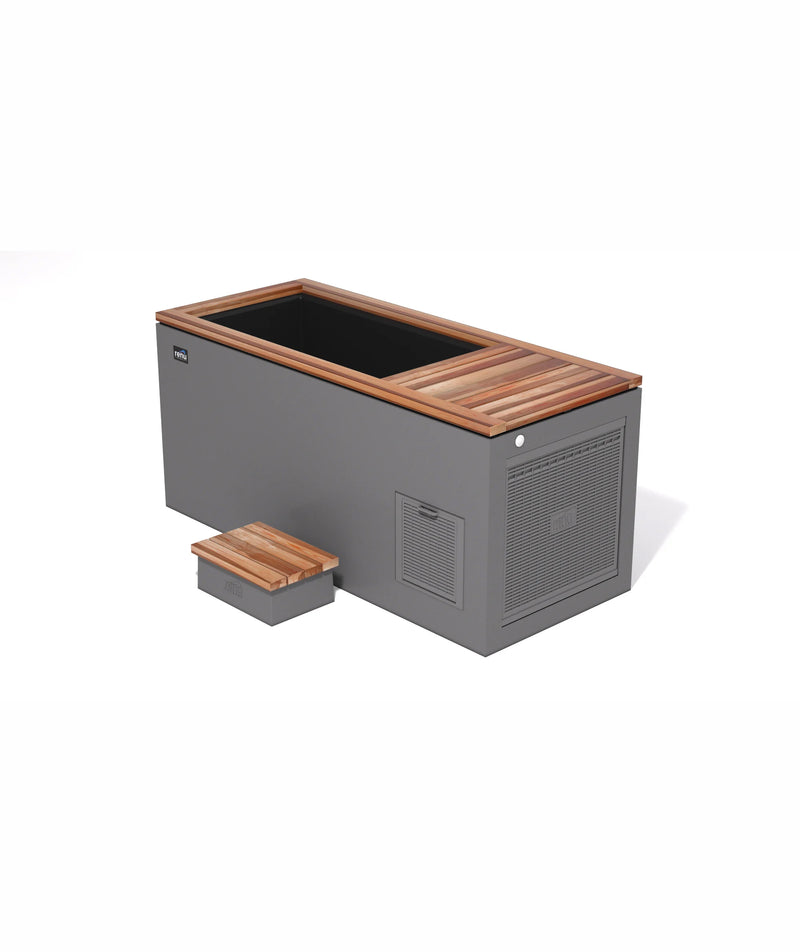
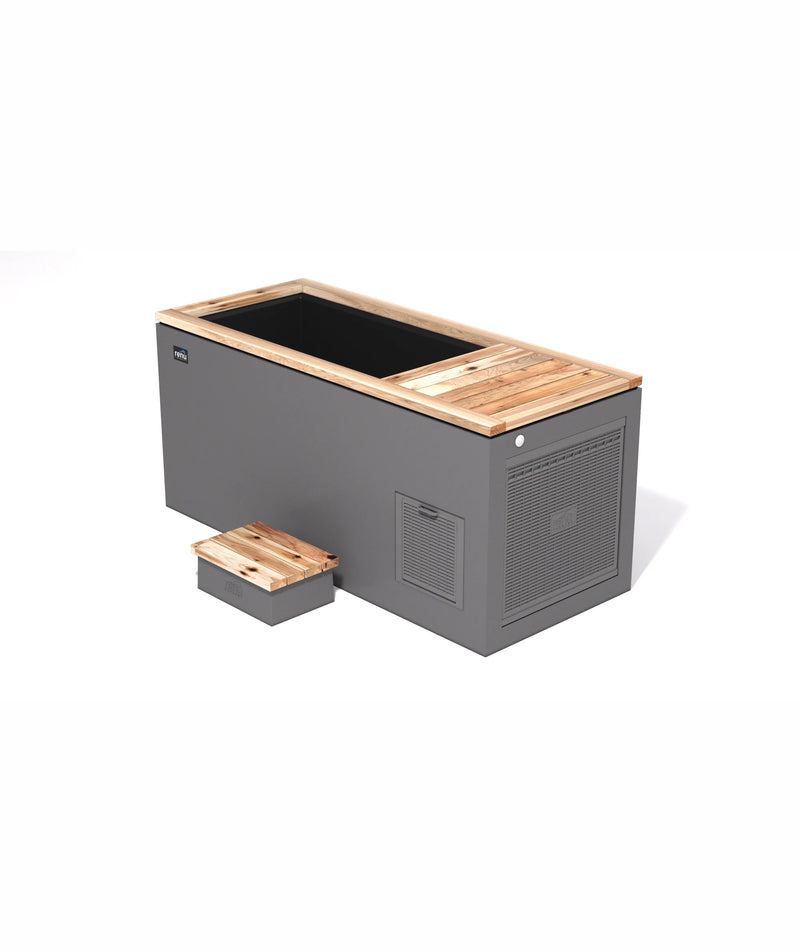
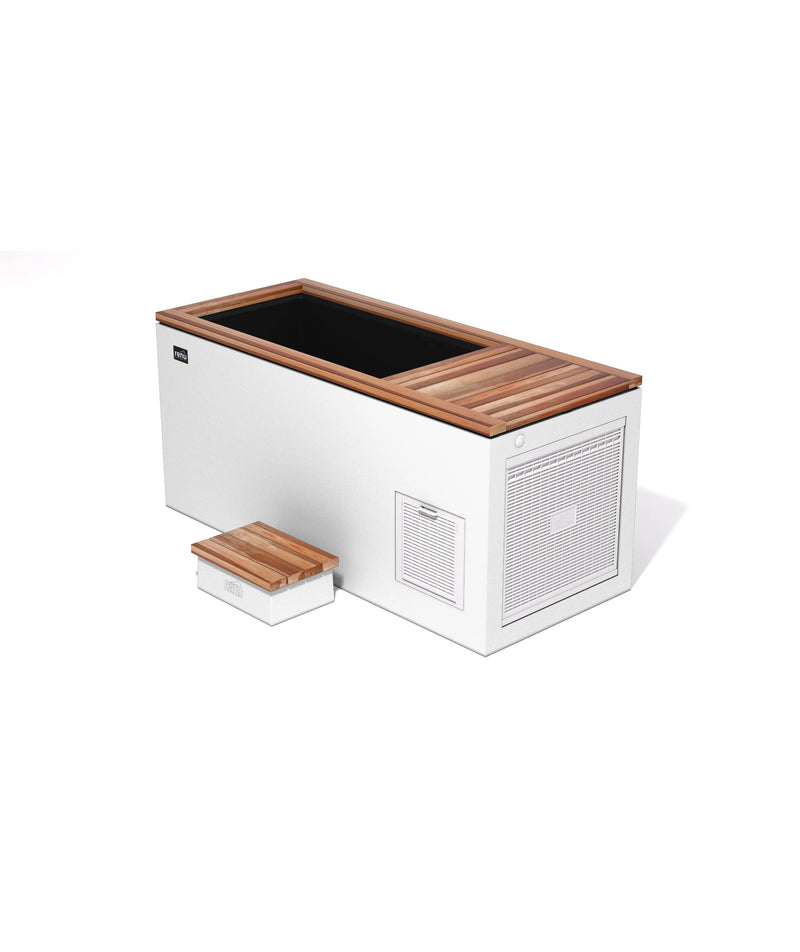
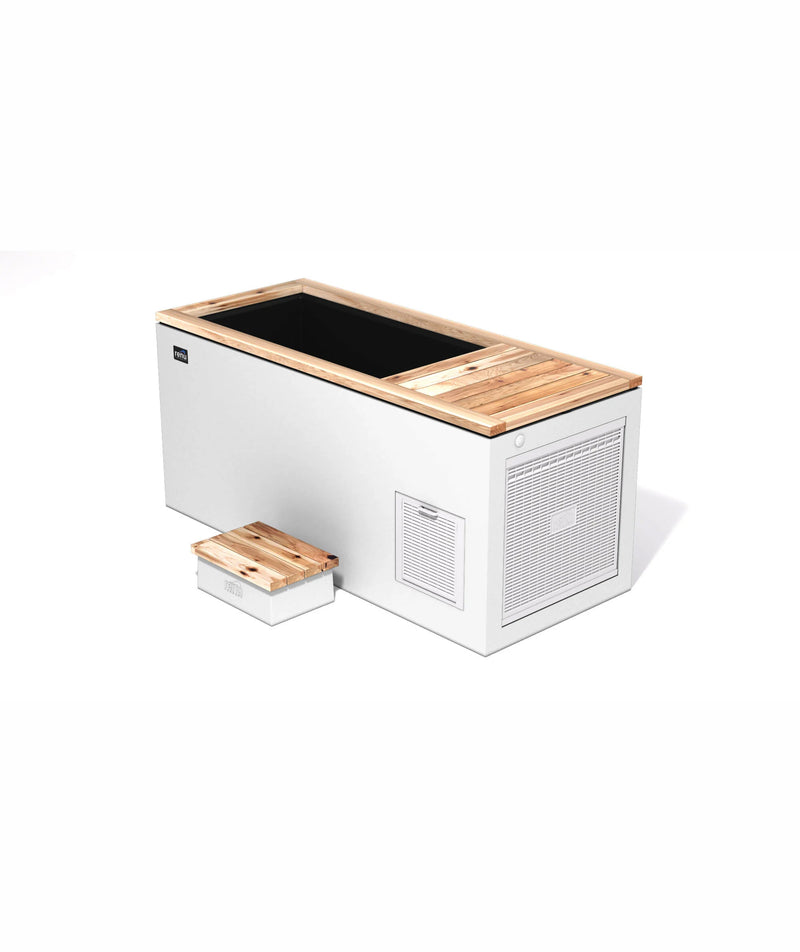
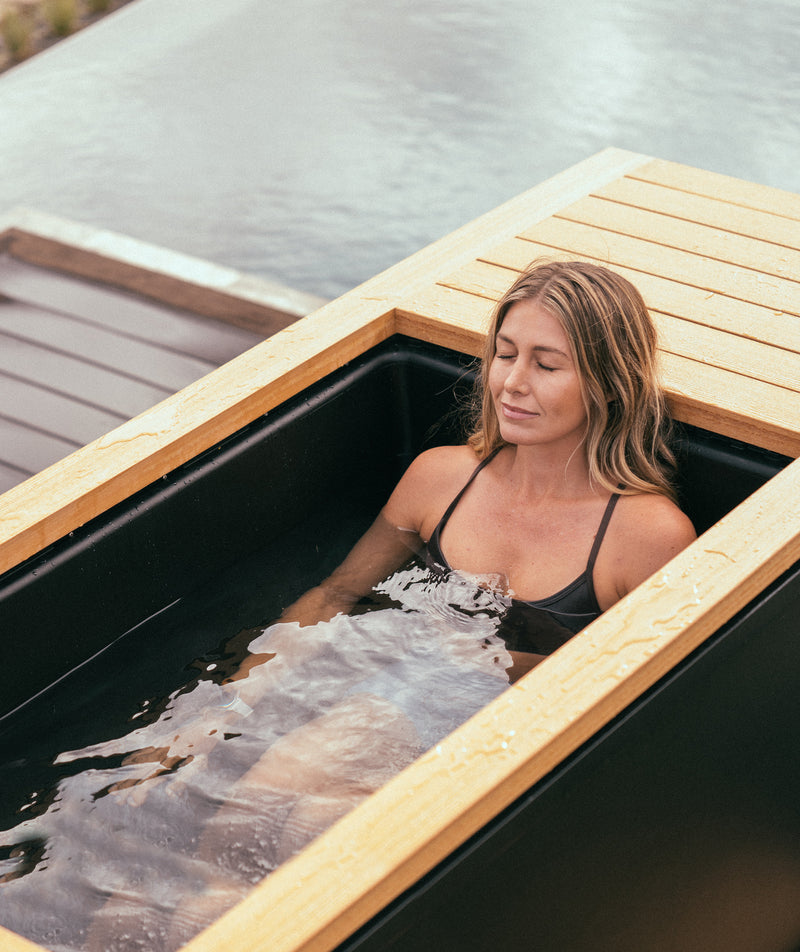
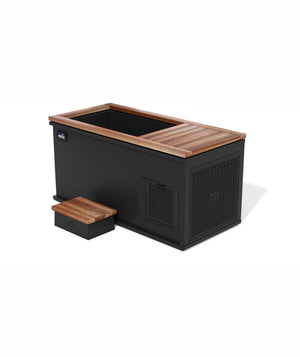
The Cold Stoic 3.0 holds its set point to the degree, anywhere from 37°F to 104°F—whether it's January or August and you’re in Florida or Colorado. Integrated dual-stage filtration and ozone purification handle the water. The insulated shell means the chiller isn't fighting the ambient air. There's no ice run, no drift, no seasonal teardown, and no build weekend that turns into a build month.
That's not a knock on DIY. It's the difference between a setup you maintain and a system that maintains itself, so the only variable left is whether you get in.

Keen to explore the benefits of contrast therapy? Complete your at-home recovery set-up with one of our saunas. We offer traditional saunas and infrared saunas with indoor and outdoor options.
Can you make a cold plunge tub yourself?
Yes. The most common builds are a stock tank cooled with bagged ice, a converted chest freezer, or a portable tub paired with a chiller. All three will get you into cold water. The differences show up in temperature stability, water hygiene, and how much ongoing effort each one demands.
How much does a DIY cold plunge tub cost?
A stock tank build runs $300–$600 in equipment, plus ice for as long as you use it. A chest freezer conversion typically lands between $800 and $1,500. A tub-and-chiller setup runs $1,200–$3,000 in the first year. Ice is the cost that compounds; four sessions a week can add four figures annually.
Is a chest freezer cold plunge safe?
We don't recommend it. Chest freezers aren't engineered to hold water, the lids can't be opened from inside, and there's no filtration or sanitation. Combining several hundred pounds of water with household current in an uncertified appliance introduces risks that no amount of sealing fully removes.
Can you turn a bathtub into a cold plunge?
You can, but it's the least practical option. Standard bathtubs are shallow, uninsulated, and still needed for bathing so the water has to be drained and re-iced every session. The ice cost per plunge is high and immersion depth is limited.
How cold does a DIY cold plunge need to be?
Most cold plunge protocols sit between 45°F and 59°F. Beginners do well starting at the warmer end with short sessions. What matters more than hitting a specific number is hitting the same number consistently, which is exactly what DIY ice-cooled setups struggle to do.
How do you keep DIY cold plunge water clean?
You need circulation, filtration, and a sanitizer you test regularly, typically chlorine or bromine, kept in range with test strips. Without all three, plan on draining and refilling every few sessions. Purpose-built plunges handle this with integrated filtration and ozone purification.
How long should you stay in a cold plunge?
For most people, 2–5 minutes at 50–59°F is plenty. Research on cold adaptation points to roughly 11 minutes of total cold exposure per week, spread across several sessions. More is not better.
Medical disclaimer: Cold water immersion is not suitable for everyone. Consult your physician before beginning a cold plunge practice if you are pregnant, have high blood pressure, heart disease, a history of cardiac arrhythmia, Raynaud's disease, peripheral neuropathy, or any other condition affecting circulation or nerve function. Cold exposure can place stress on the cardiovascular system and should be approached with caution if you have any underlying health conditions. This article is intended for informational purposes only and does not constitute medical advice.