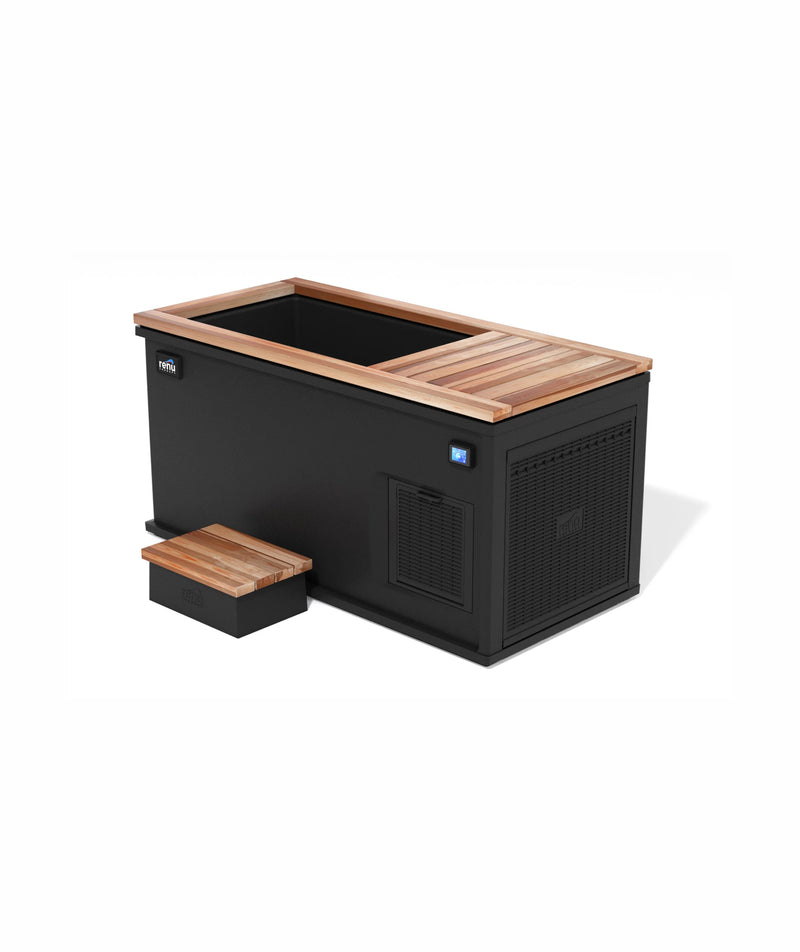
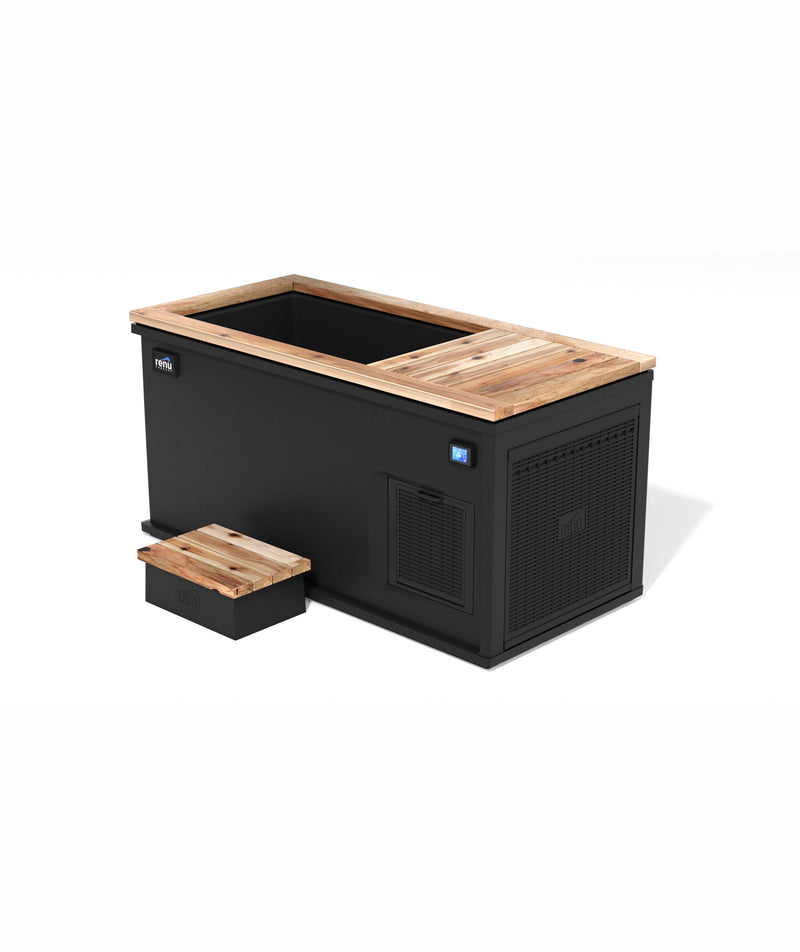
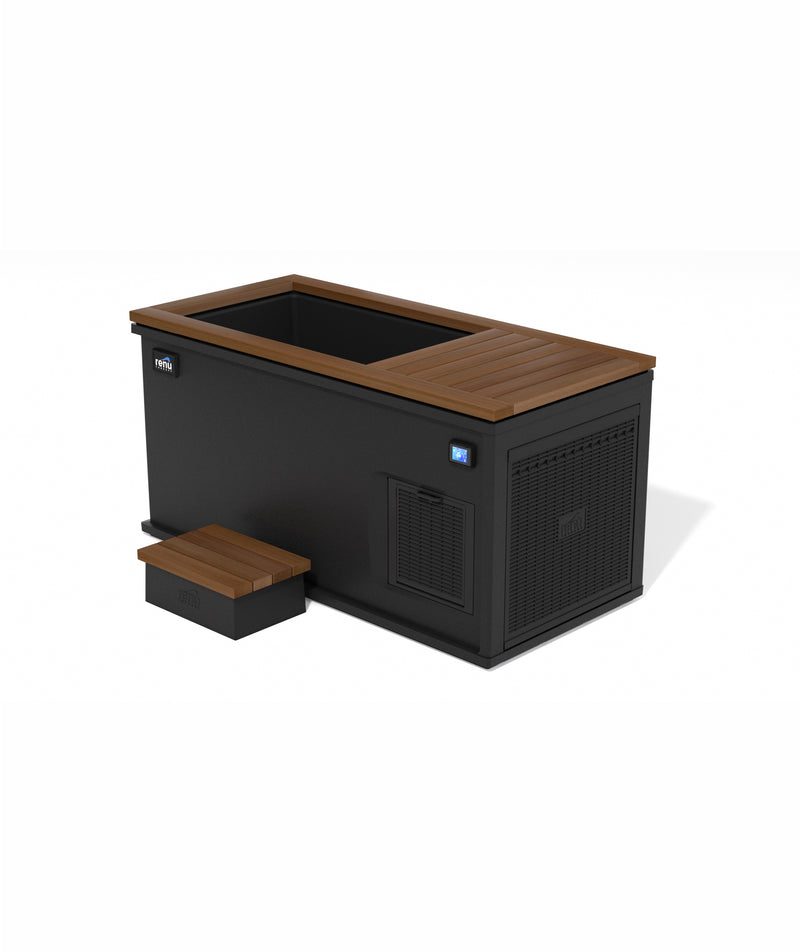
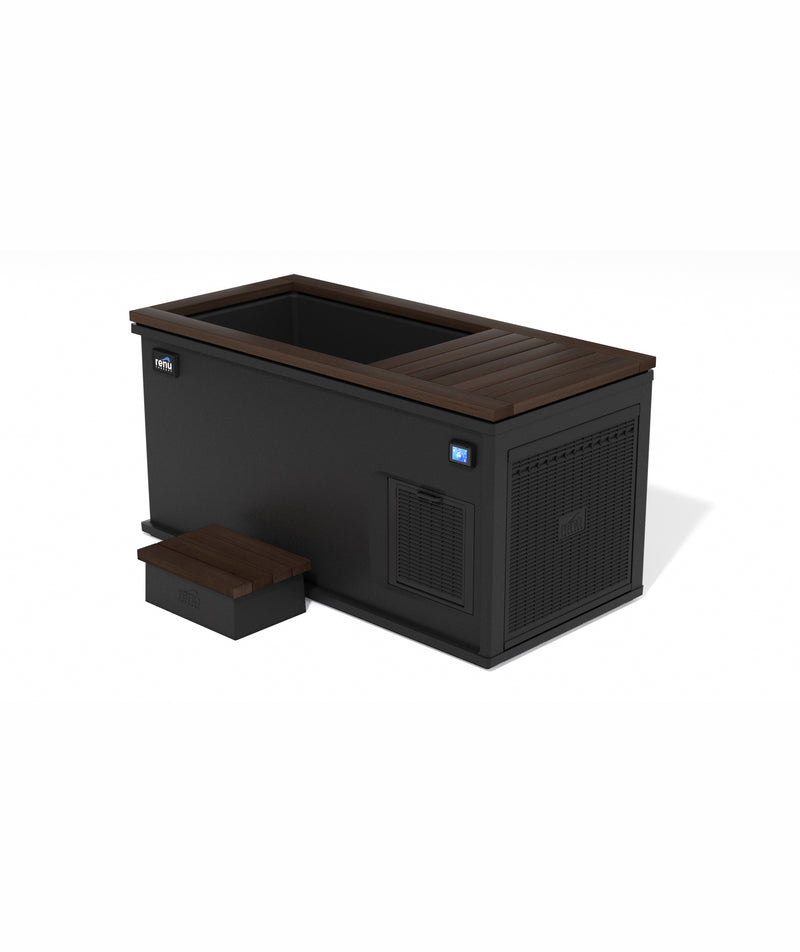
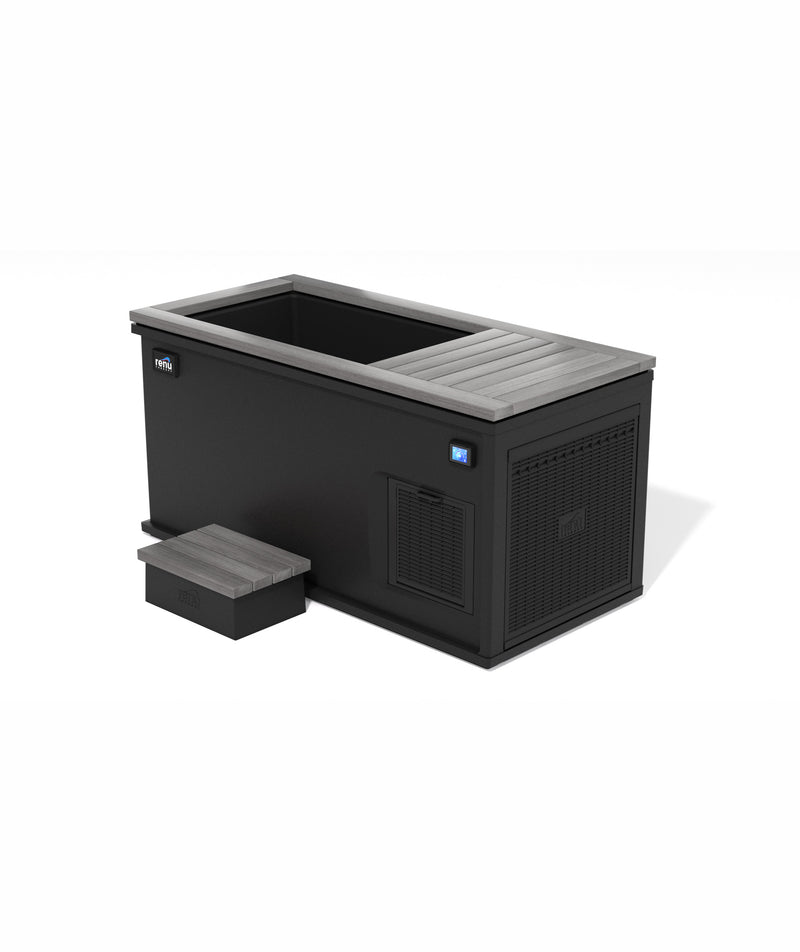
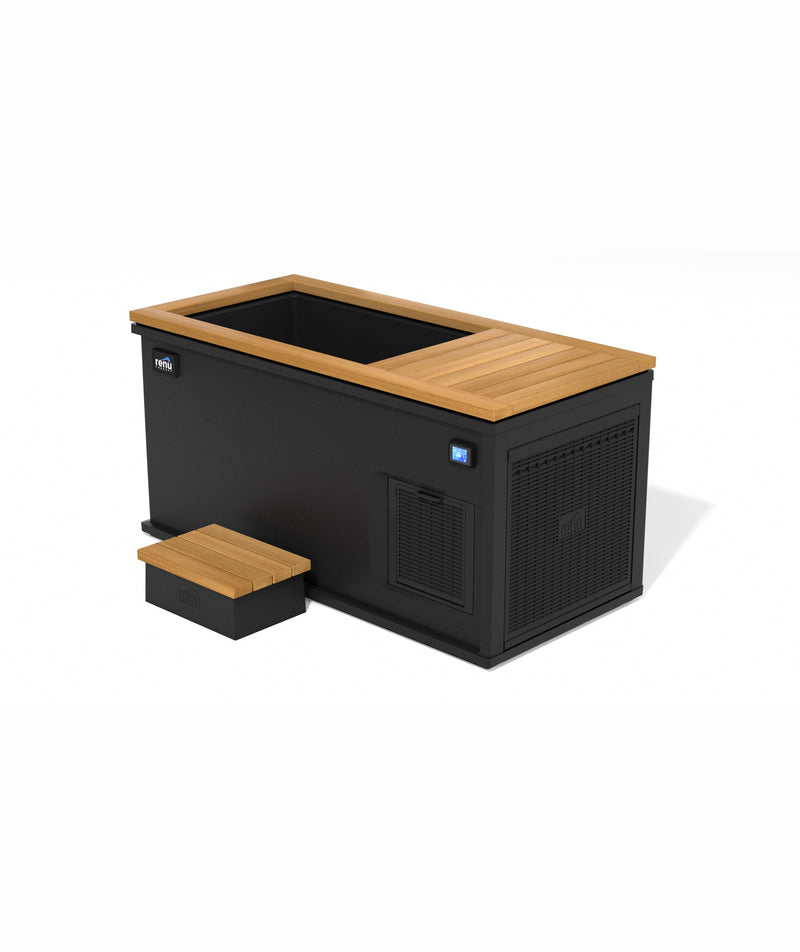
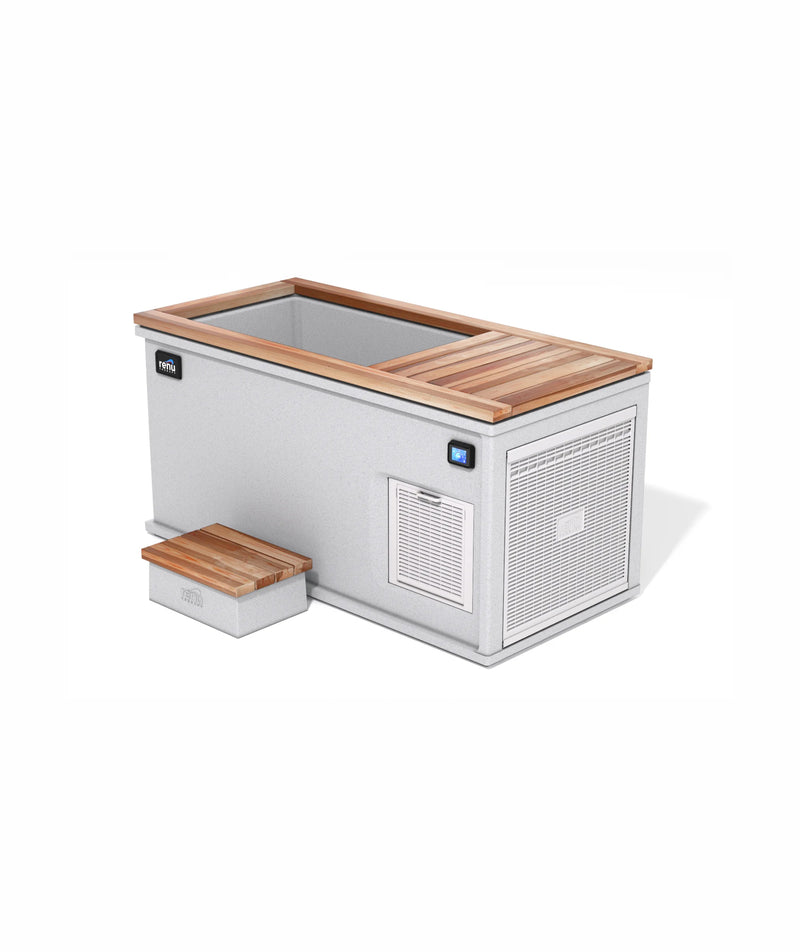
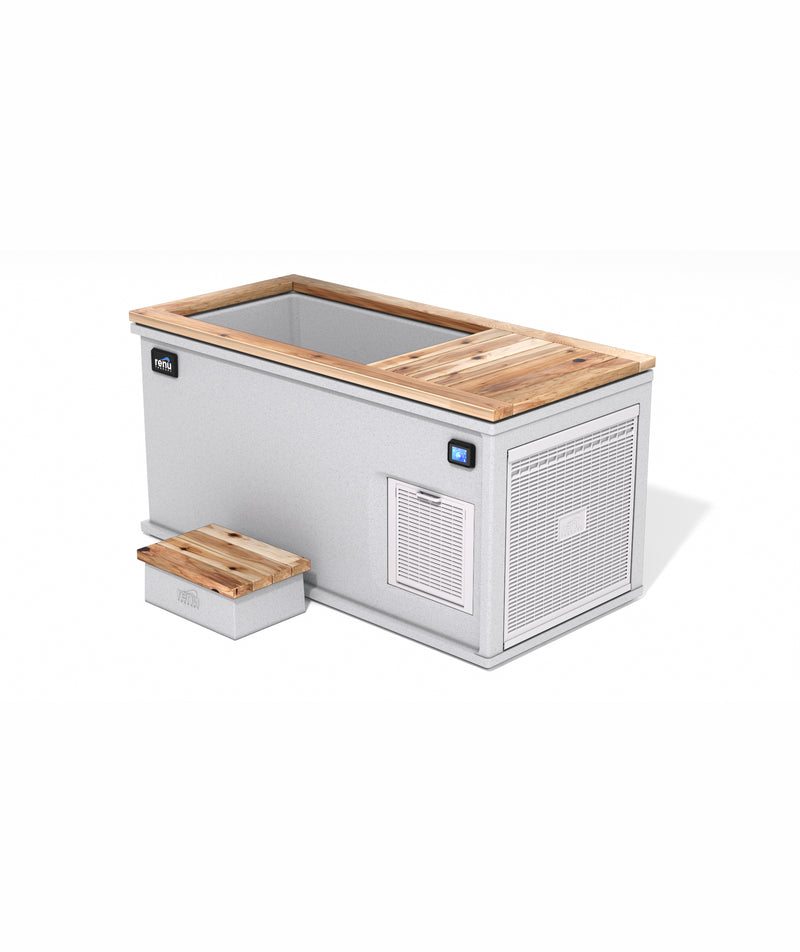
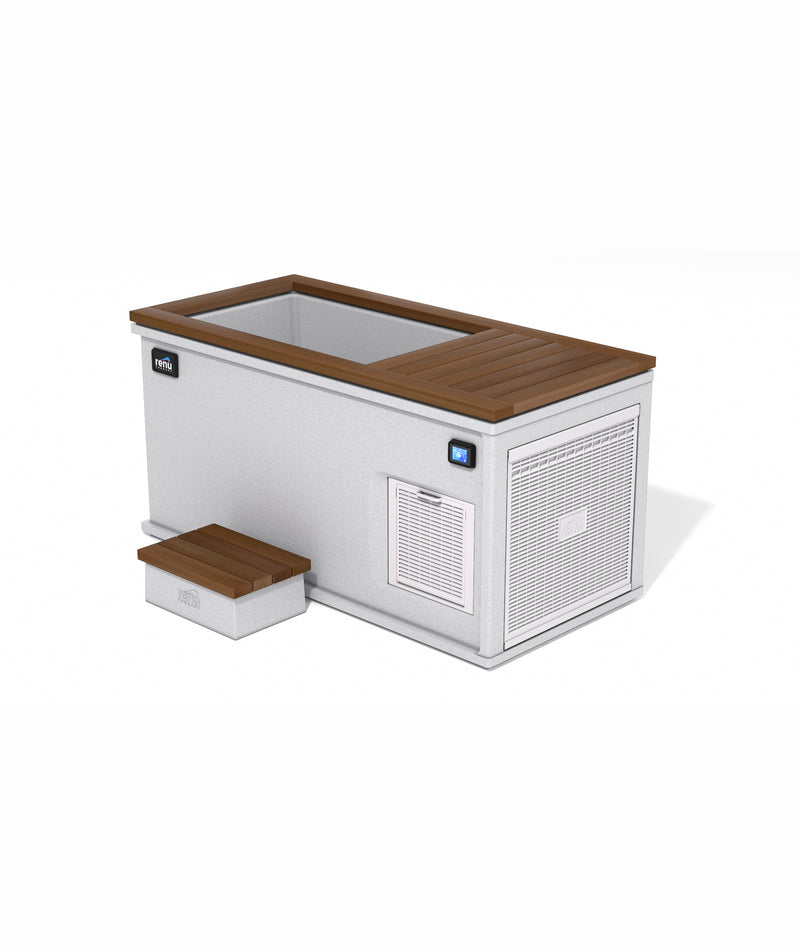
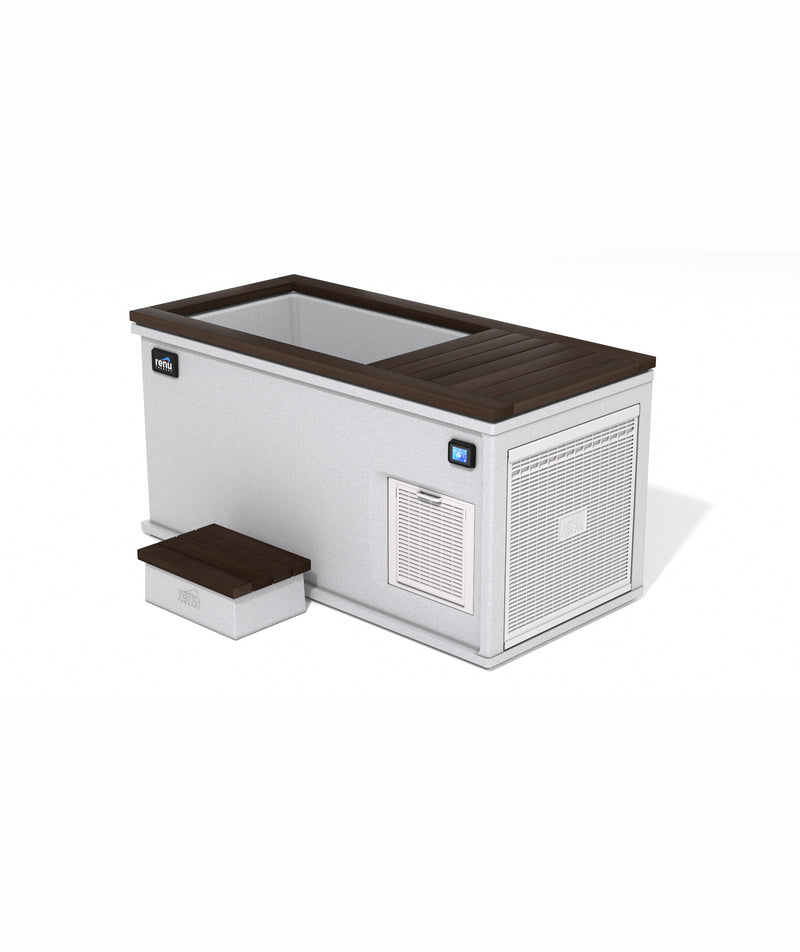
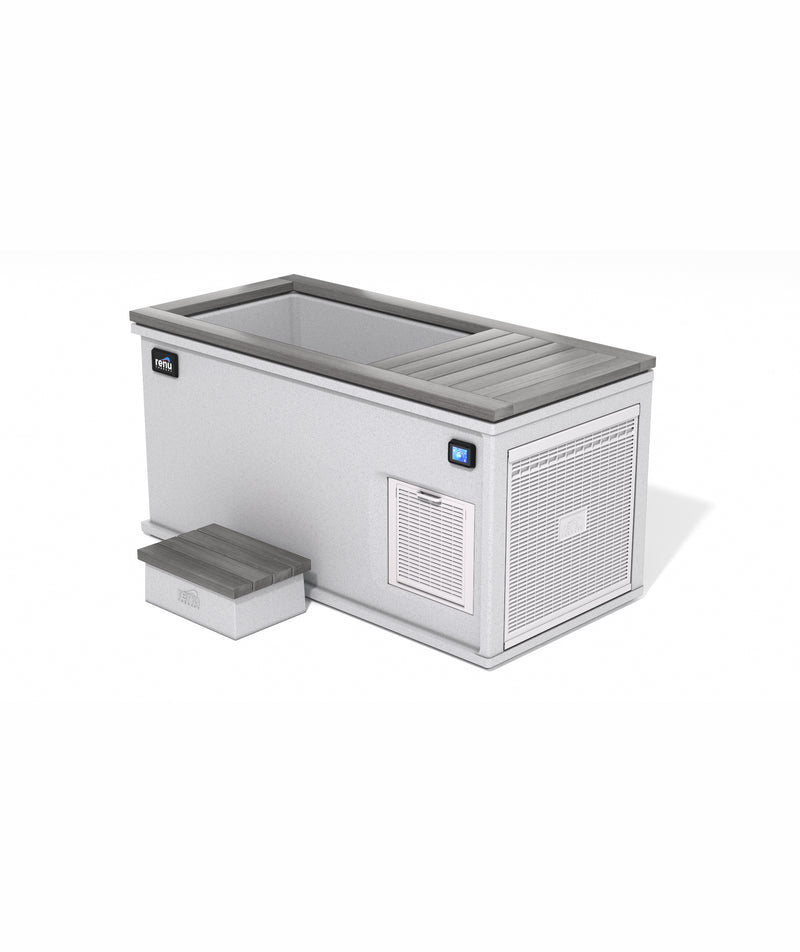
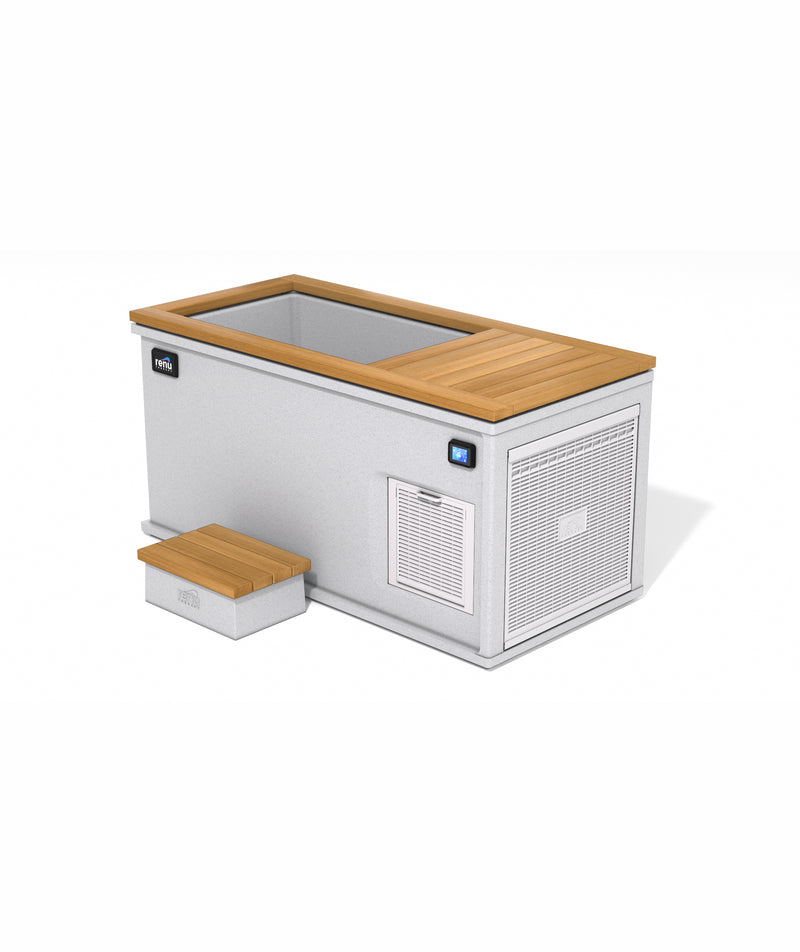
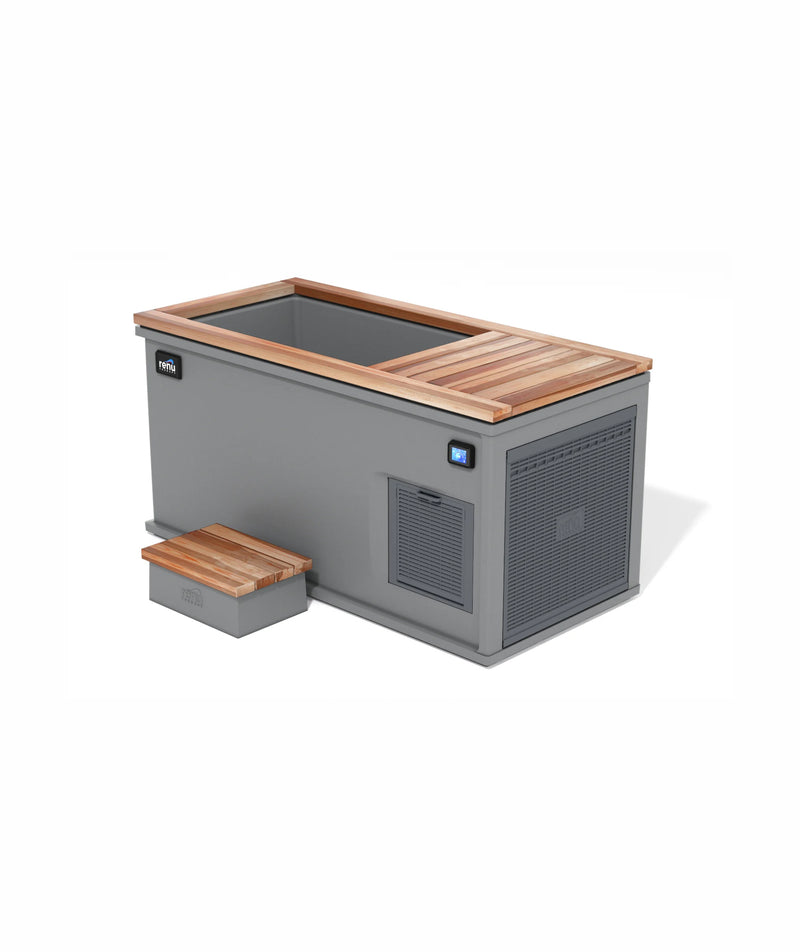
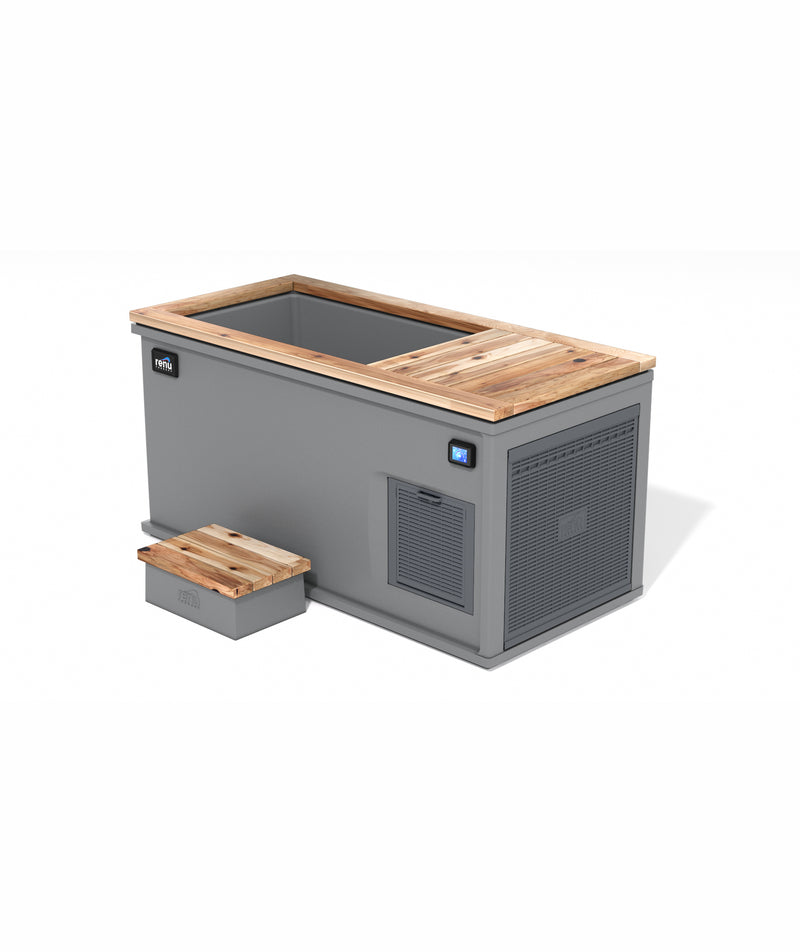
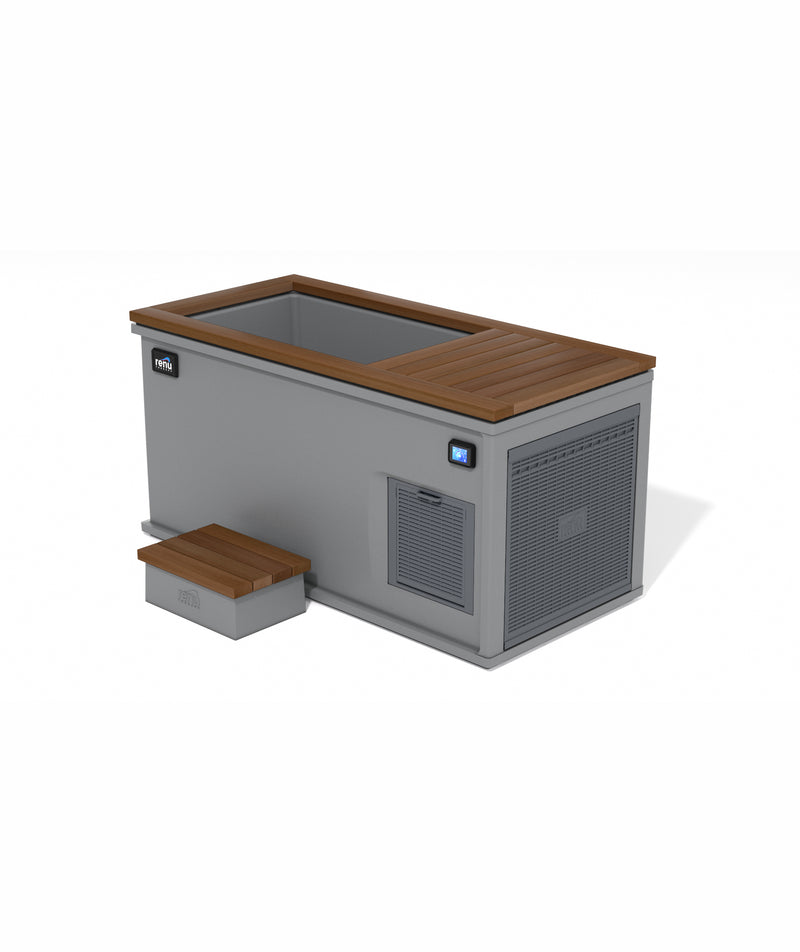
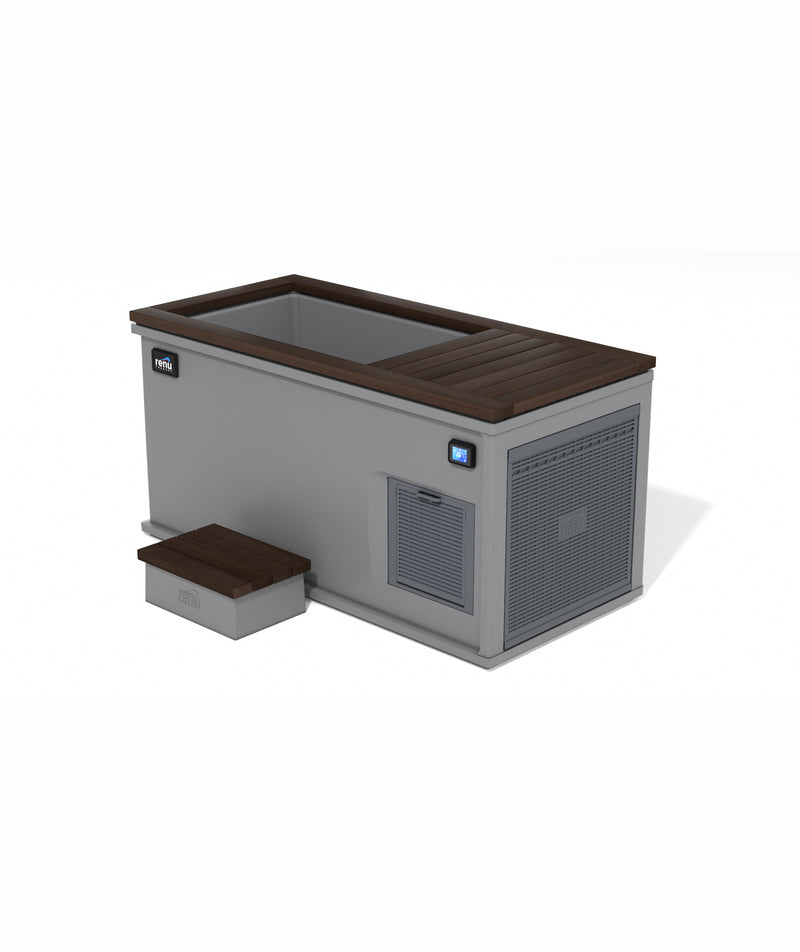
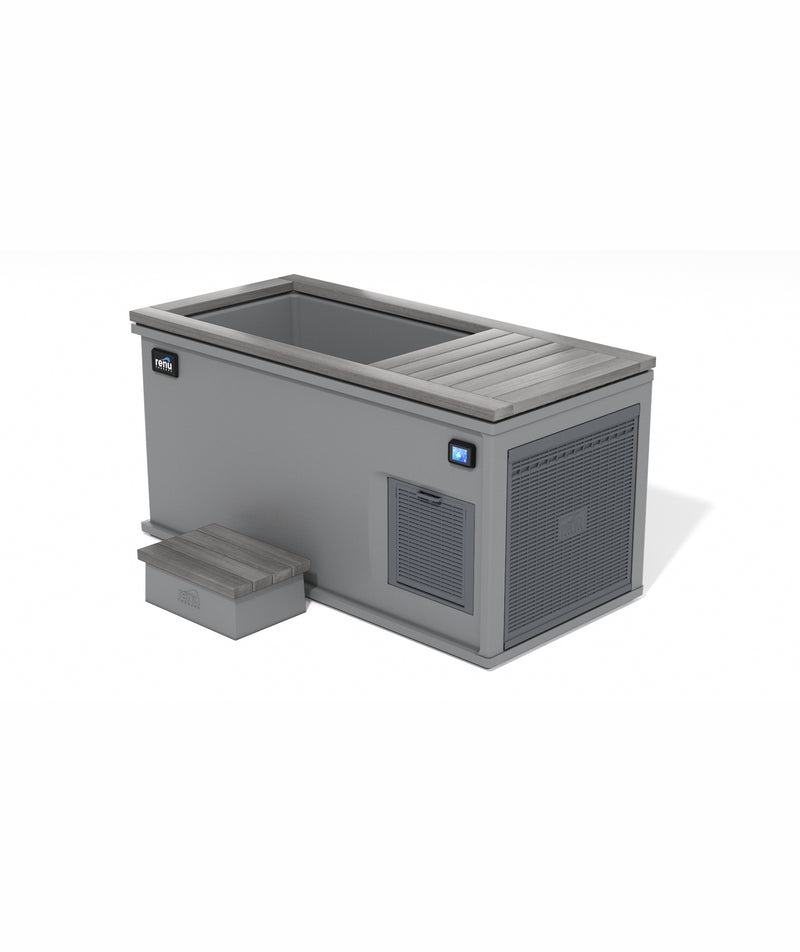
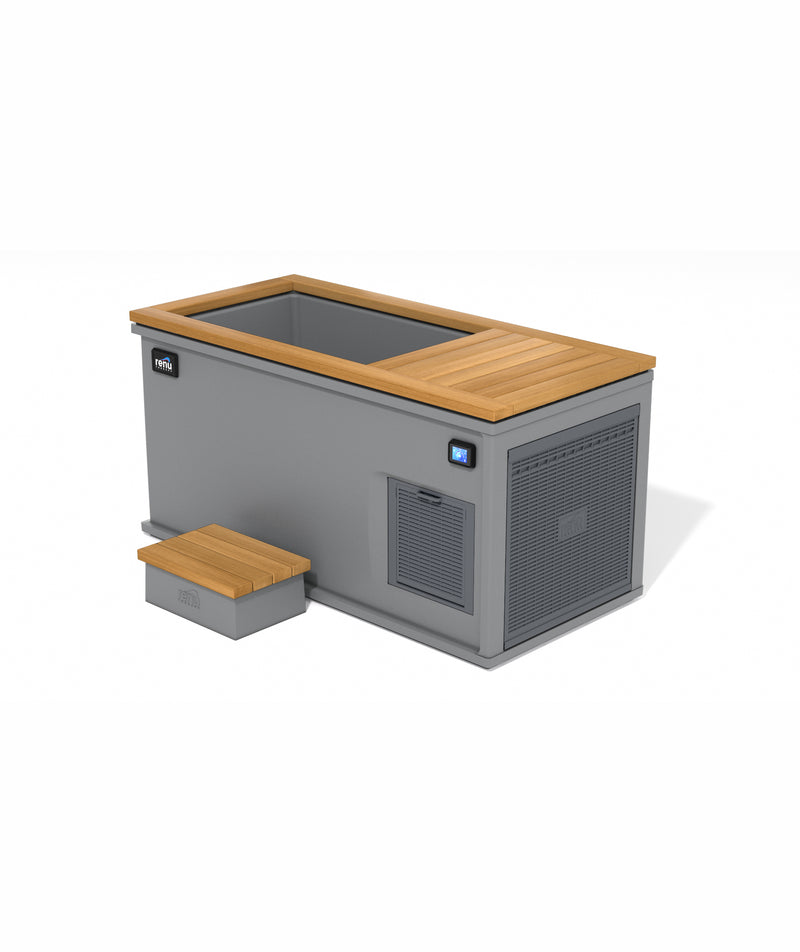
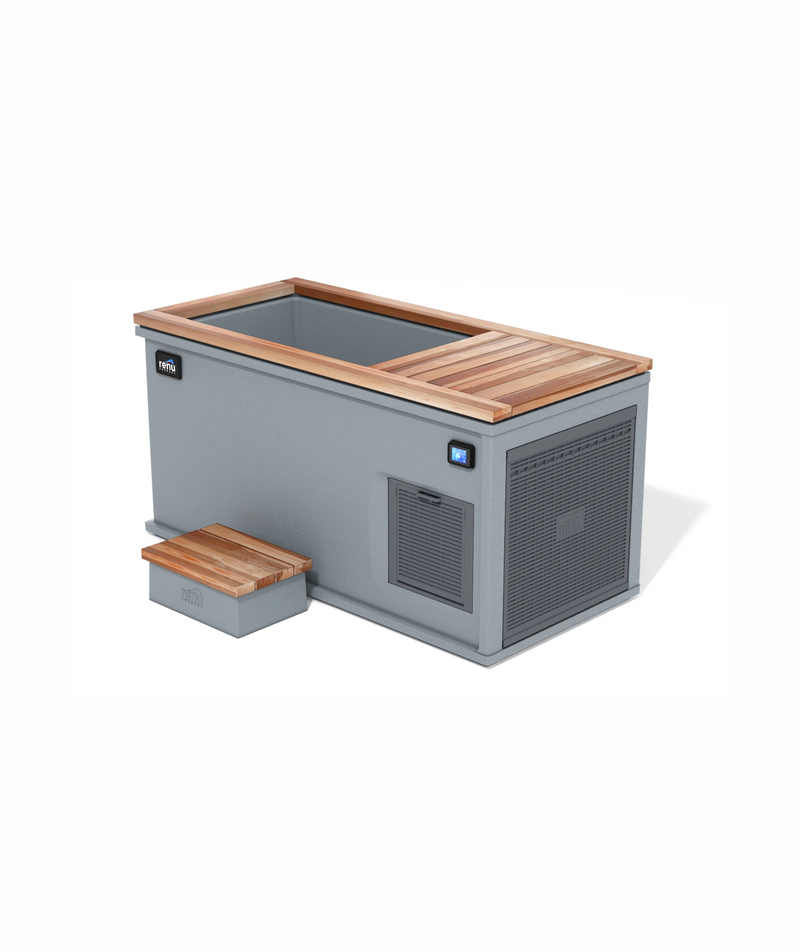
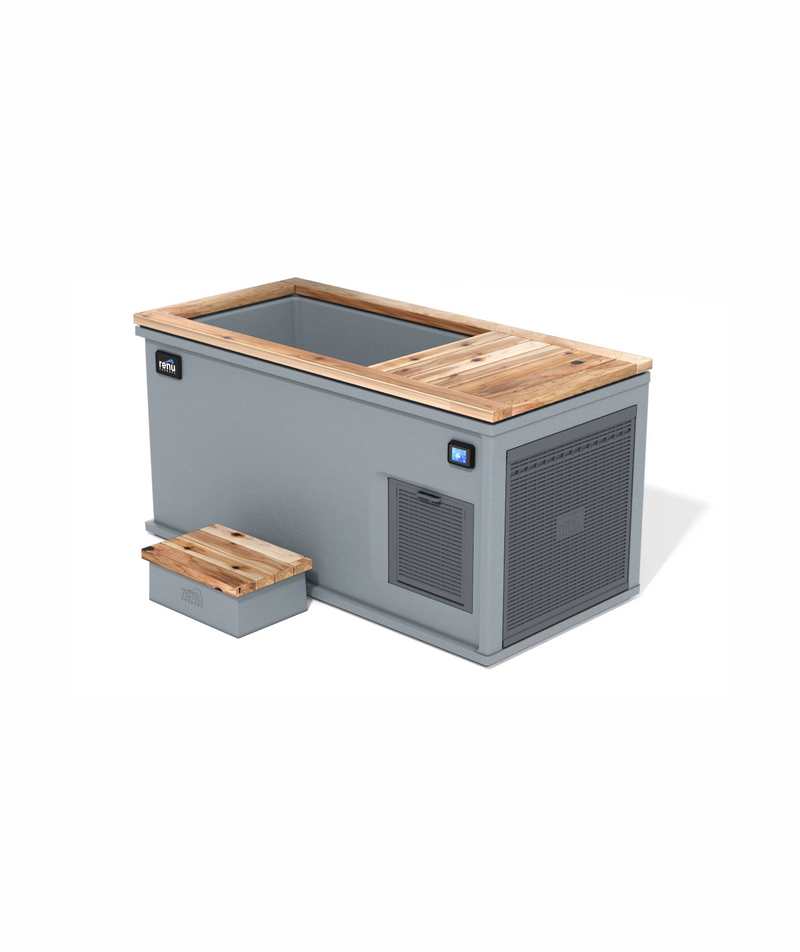
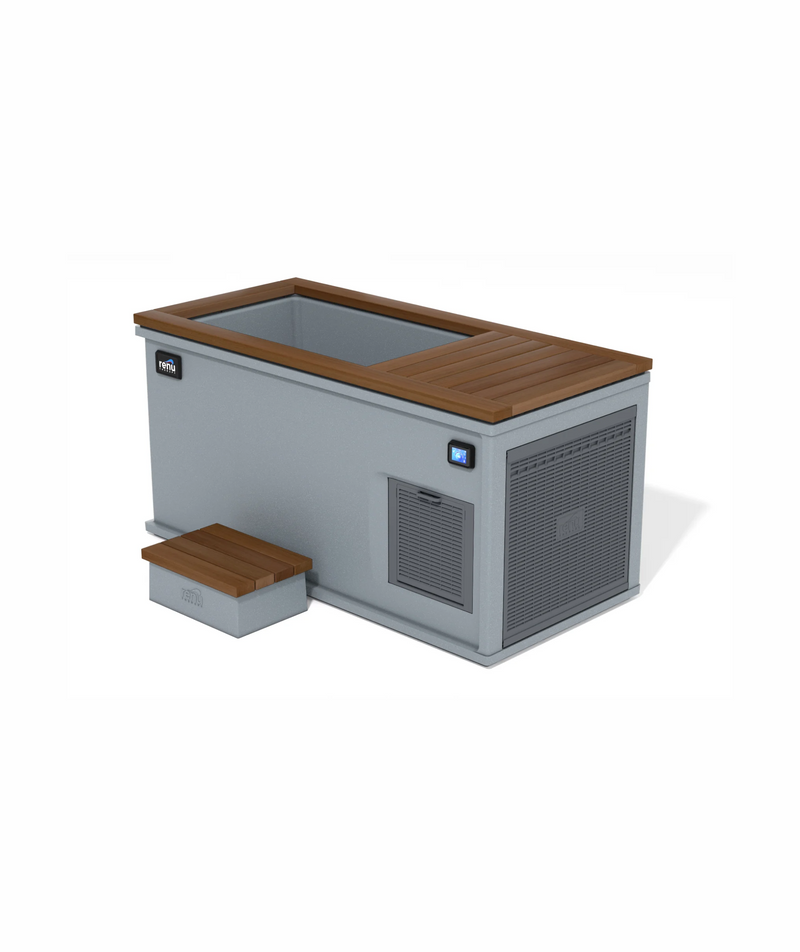
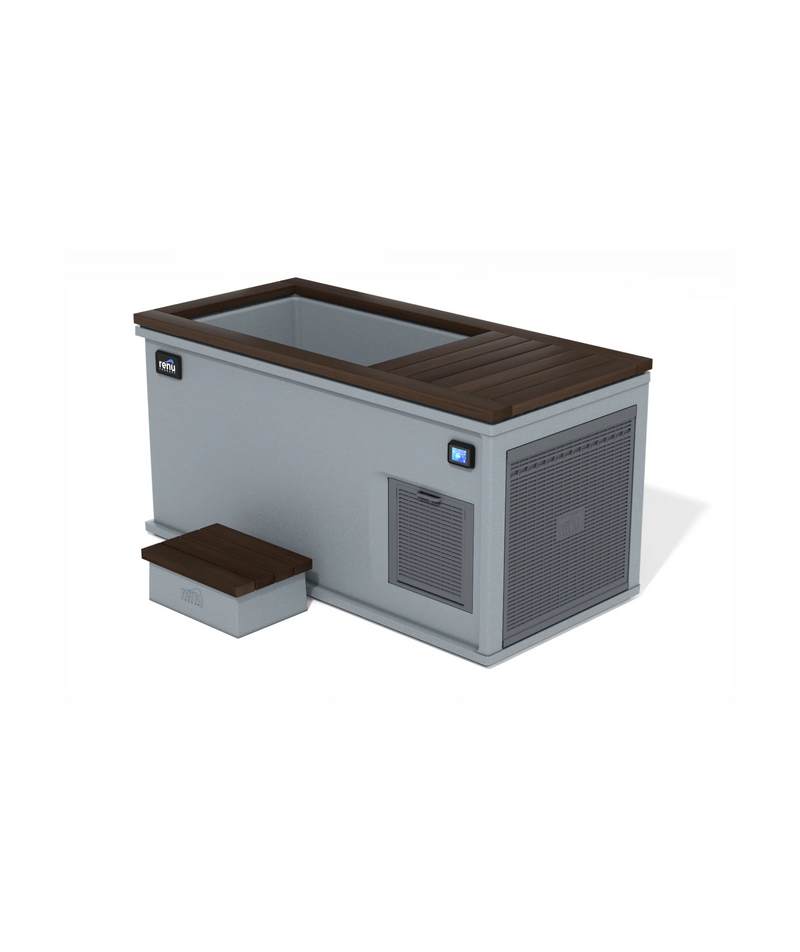
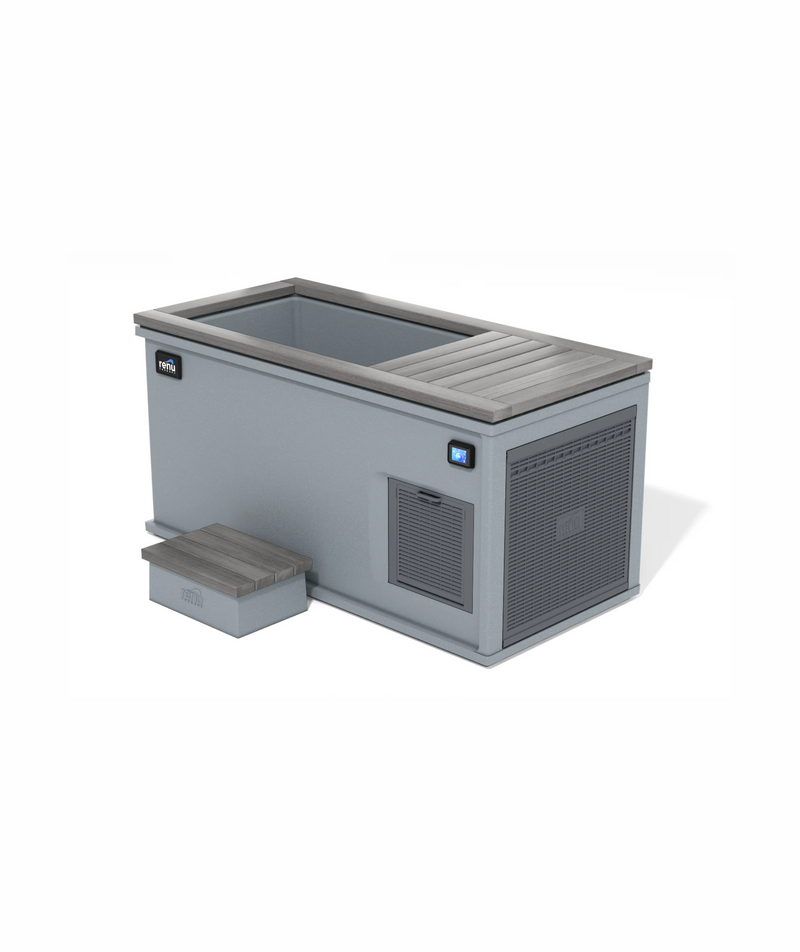
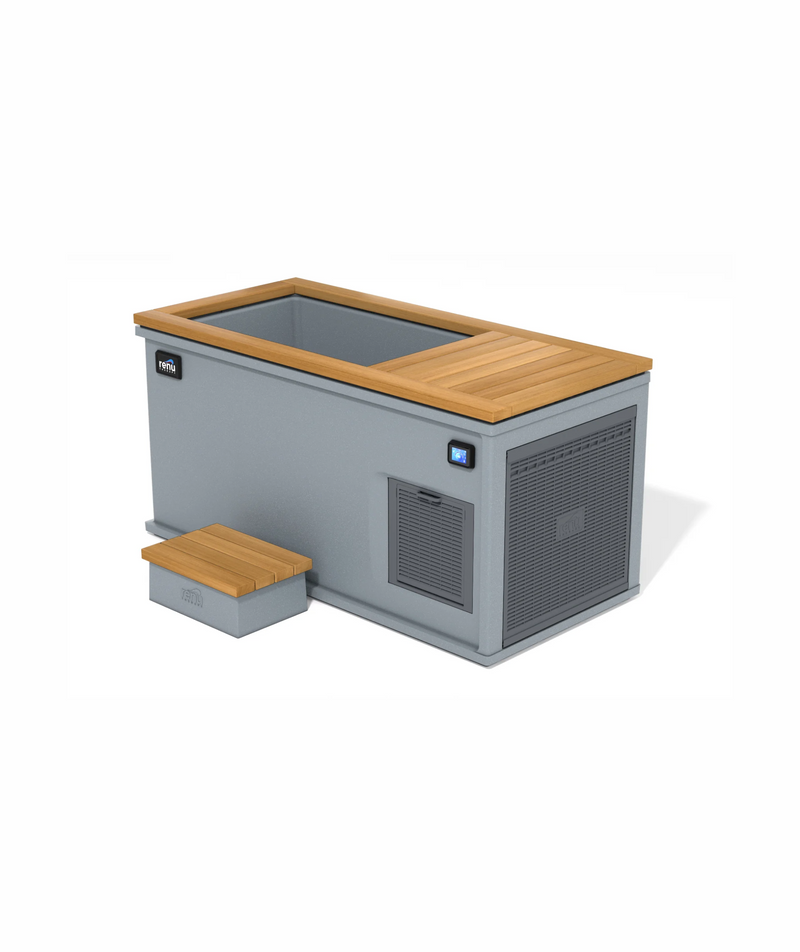
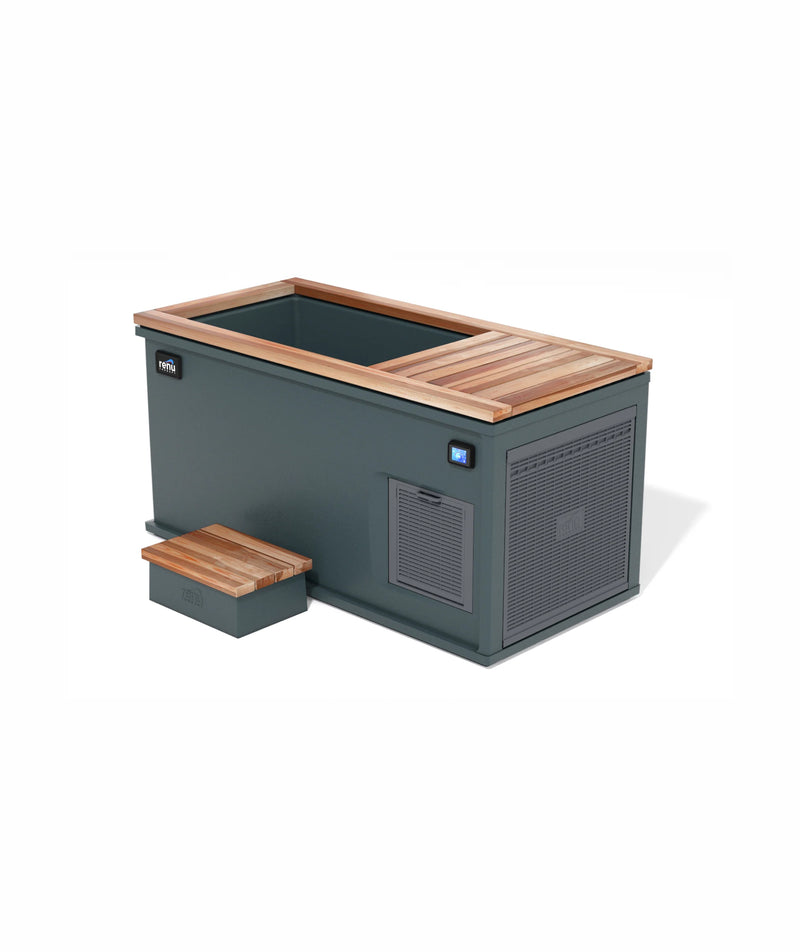
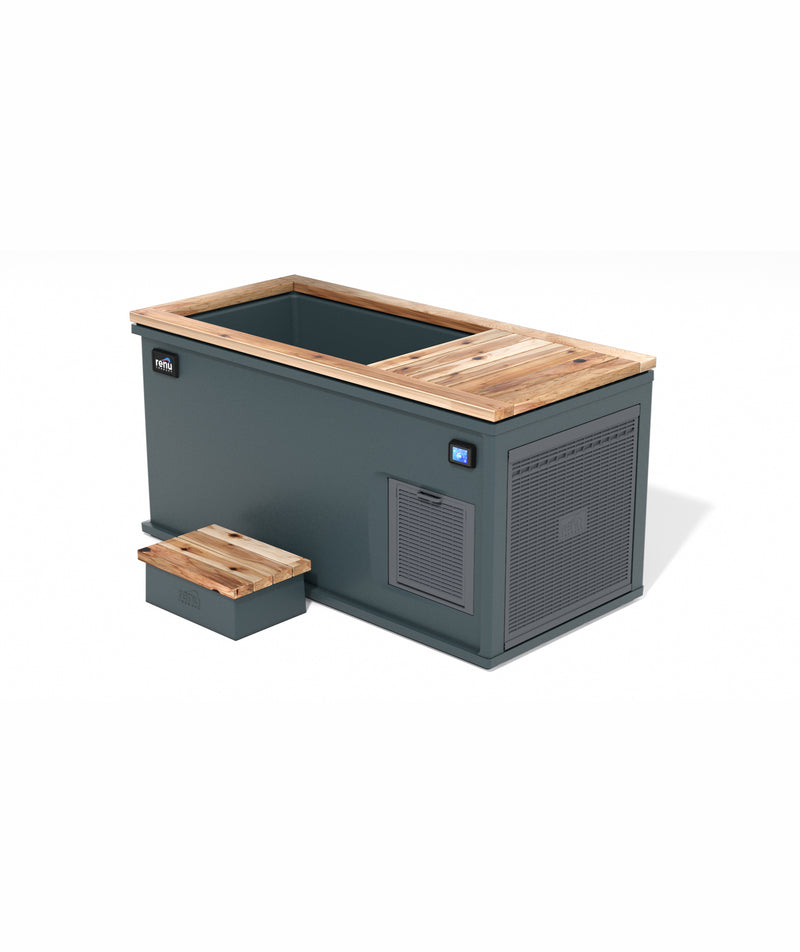
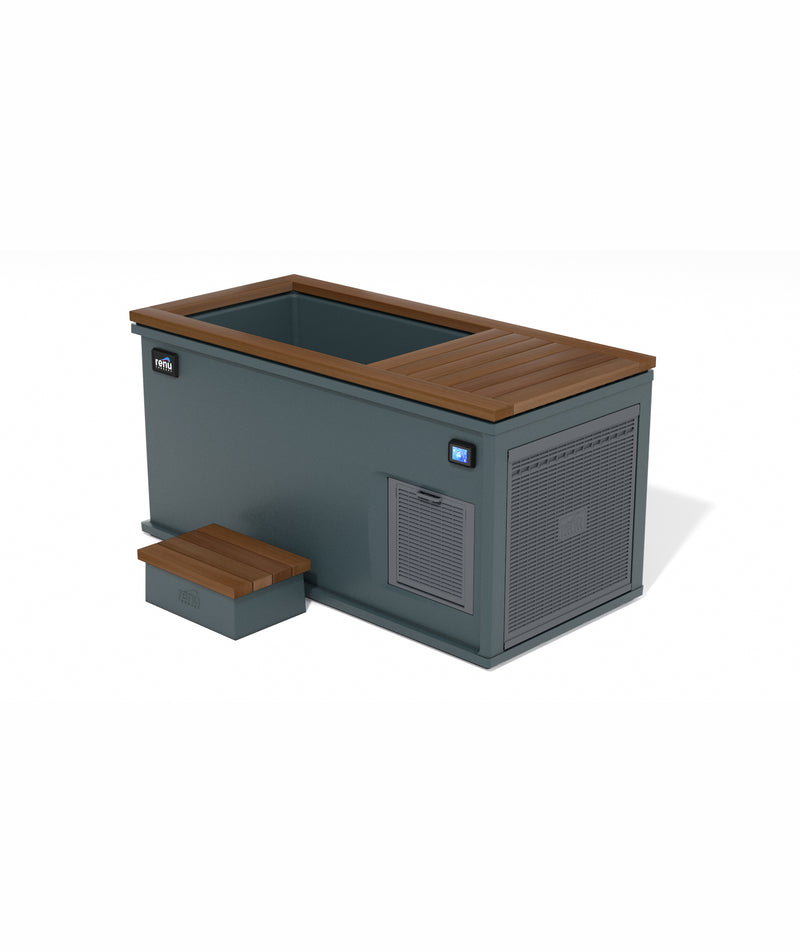
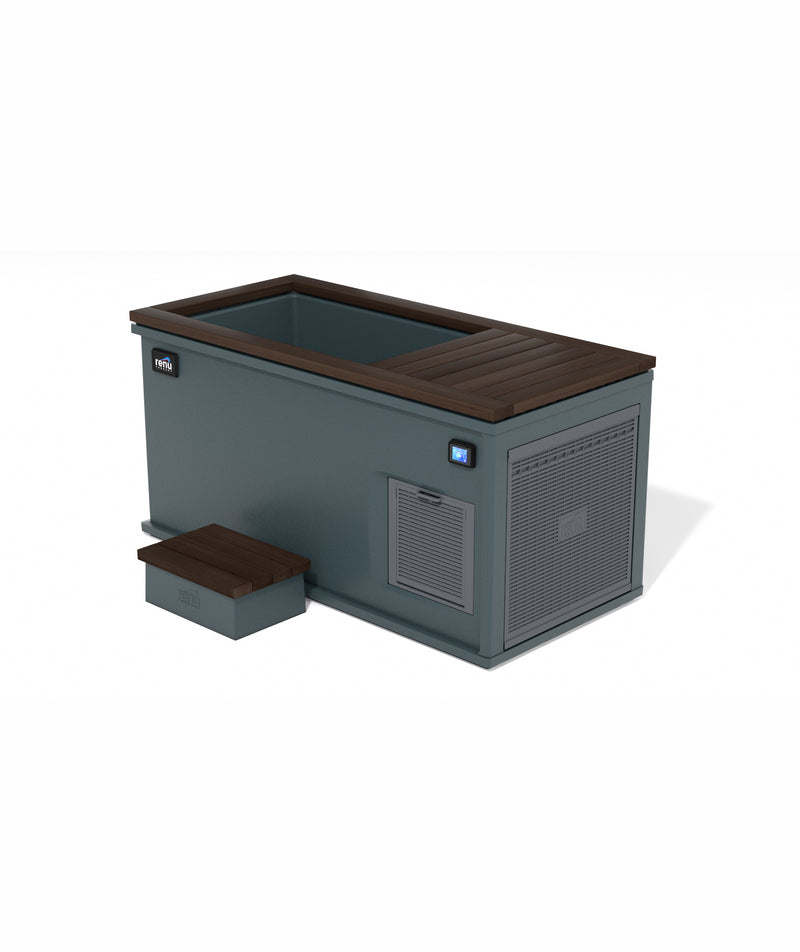
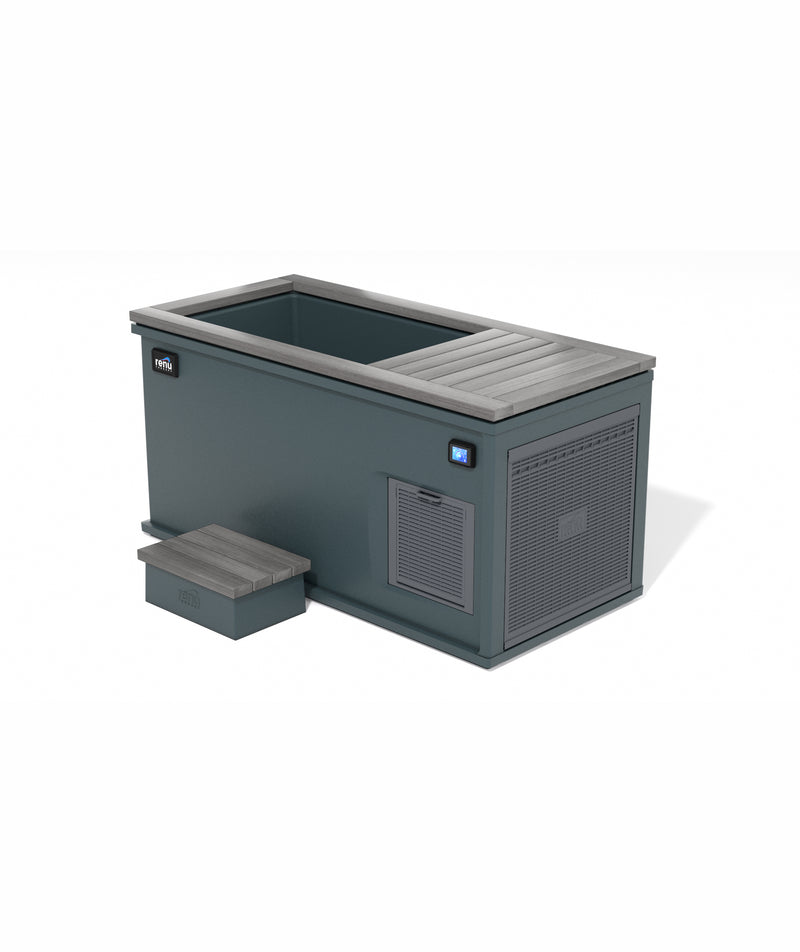
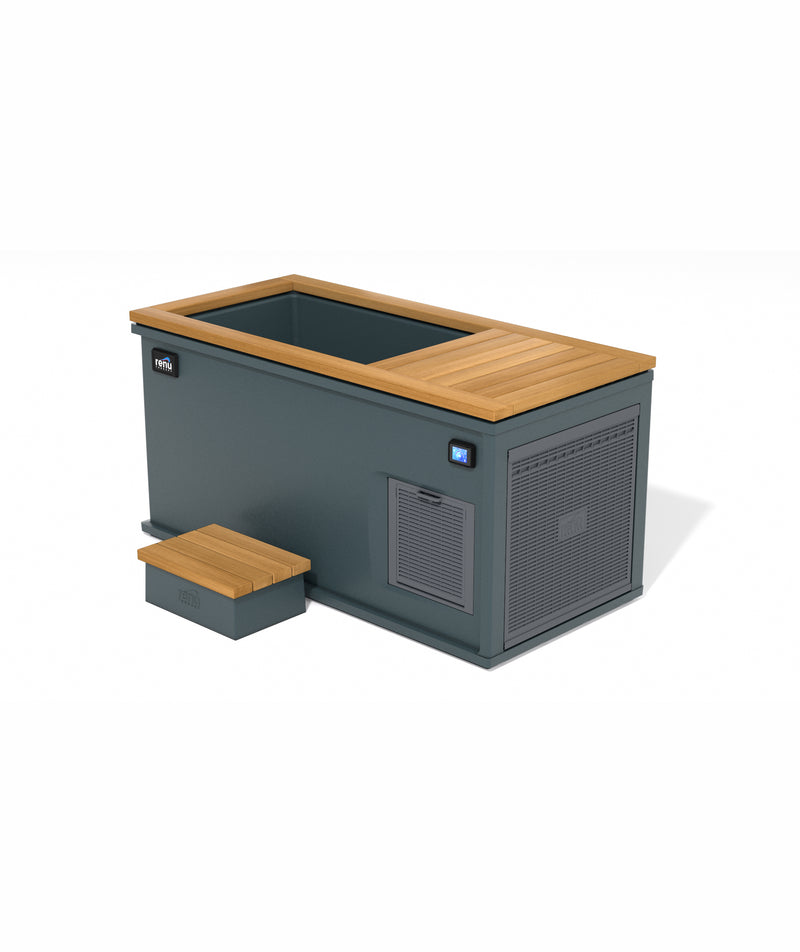
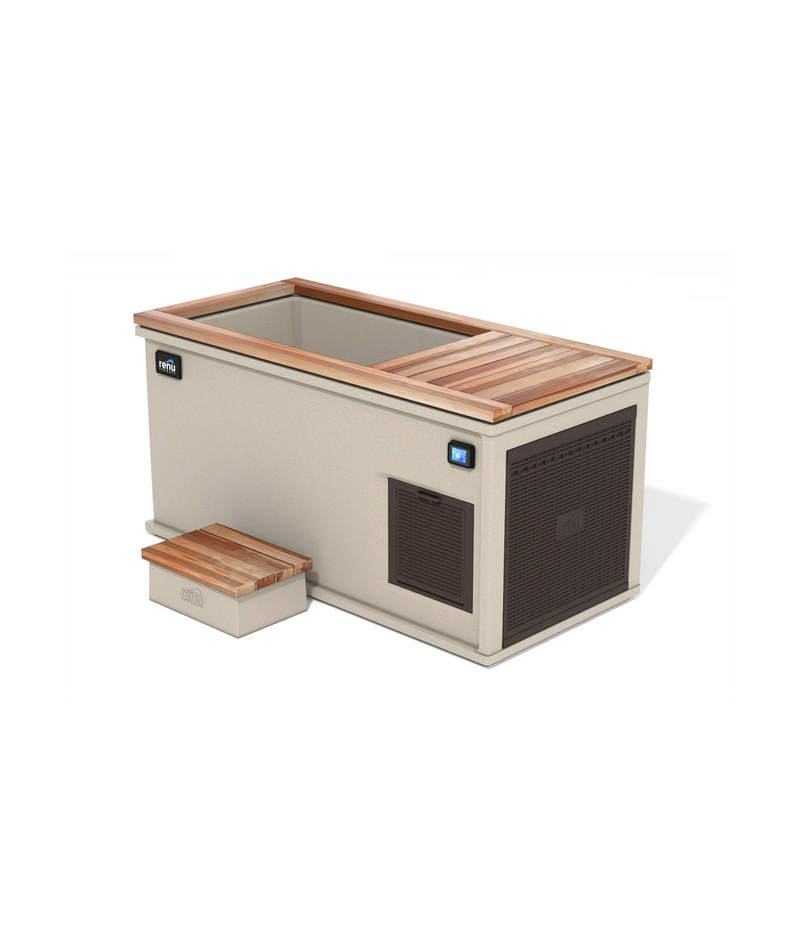
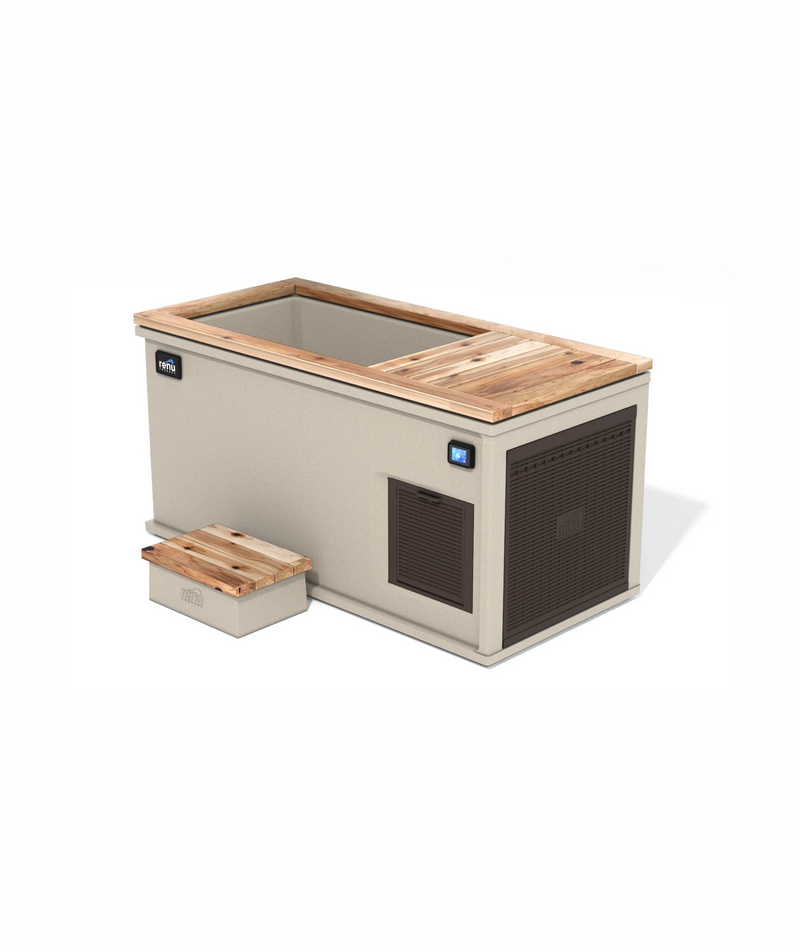
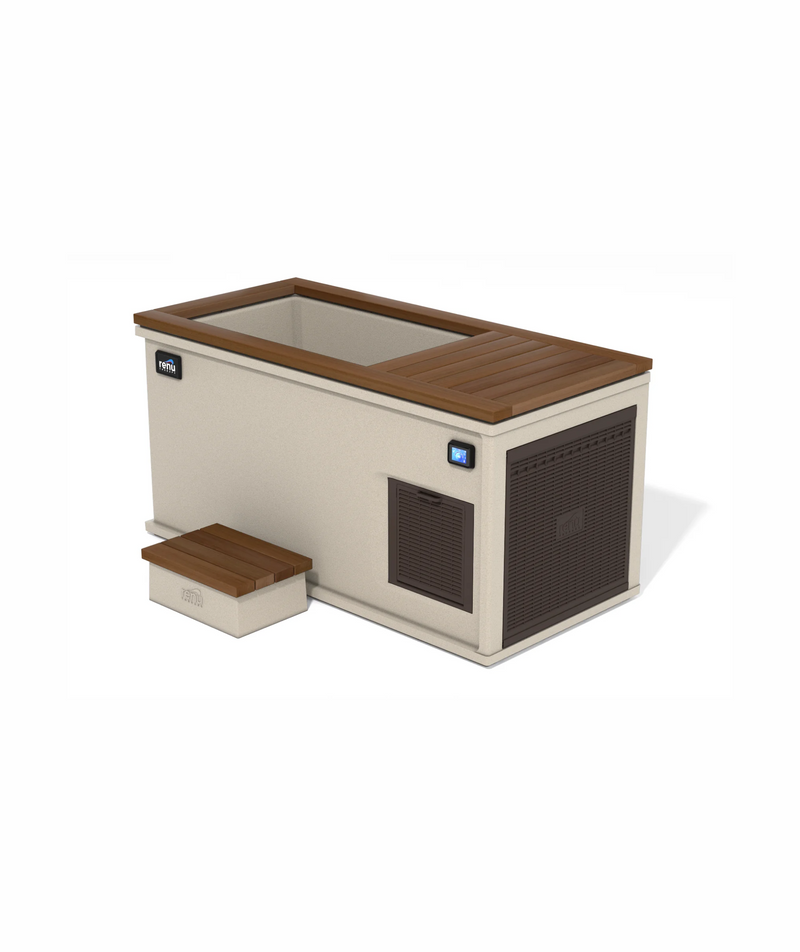
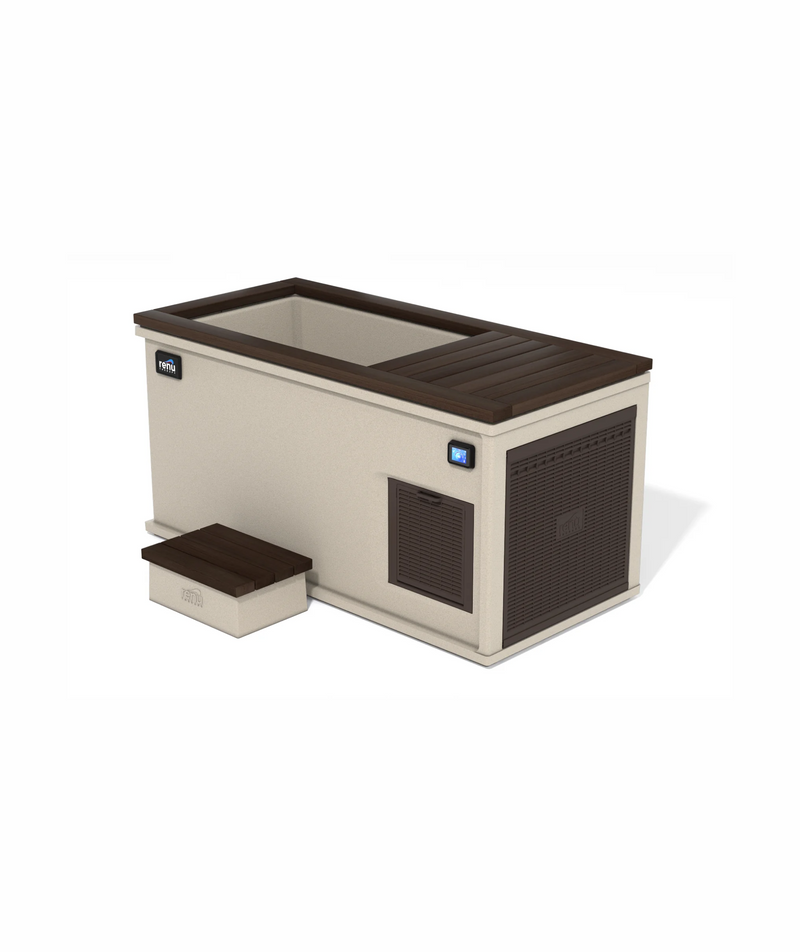
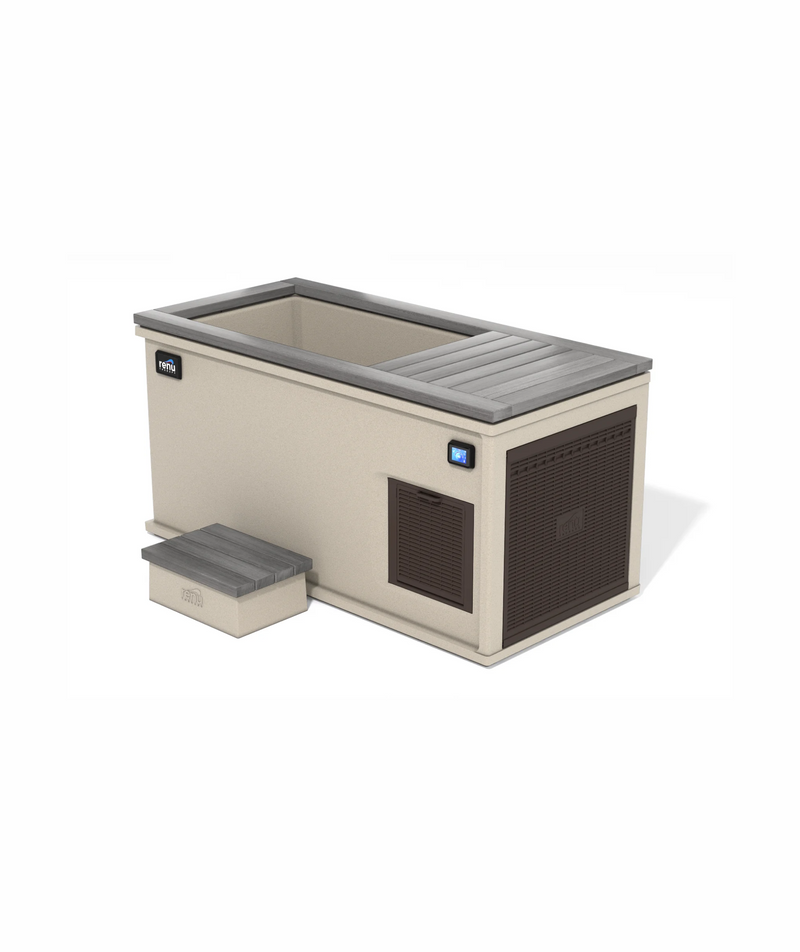
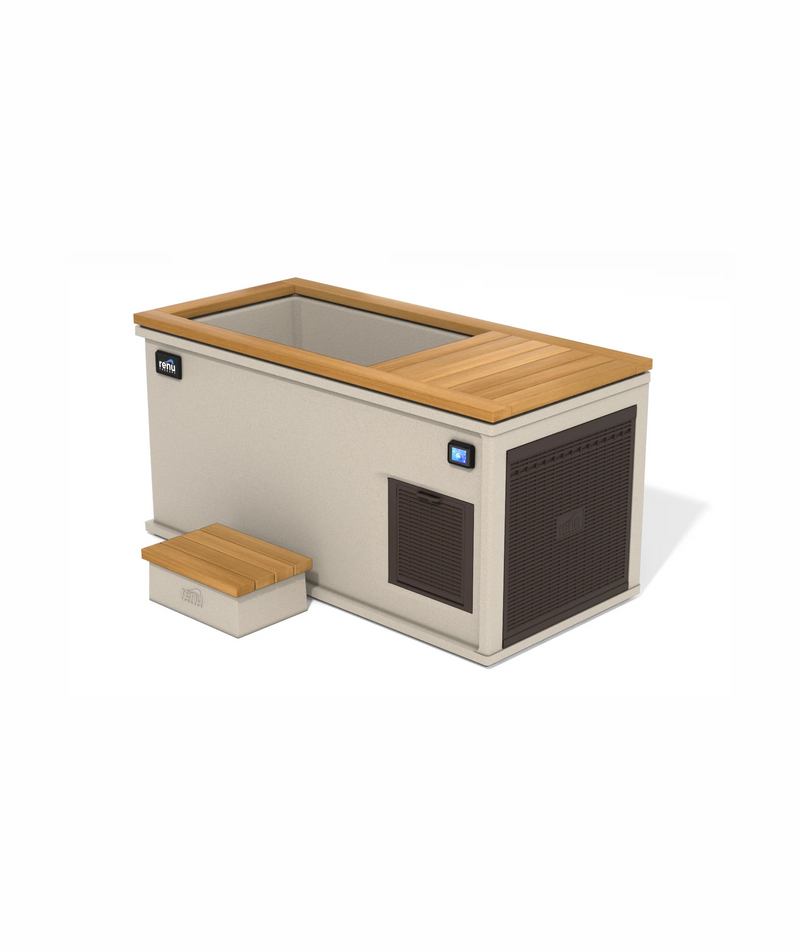
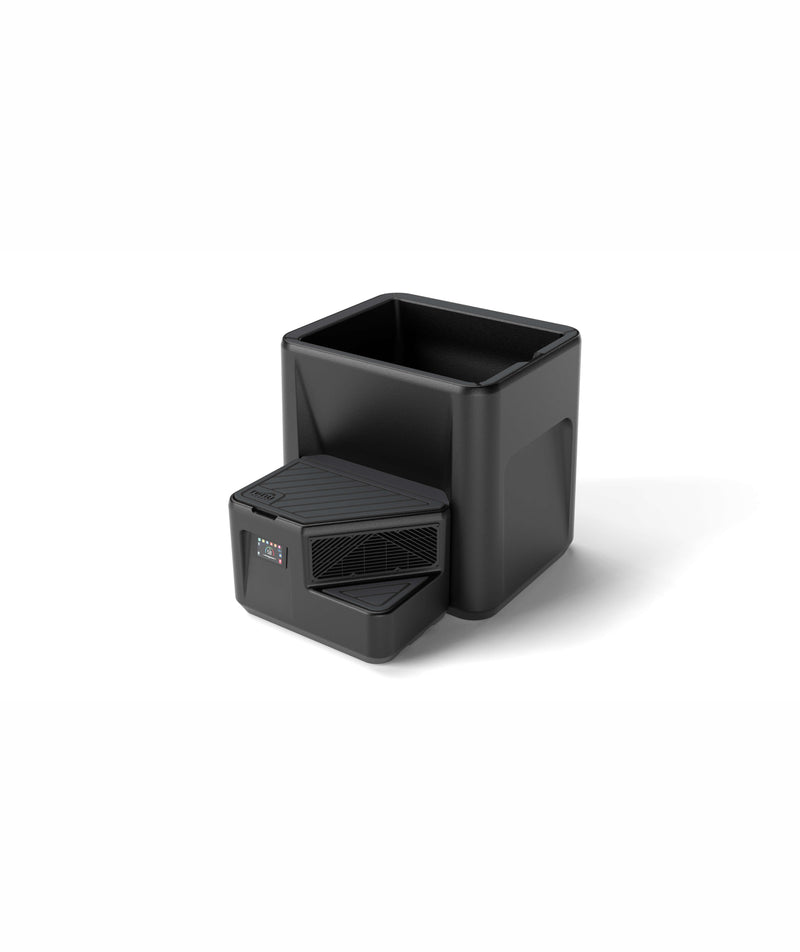
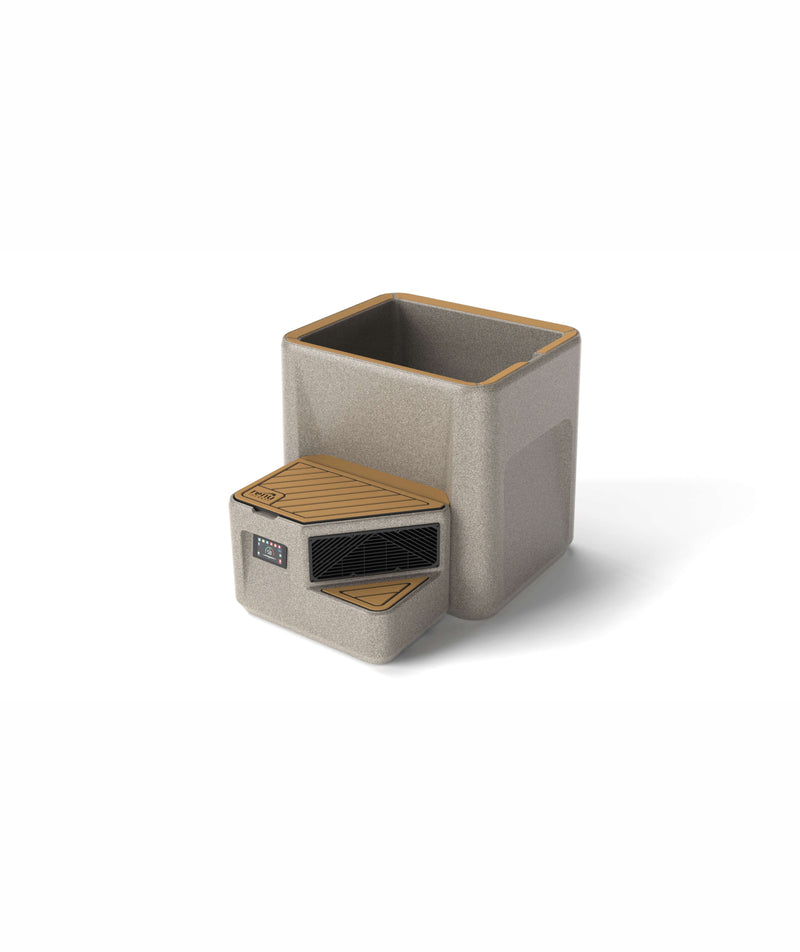
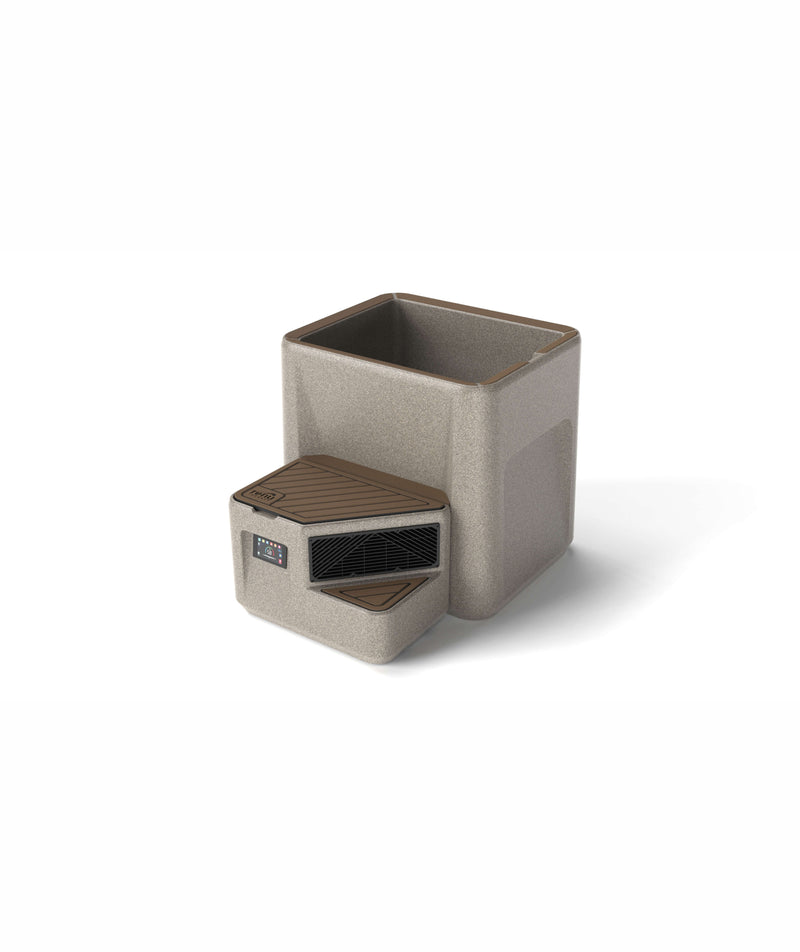
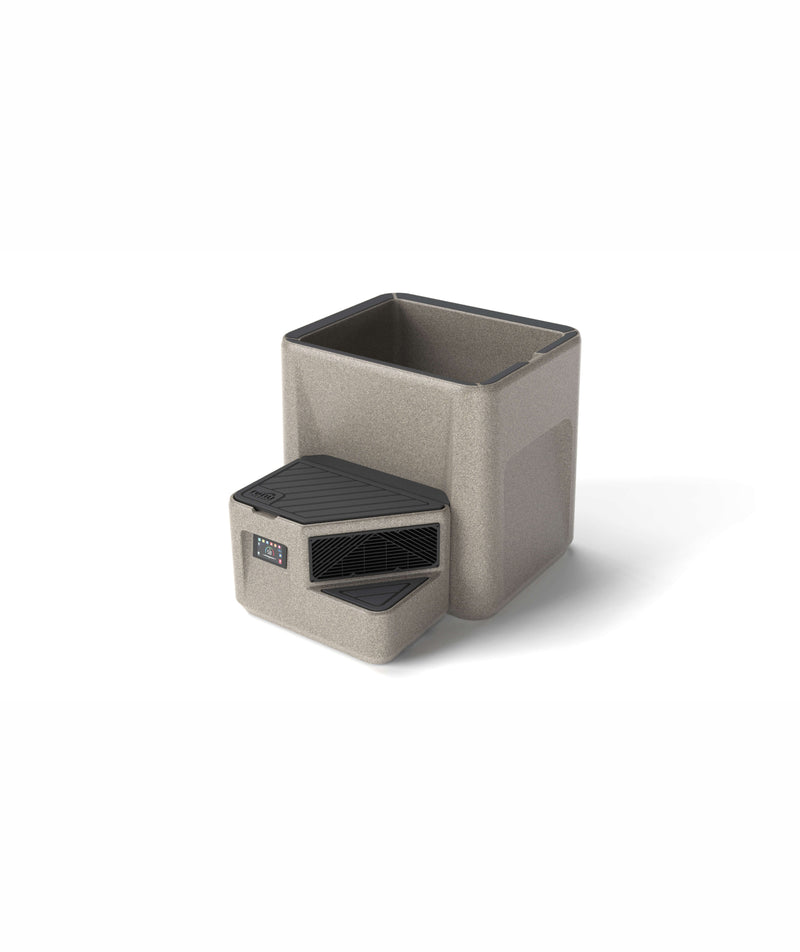
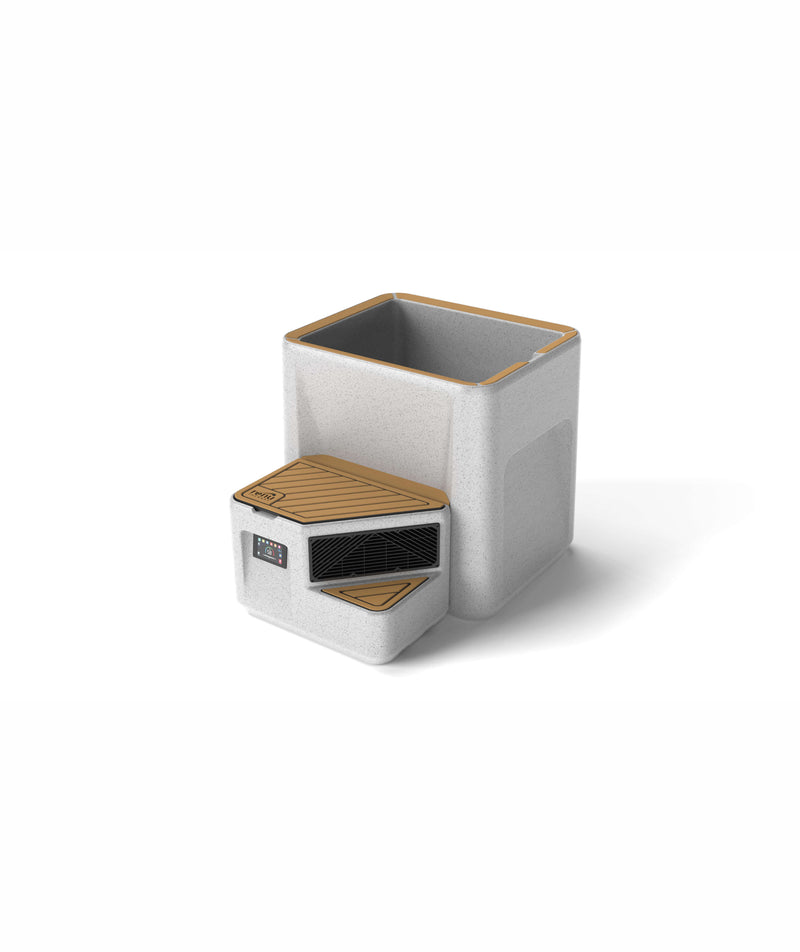
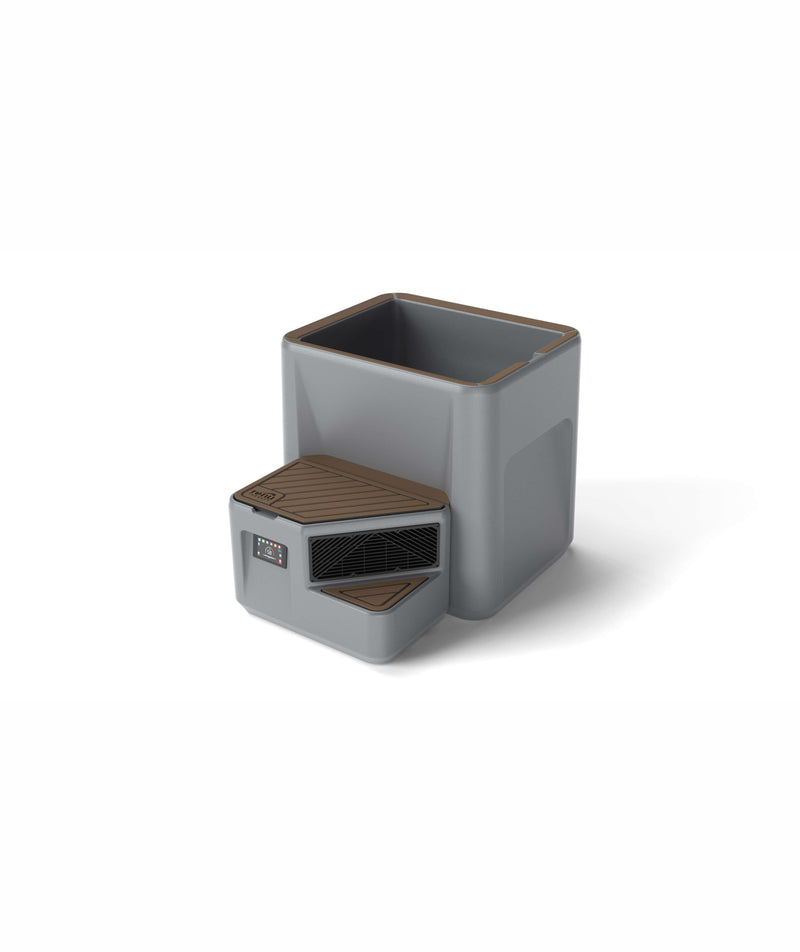
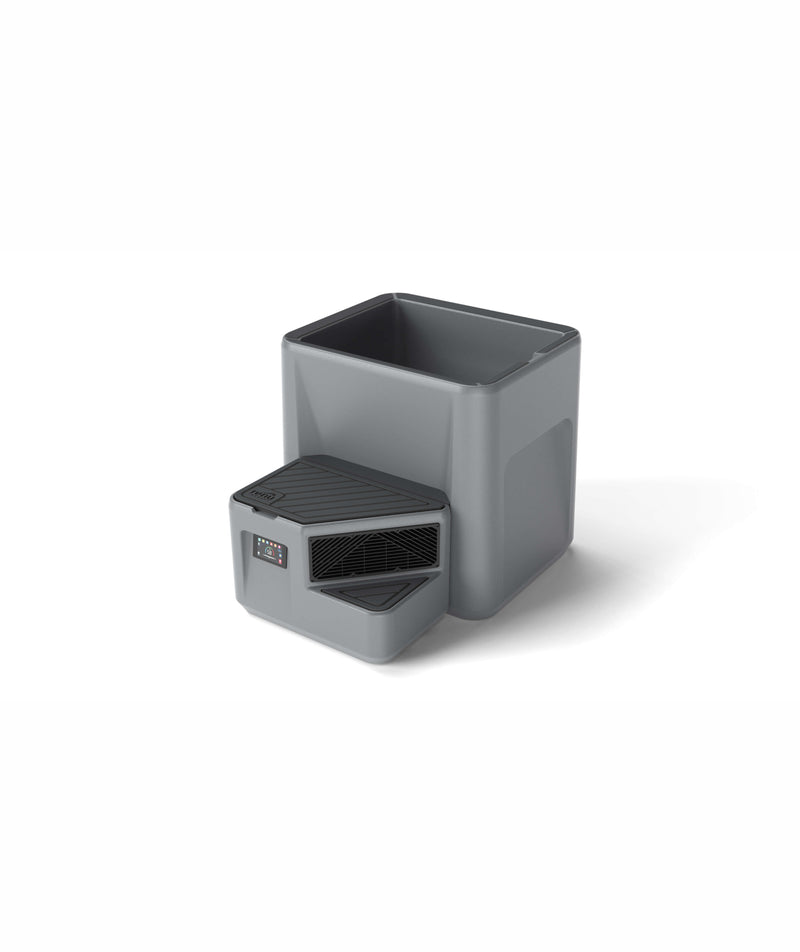
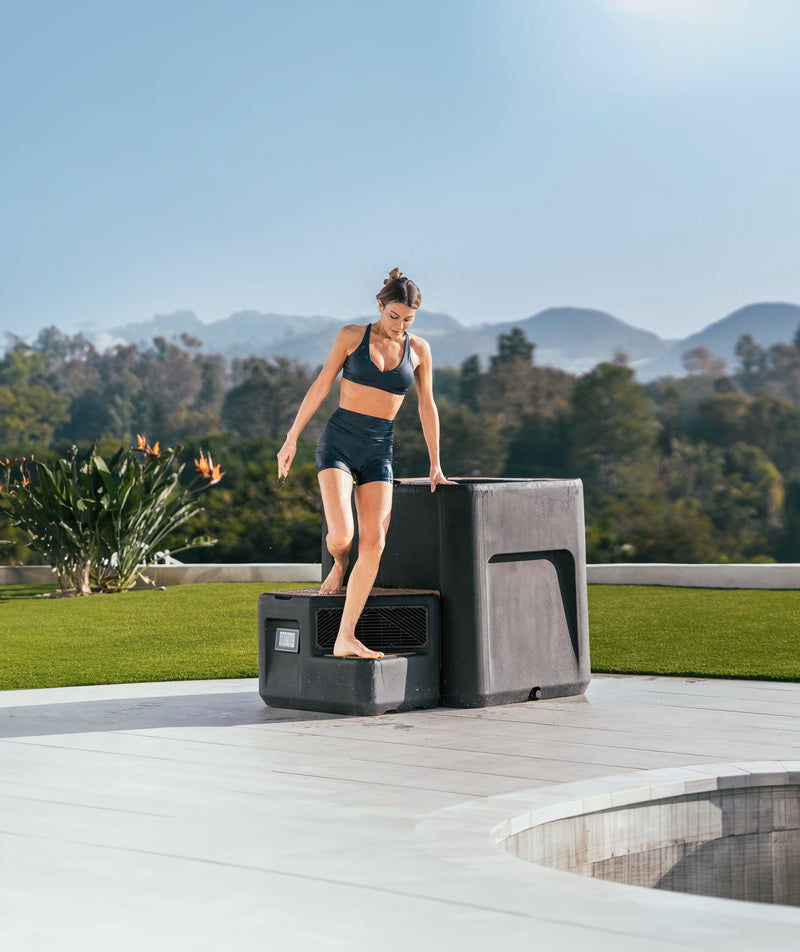
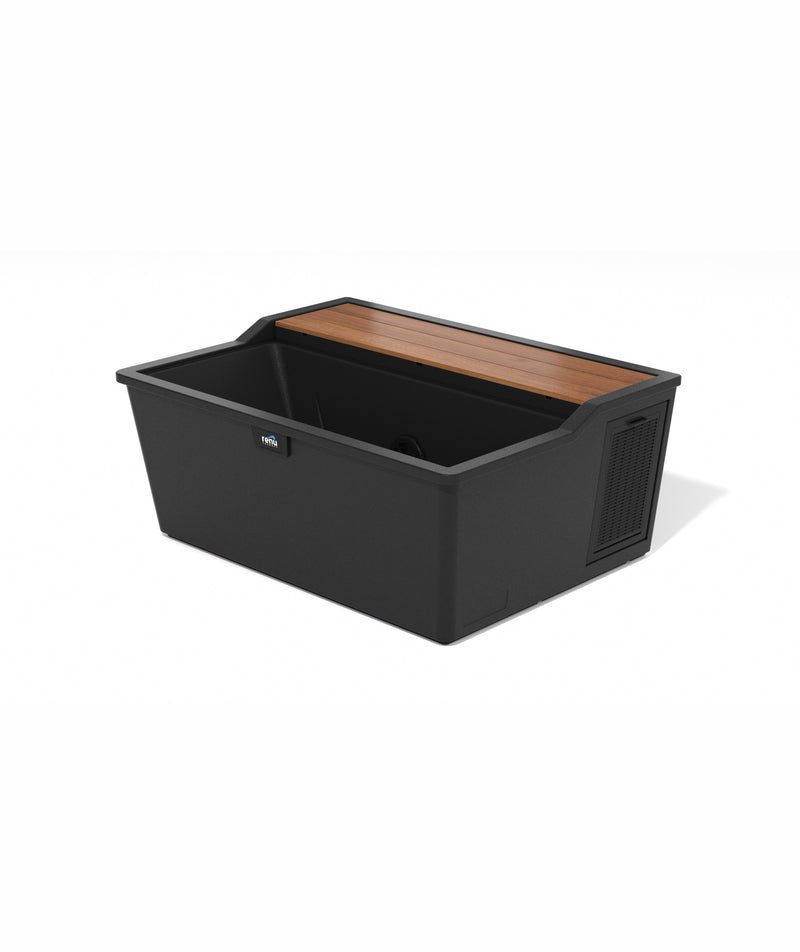
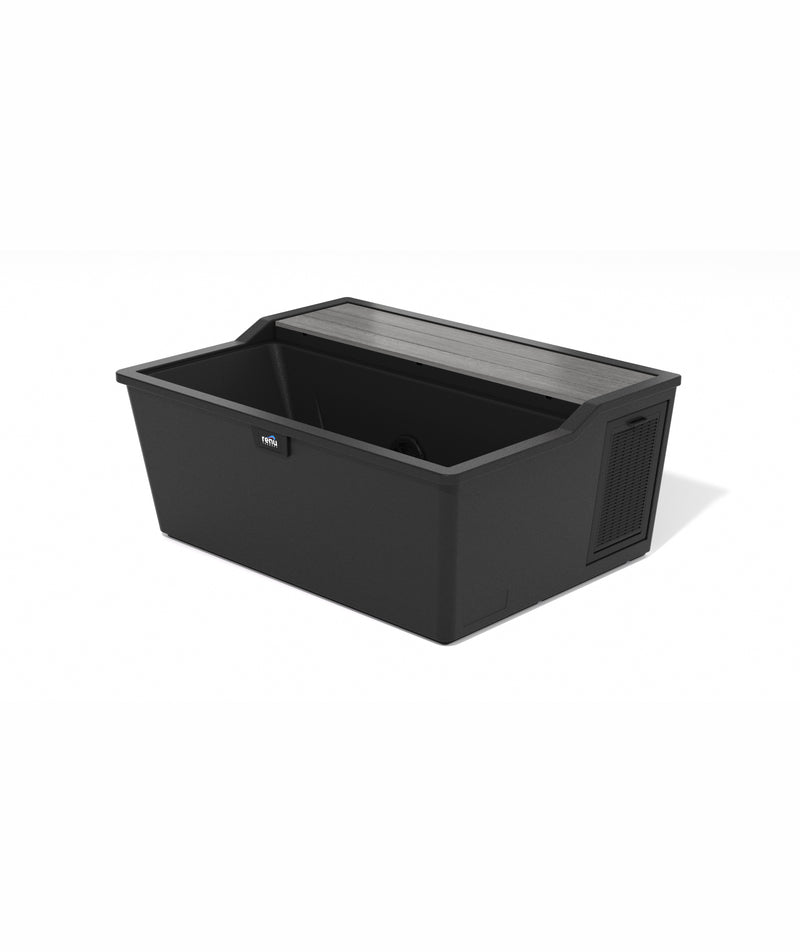
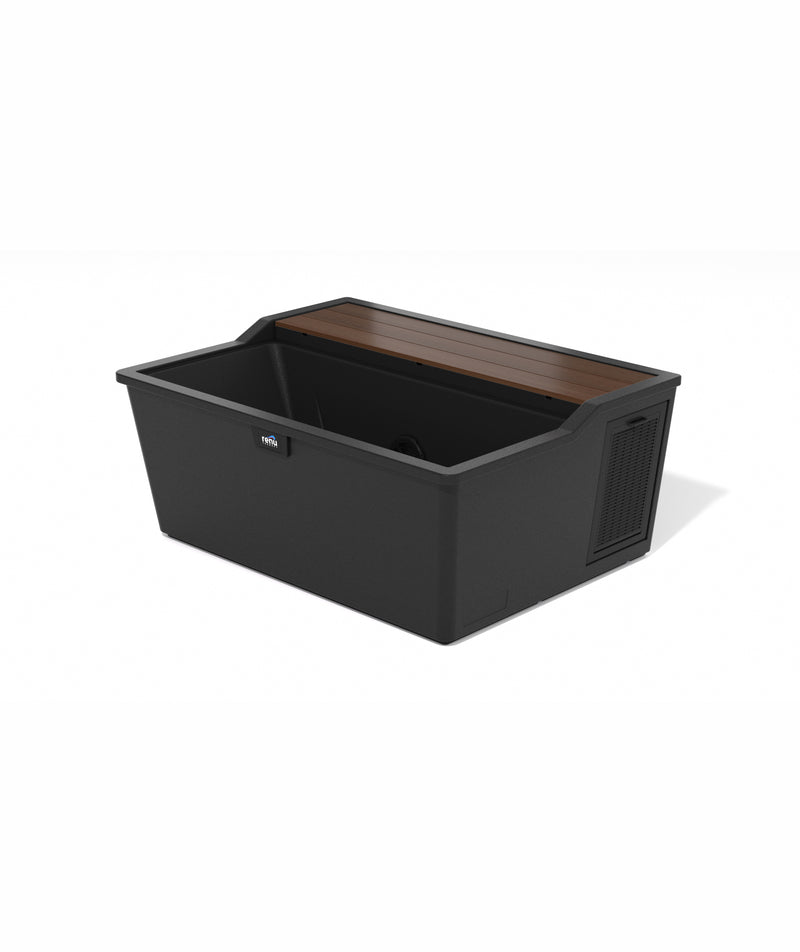
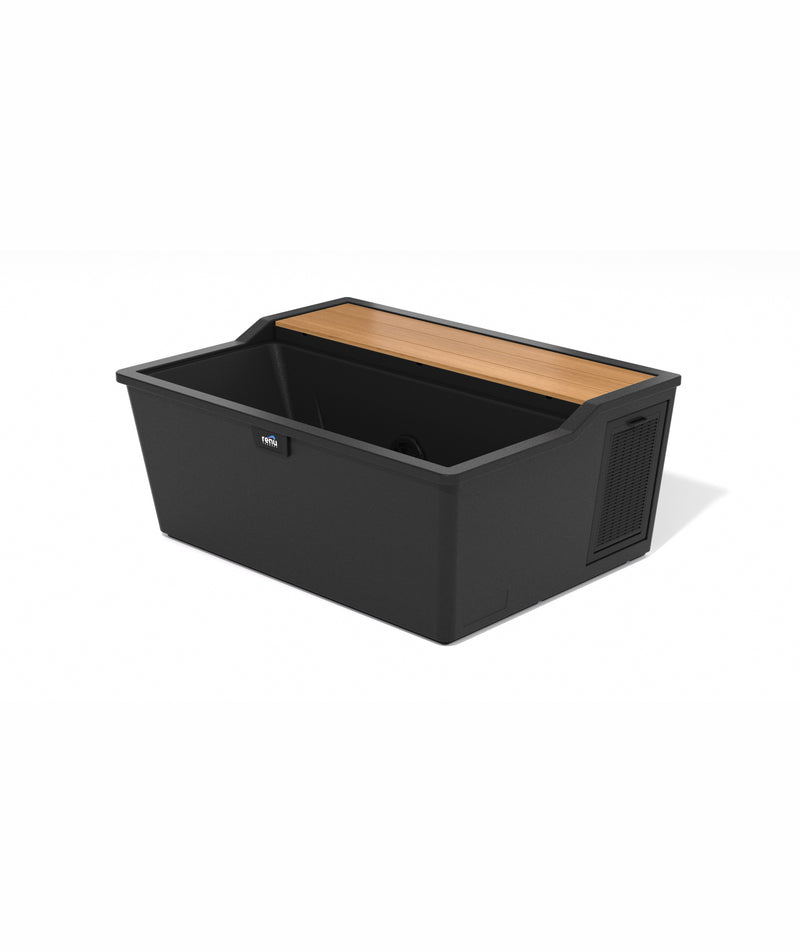
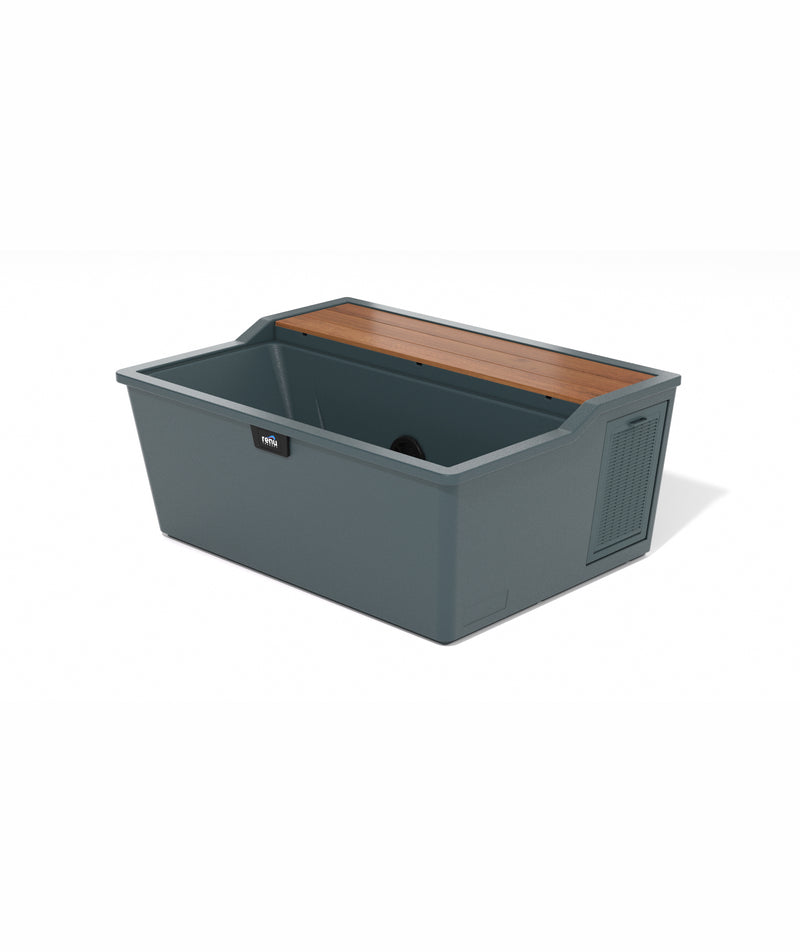
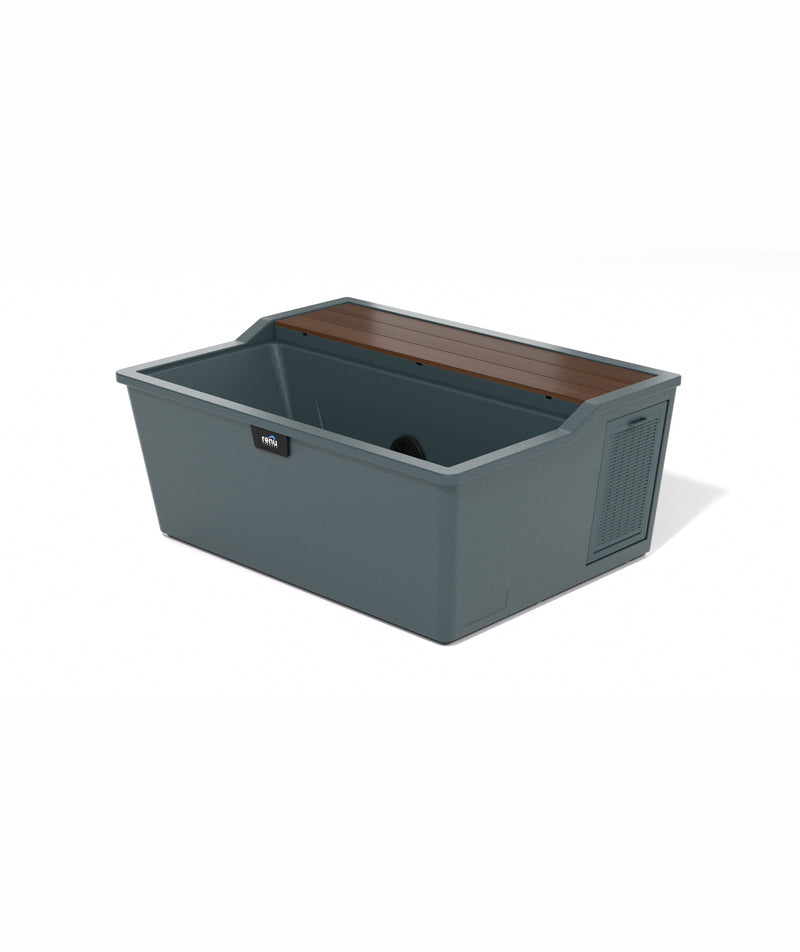
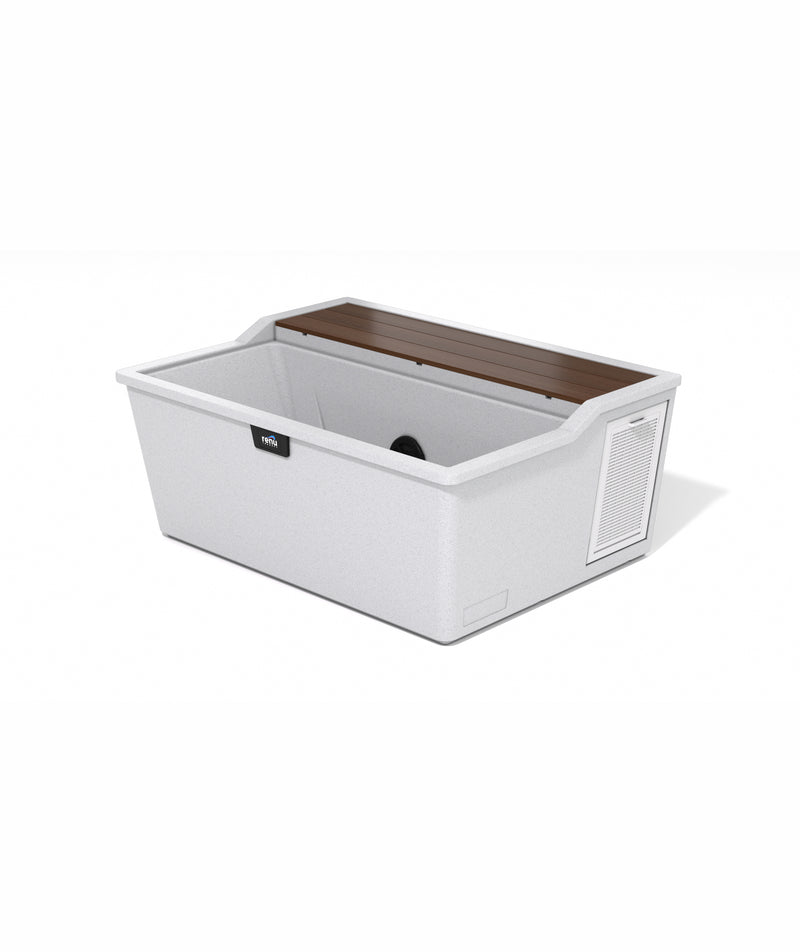
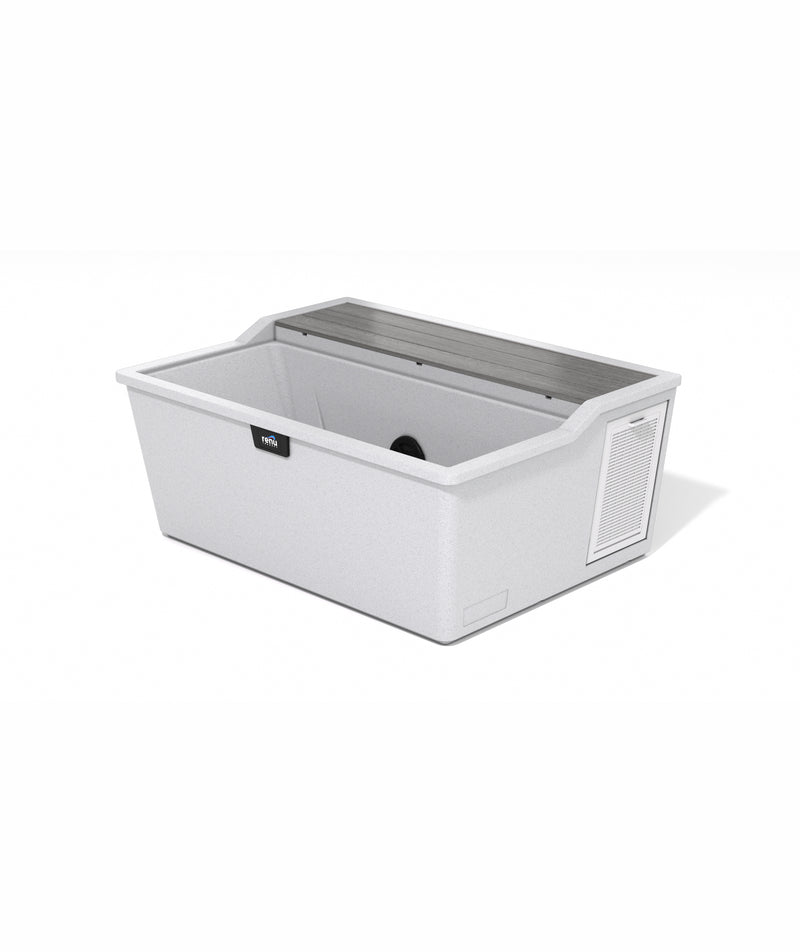
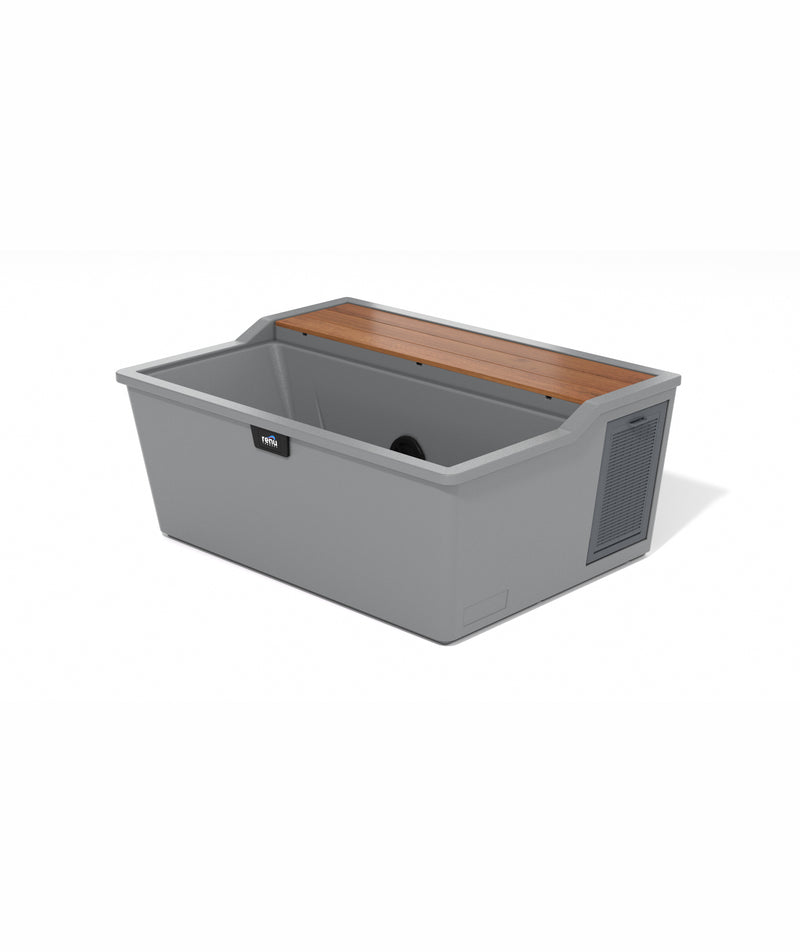
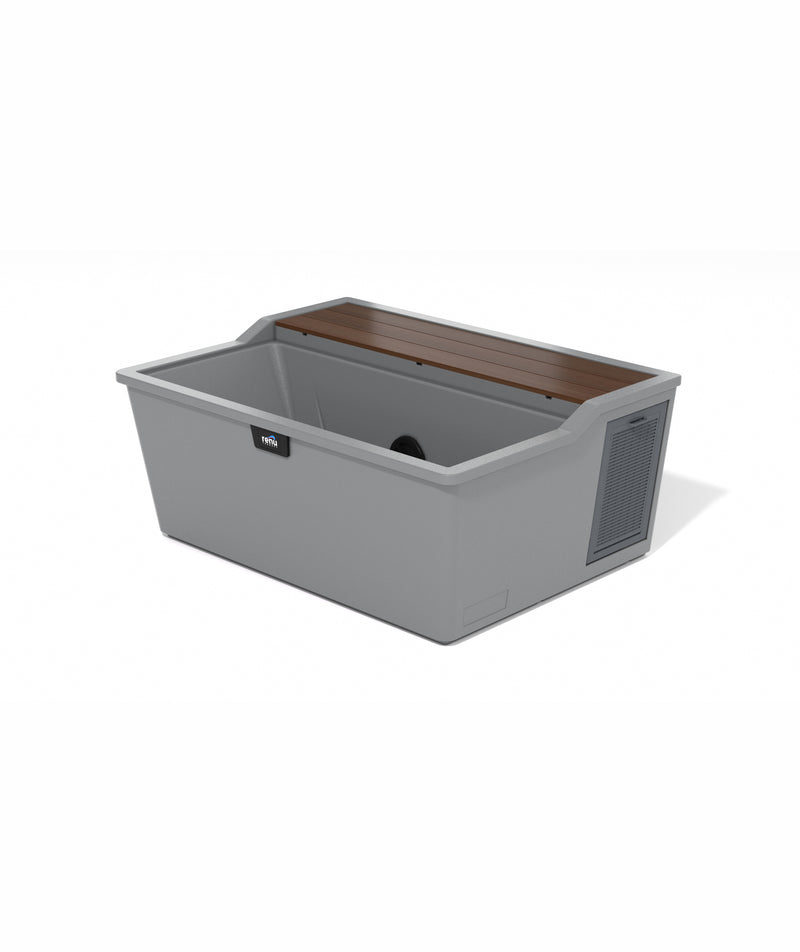
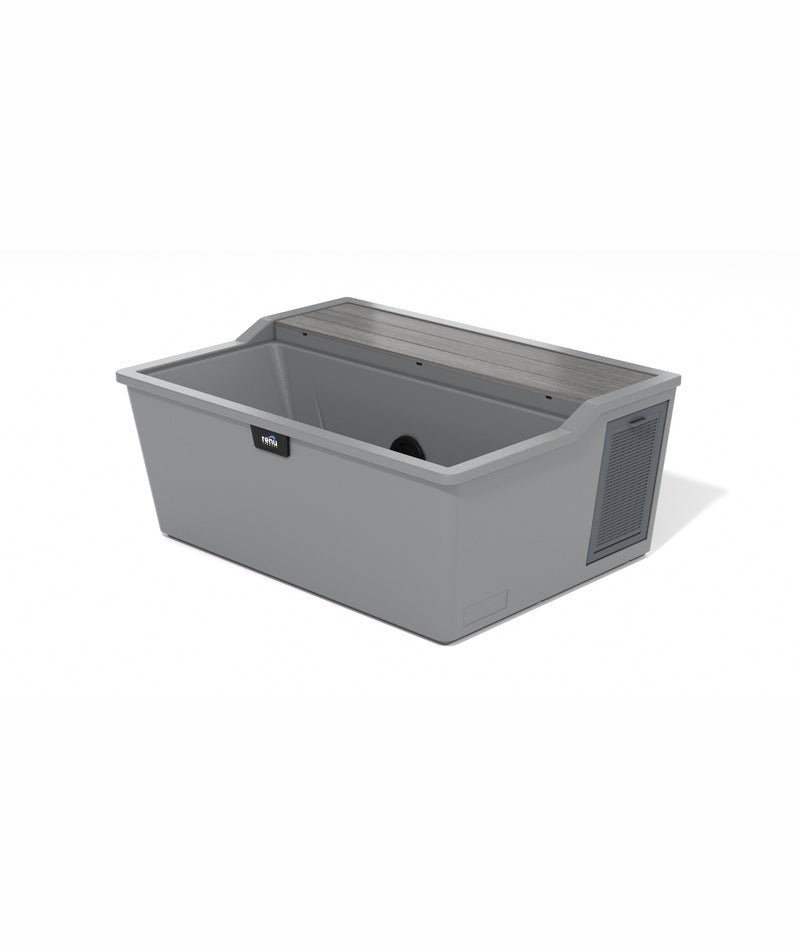
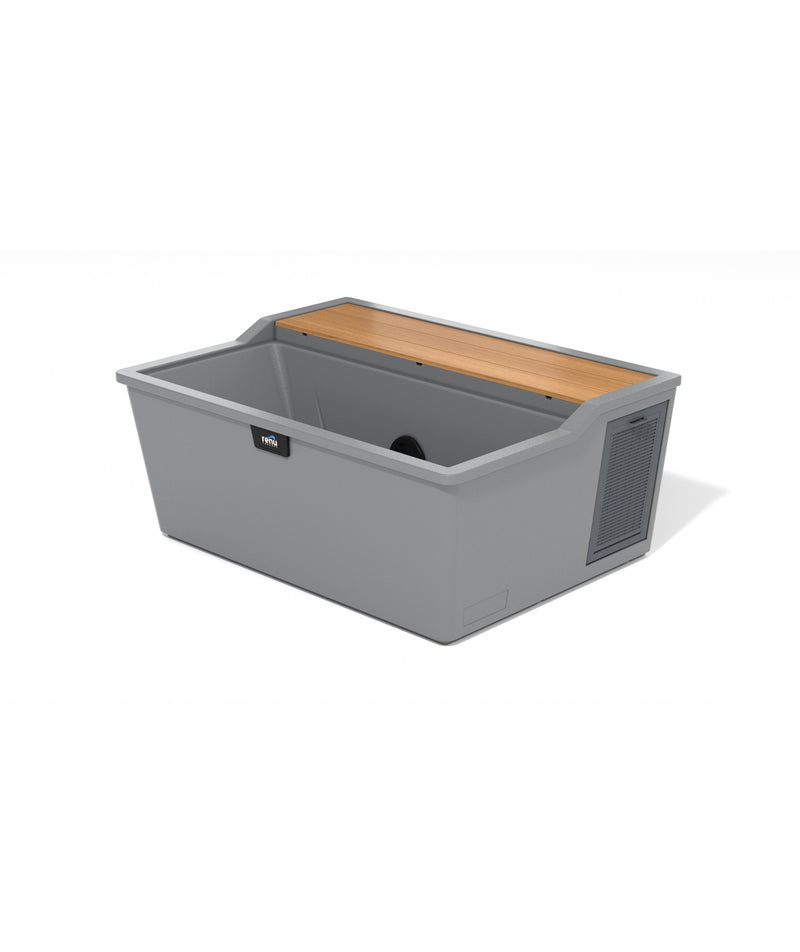
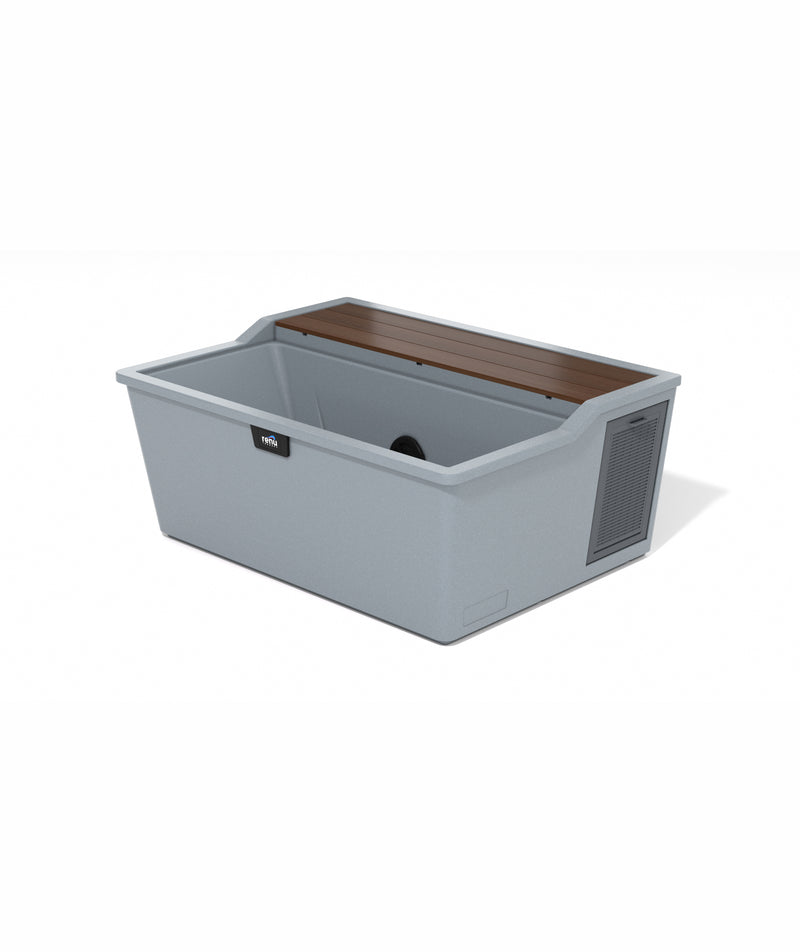
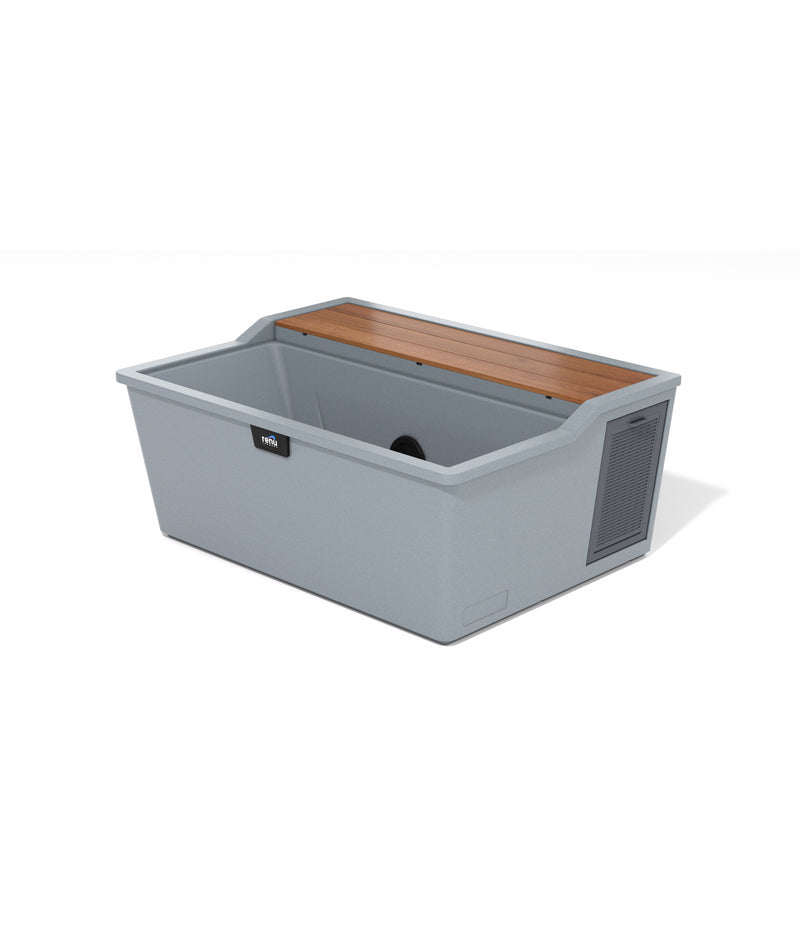
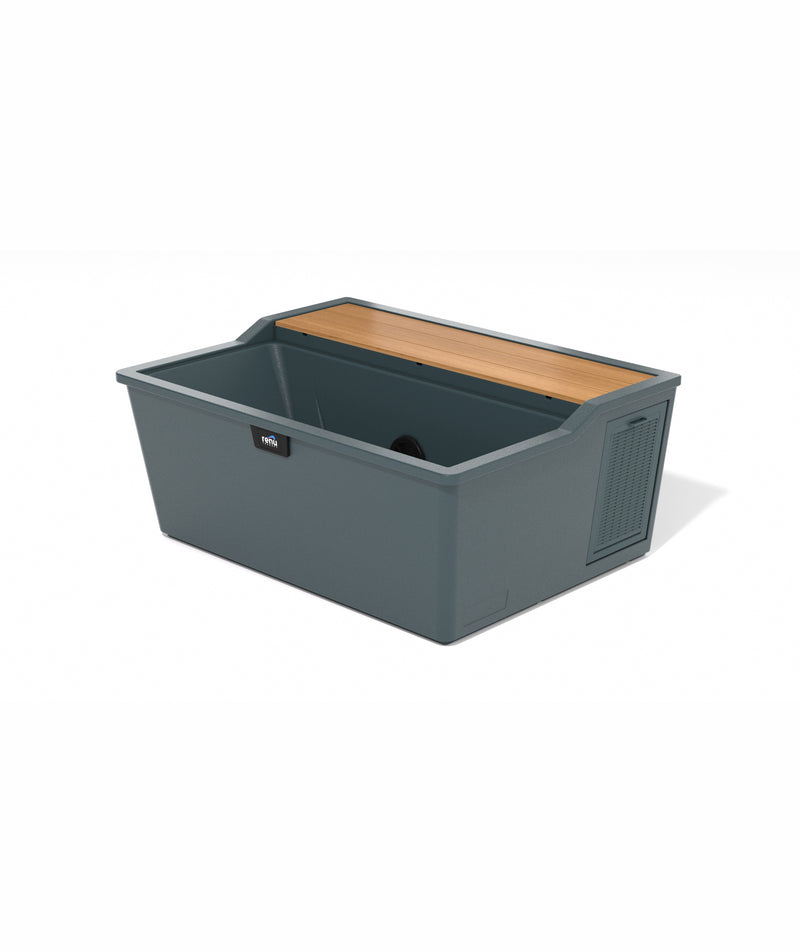
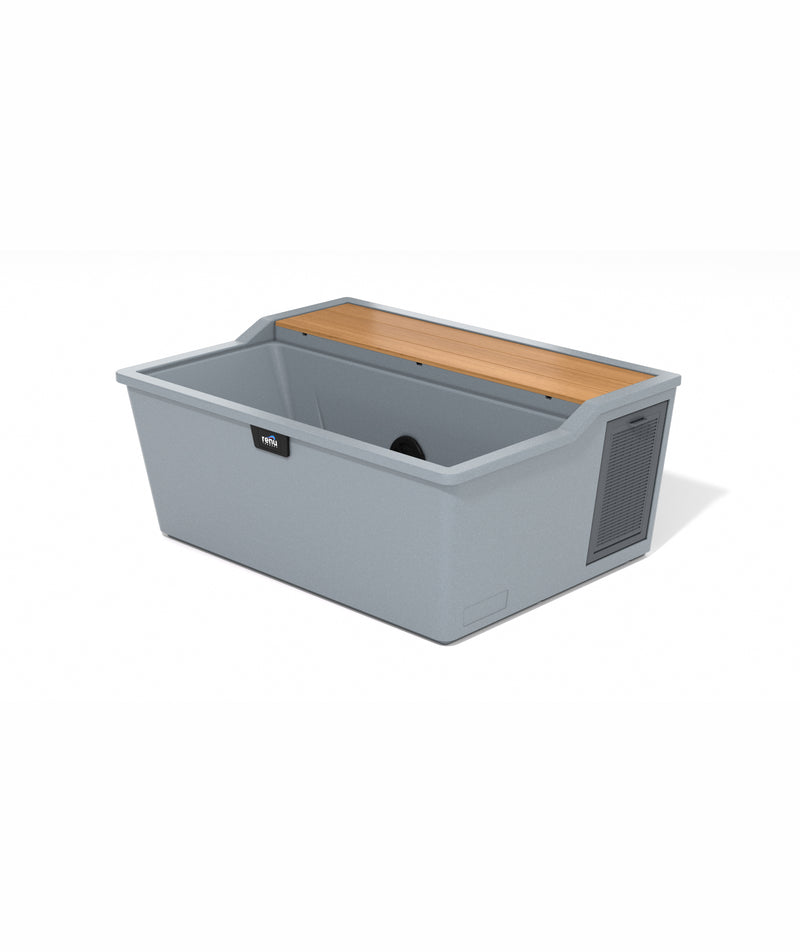
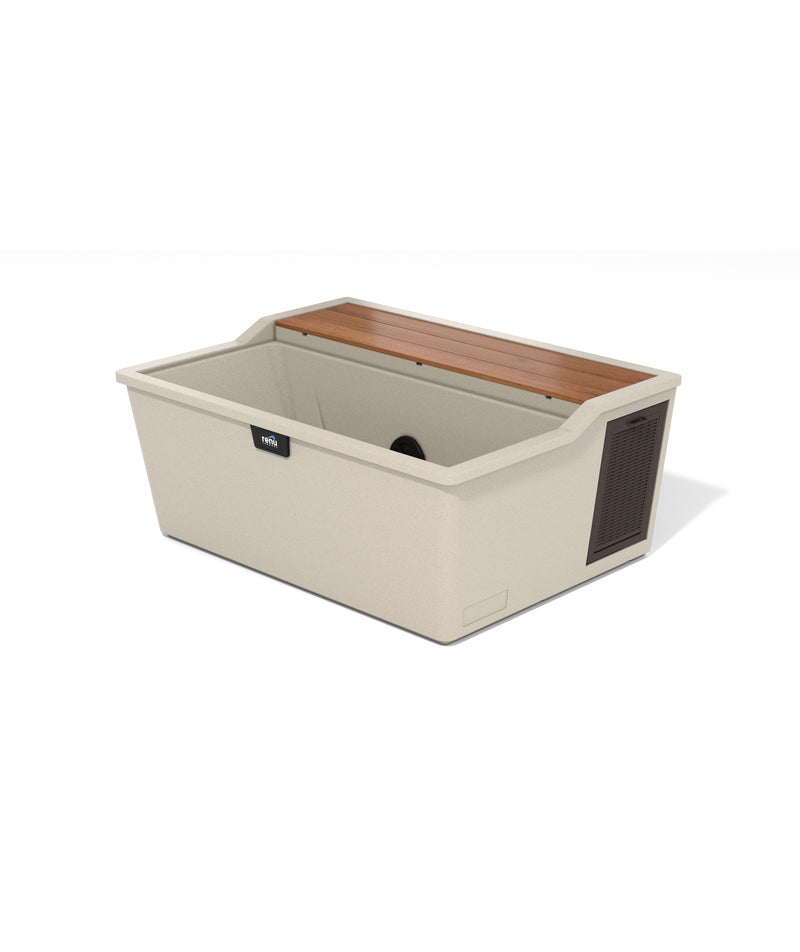
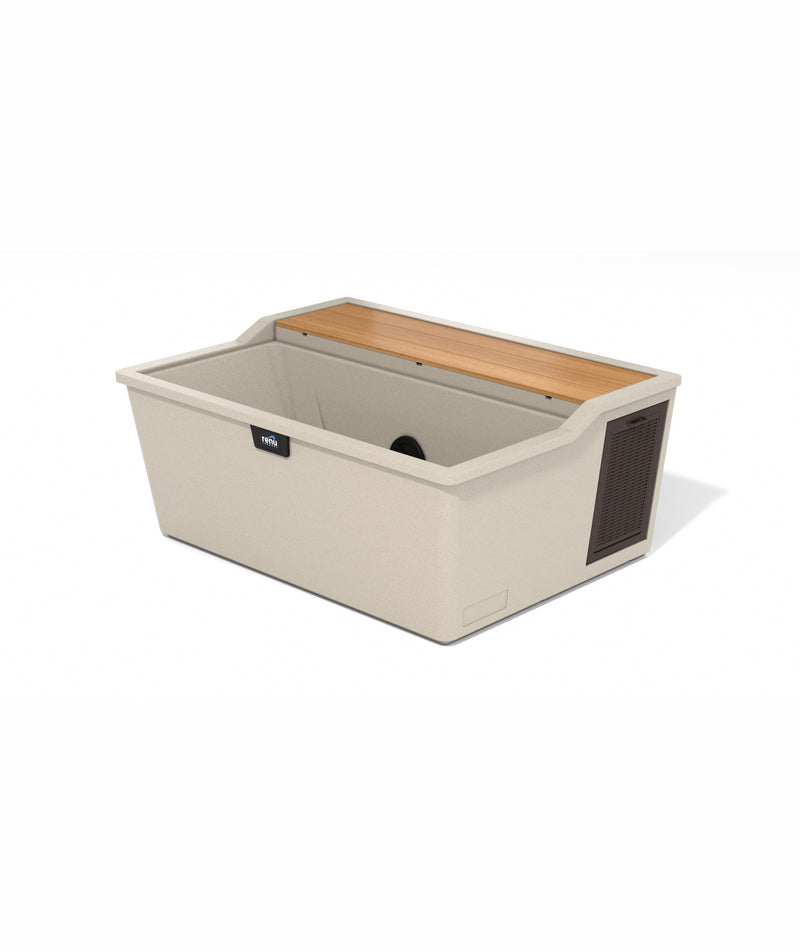
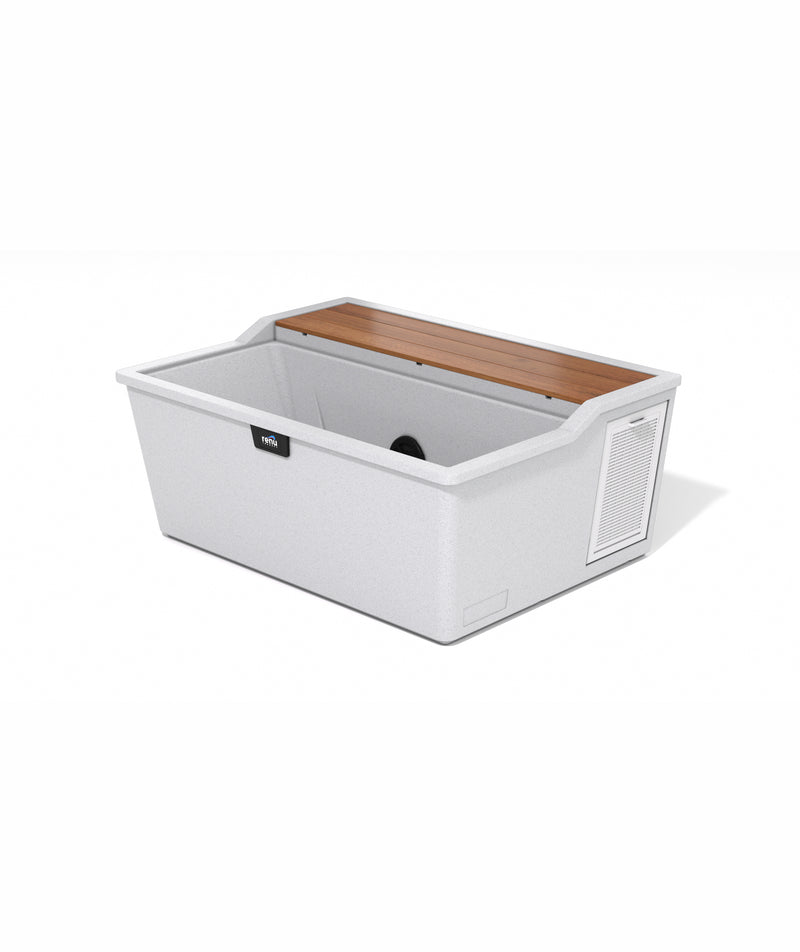
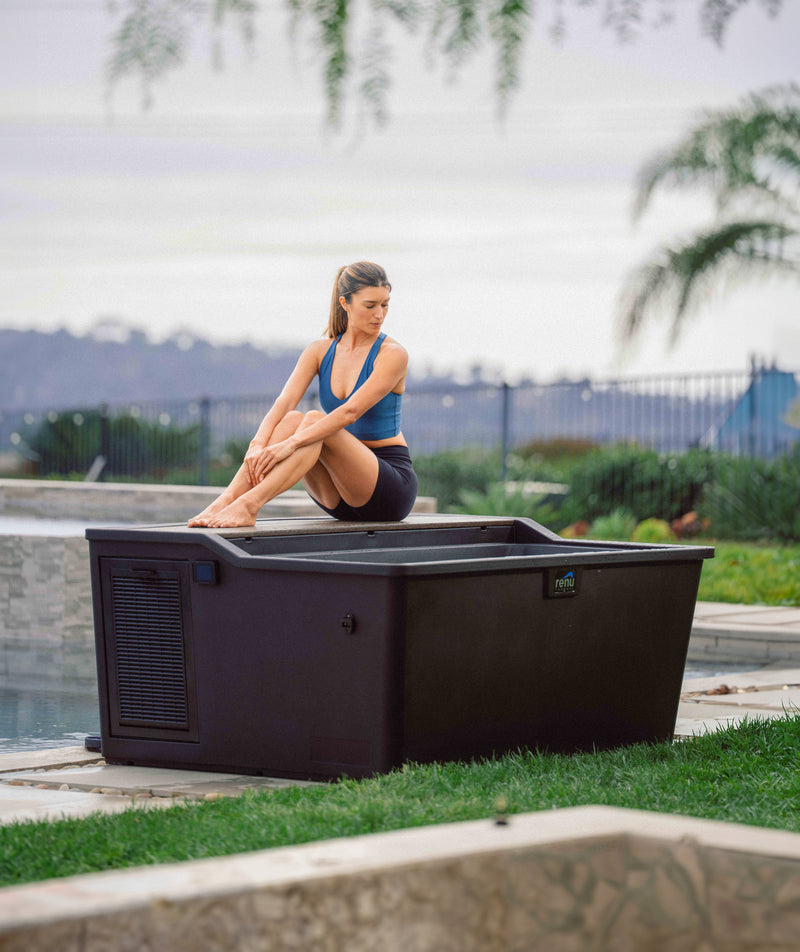
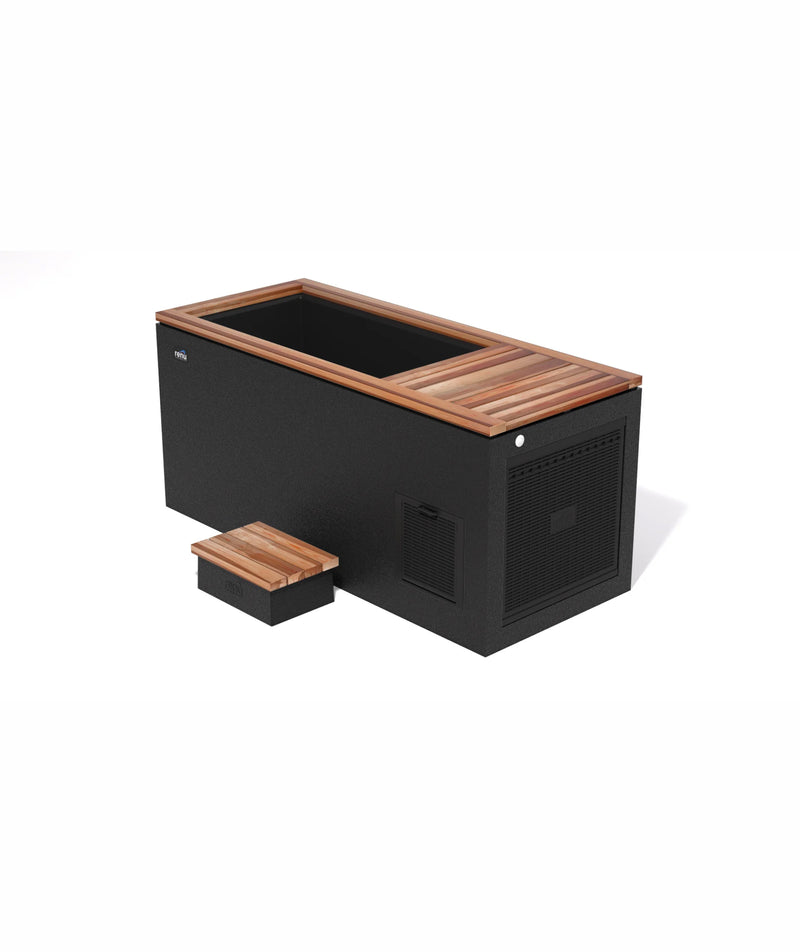
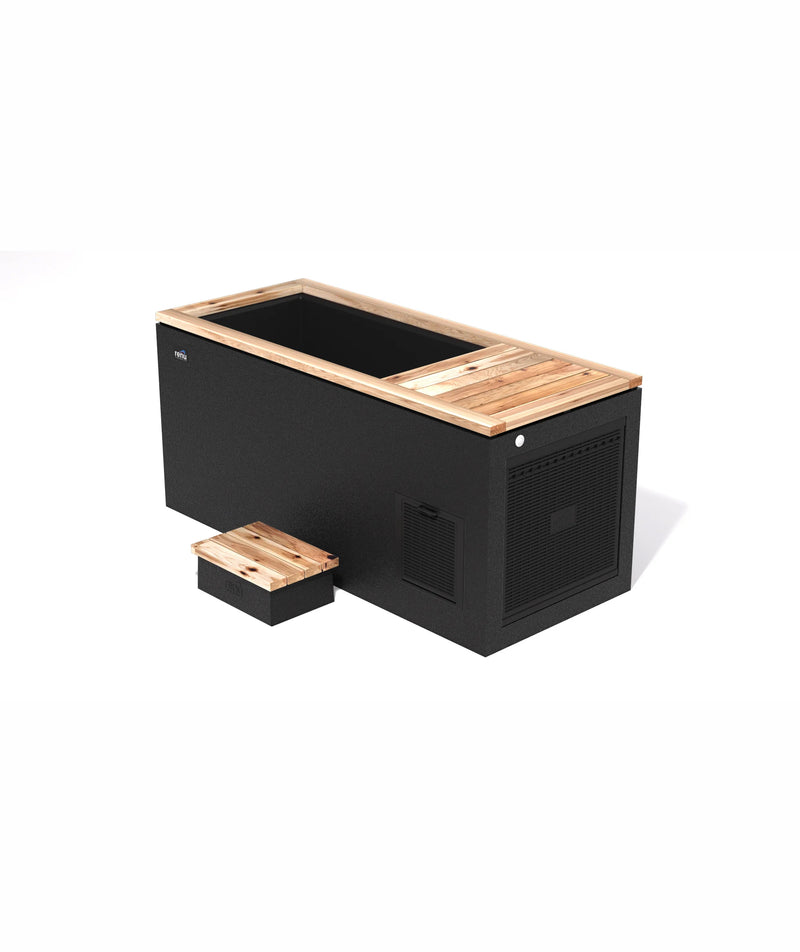
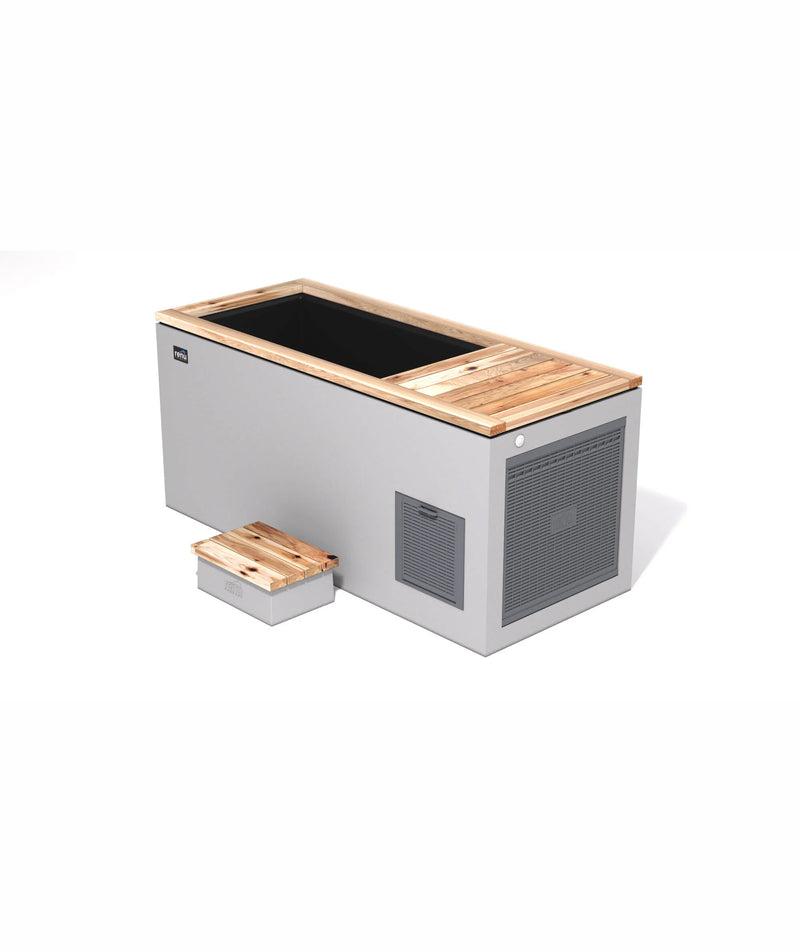
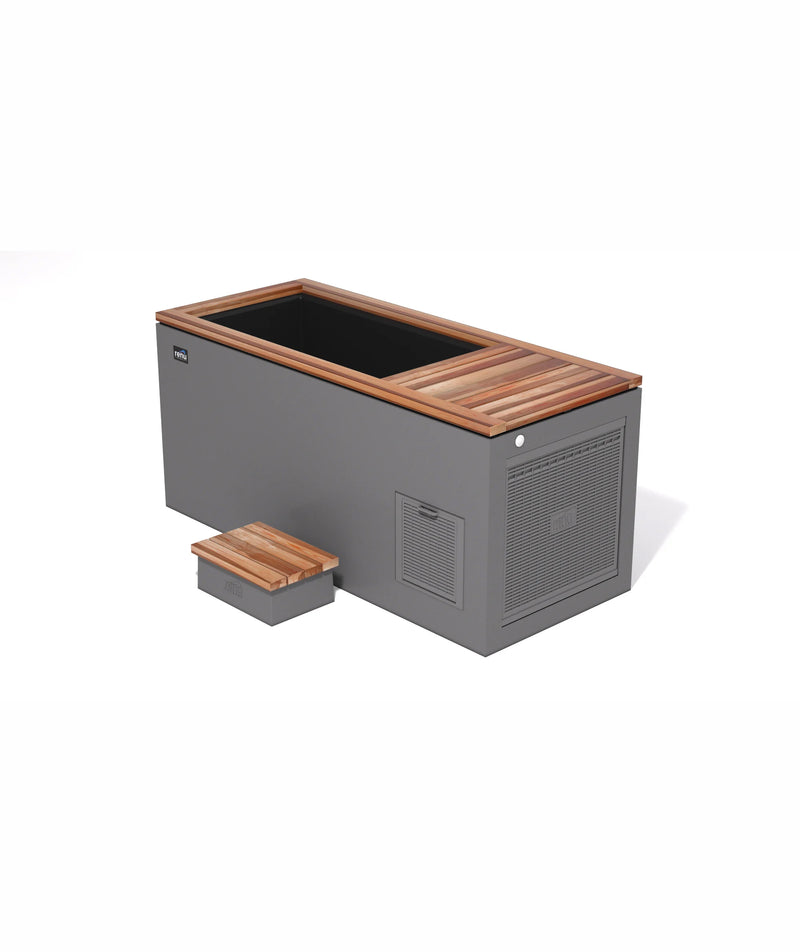
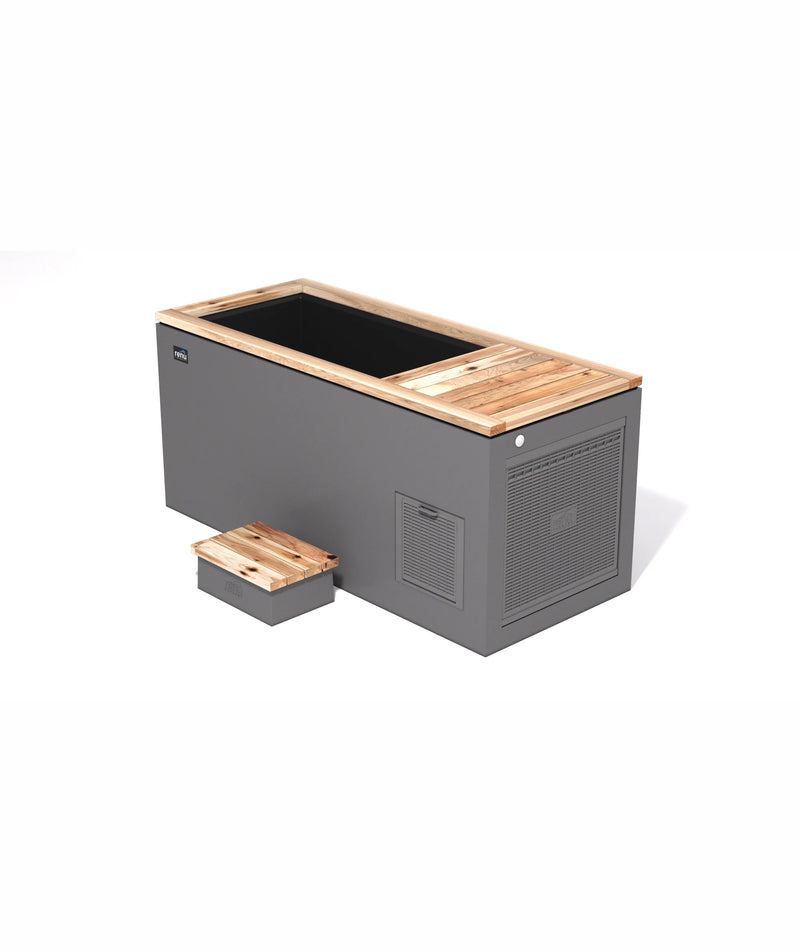
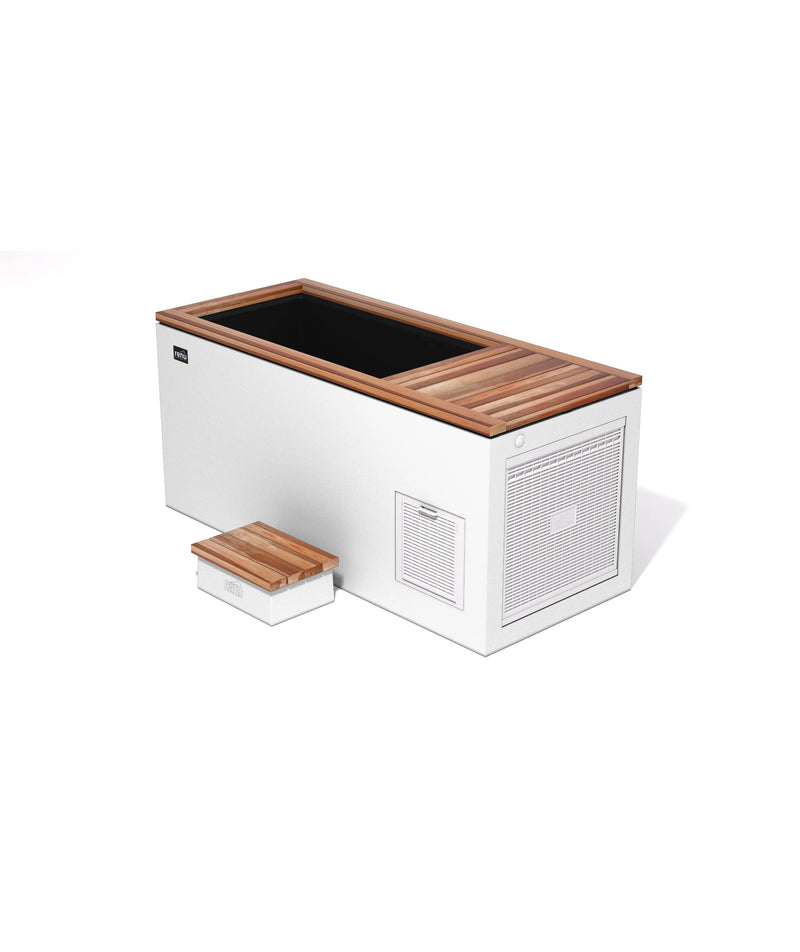
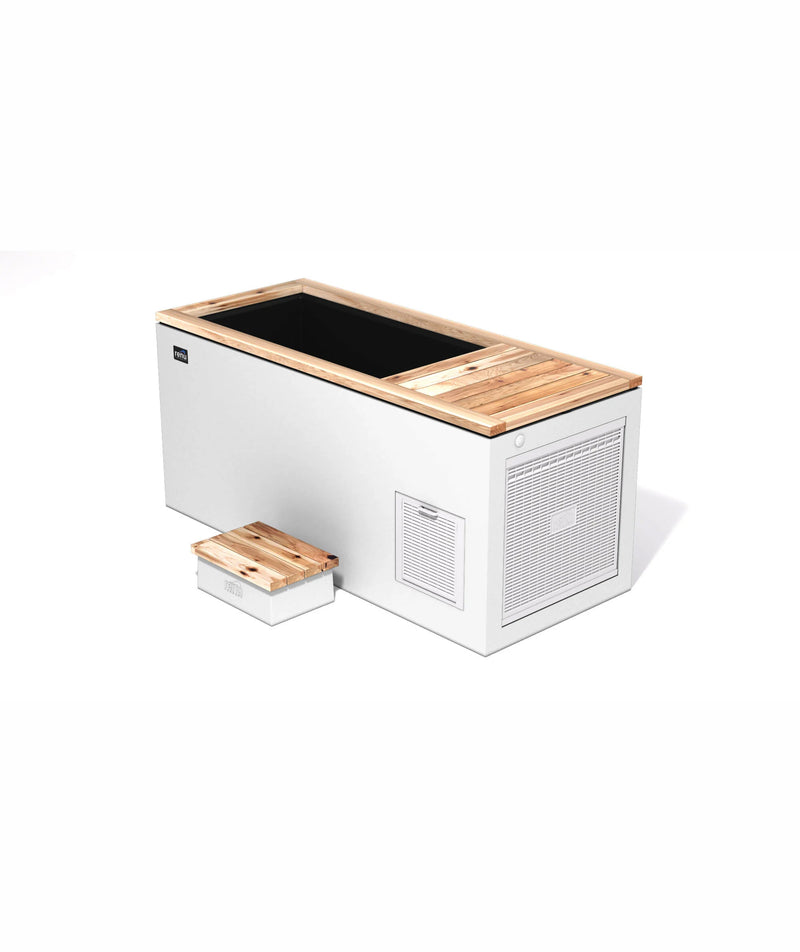
Bill Bachand, Founder of Renu Therapy put together this quick guide on how to set up your Renu Cold Plunge Tanks.
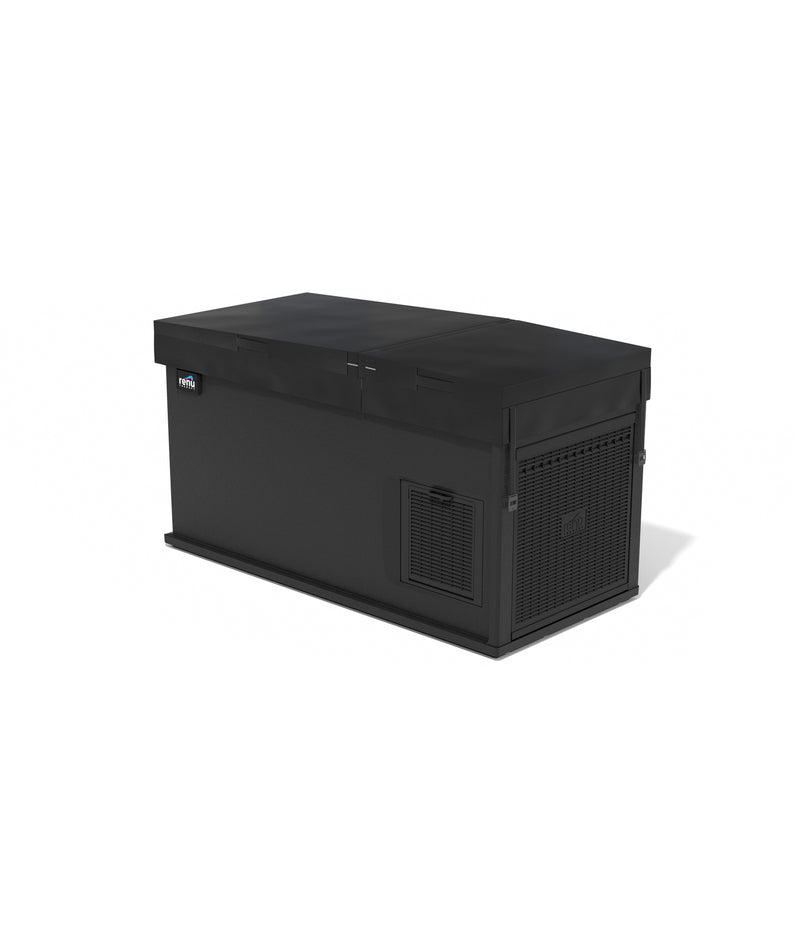
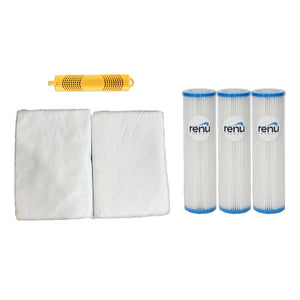
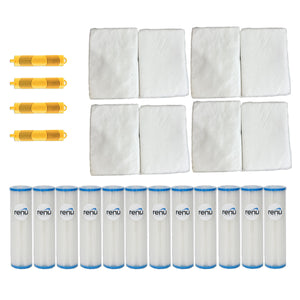
First, Begin with taking off the insulated lid, set it aside, and you want to take out anything that might be inside. (Some customers are including maintenance items, filters and other accessories on their first purchase).
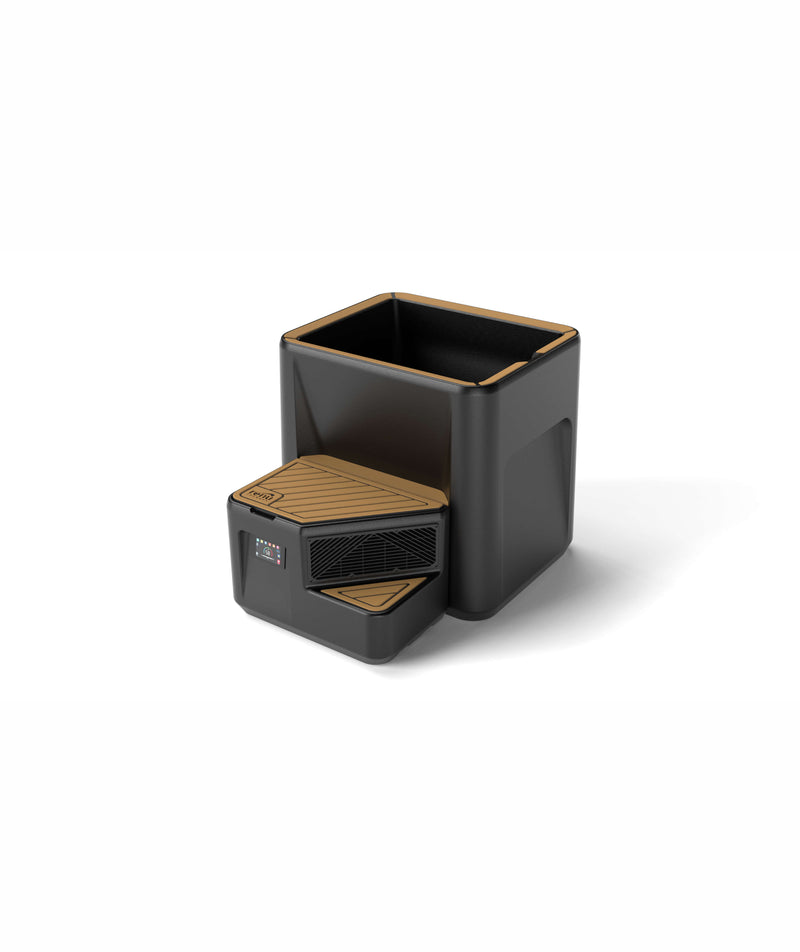
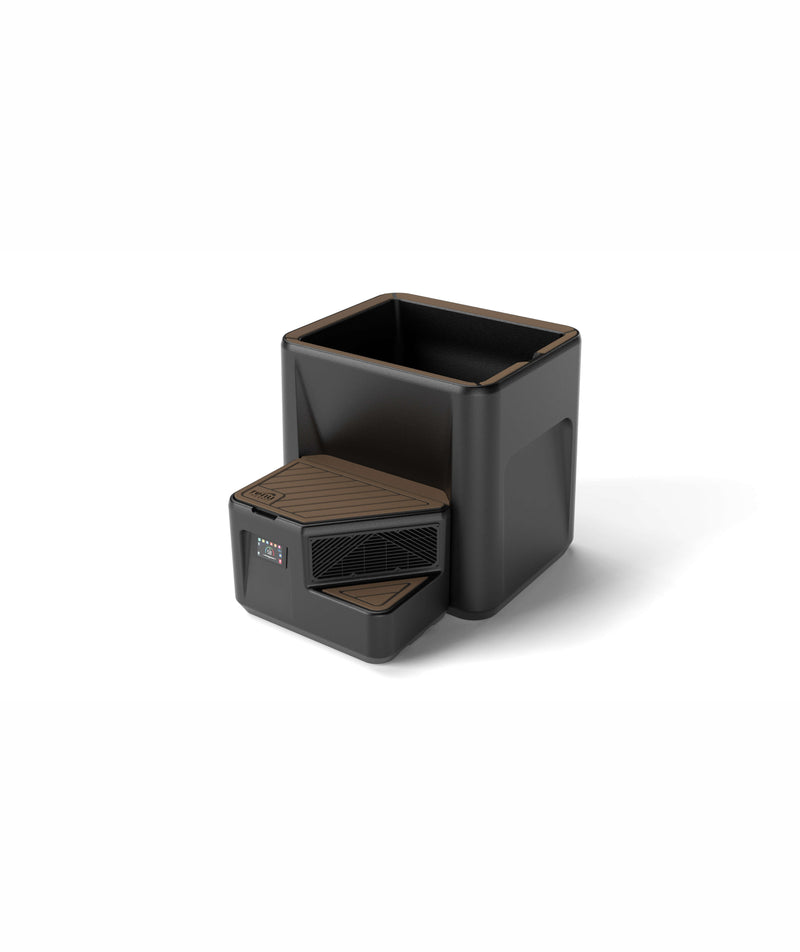
Next easy step is to open the mechanics bay door. To take the door off, there's a couple of latches, you may want to drop it to horizontal and just pop it off. One good tip is to always just set it aside and out of the way, so it won’t get damaged. Then focusing on opening up the valves and tightening everything up on the unions and just making sure this thing's ready to be turned on. Taking a closer look at the unions, you will notice first the pump assembly, and beside that you have your shutoff valve. To enumerate there are three parts, a union, a pump, and filter housing with the filter inside. The top piece is the drain spigot.
Once you open up your valves make sure they are not in a crossways position and make sure they're tight.
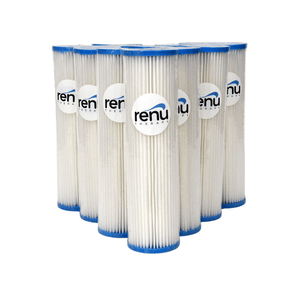
Now when you're inside the mechanics' bay. You'll notice a little shelf, and inside there is a filter, there's a wrench, a giant wrench, and a manual. The manual is the chiller manual; the filter is an extra one.
The next thing is you want to attach the chiller. The chiller is shipped unattached to the cold plunge tank just so that it doesn't get damaged. So each hose has an in or an out, and what will happen is you want to put the end on the end port and out on the out port. The ports are labeled on the chiller. Reminder: Each brand of the chiller we use is reversed, so you want to make sure you can see the in and out. It's much like a car battery, with the negative sign and the plus sign. So it's right there you can see it.
And so to attach that, the next step is to literally take off the rubber cap and tighten the nozzle.
This is only really 15-20 minutes worth of work; this is super easy.
Just to recap, the valves are open, the unions are tight, the chillers attached, and the cold plunge tank is ready to get the electrical plugged in. And so you'll notice that you have the pout. We have a power strip up there with a ground fault protector, circuit breaker, and a plug-in with about eight feet of cord.
So the next step would be to start filling it up with water. If you want to use it right away, put a bunch of ice in there to prime the water down to cold.
If you will not use it immediately, the chiller will bring the water down from ambient down to your desired temperature, but sometimes it takes a day, and if you're in a hot climate, maybe a day and a half.
So the next thing is, once the unit has got water in it, past the intake at the bottom, you'll see a small intake. Once the water's past that, you can plug it in.
And when you do so, you'll start to see the water coming out of the ejection port, and it'll start flowing, and you just leave that. Basically, if you fill it up, I would say about six inches past that port, you're passing export, you plug it in, and things will start running.
And you'll notice that there are two types of chillers, eco or active aqua. Hopefully, by next year they'll be the RENU Chiller because we're redoing and making our own which will be even better.
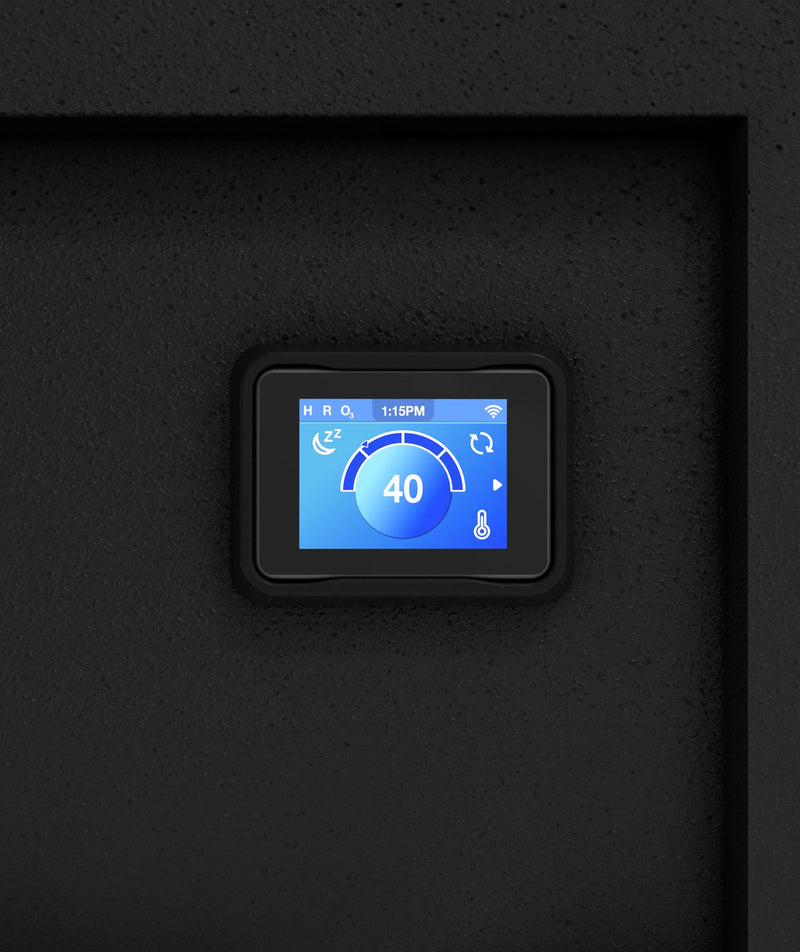
So for the active aqua, you press set, and then you go up and down based on the temperature you want. For the eco, you hold the set.
There's a difference, active aqua; you just press it and adjust. For the eco, you want to hold the set button down until it starts blinking, and then you can make your adjustments.
Now the final most important part, now that you've taken all the stuff out, you've opened the shutoff valves, you've tightened the unions, you've put water in it, you've plugged it in, you've set your chiller.
There you have it, Enjoy the Benefits of An Ice Bath Any Time. Contact RENU Therapy today!