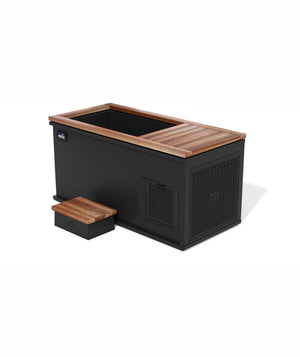
Bill Bachand, Founder of Renu Therapy created a guide on how to change the filter on RENU cold plunge tank and changing the filter is one of the most important maintenance to do often.
“You'll kind of get into the groove on how often, your typical one to two people, once a day kind of thing is probably every month. But after you've changed uh a few of these, you'll know like well I need to step it up, or I could go out a little bit further.” said Bill Bachand.
As further explained, anytime there's a problem with the ice bath tub, the ozone is not going as fast, and the pump slows down and this problem is usually related to the filter. To fix, the first step is to unplug the power source.
The basic step to do is unplug the cold plunge tank from the main power strip. If that's hard, you can just unplug the pump.
Once it’s unplugged, the shut-off valve is closed. Check the two valves one located on top and the other can be found on the lower part of the tub. Just make sure the valves are closed as soon as done, is it now okay to open the filter housing.
Bill stated, “When you first get your unit, this is going to be pretty tight. That's just how it is on the first one. If it's too tight, you can use this little wrench, which slips underneath, and well, you can break the seal to get this unlocked.”
“Once you are ready to unscrew the filter housing, there is a technique that I like to do, and that is I put my palm up underneath, and I unscrew so that when it drops, it just doesn't fall over. When you do so, you can feel when it unlatches its unscrews, and then you can pull it out.” He continues.
Having a little water in the filter housing is fine, the pump is waterproof - actually submersible. Renu Cold Plunge tank can handle the mechanics, it can handle water.
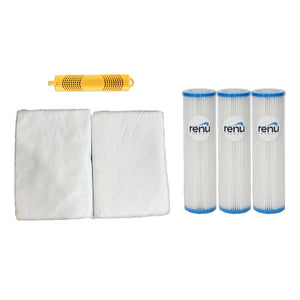
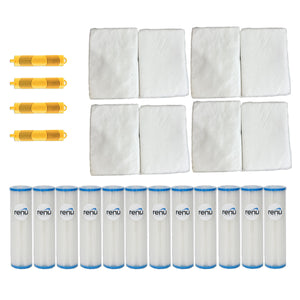
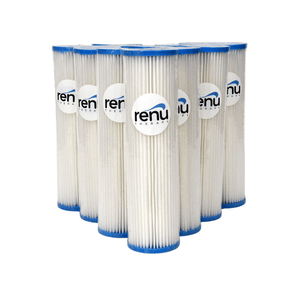
The first thing to do when the housing is off, look at the filter and be the judge if you need to change the filter.
And so, once you've done that, you'll get your new filter out. You can dump water inside the tank.
Bill emphasized “Something that's very important is you'll see there's a little black o-ring, and if you dump the water, do not lose the o-ring. If you lose the o-ring, this thing is going to leak like a sieve, and that has happened. So, typically we ship an extra o-ring in there just in case, but you just don't want to lose it. Now you got a new filter in; you're going to put your housing back. To do that is a little bit tricky, but I'd say easy. You just want not to have this thing moving around because the filter has a hole in it that sits up inside a nipple, inside the housing. So you just want to bring it up very vertically, and I apply pressure with my palm on my hand, pushing up, and then I just turn until it finds the threads. Now I got it threaded, and then I just go hand-tight. You don't have to crank down on this thing. The o-ring is what keeps the water out, and that's it.”
After placing your new filter, and now you're ready to open your valve backup and plug it back in. Typically after changing the filter, make sure that it pushes out all the air bubbles and that the water flowing and the ozone bubbles are going and it’s good to go.